Recognizing additional expansion and connectivity capabilities
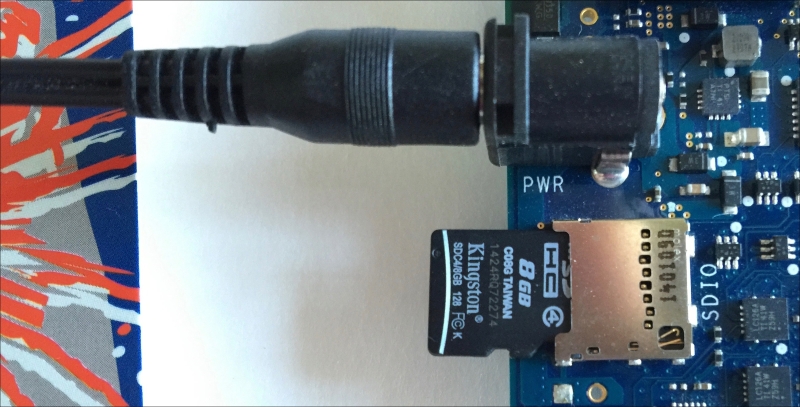
The power jack is located on the left-hand side of the board and it is labeled PWR. Below the power jack, there is a microSD card connector, labeled SDIO. The microSD card connector supports microSD cards with a maximum support capacity of 32 GB. We will use the microSD card as our main storage to store the operating system, Python, and the necessary libraries. The board can boot from the microSD card. Thus, we can think of the microSD card as our main hard drive to work with IoT projects. The following screenshot shows the power jack with the power supply connected to it and the microSD card connector with an 8 GB microSD card being connected to it.

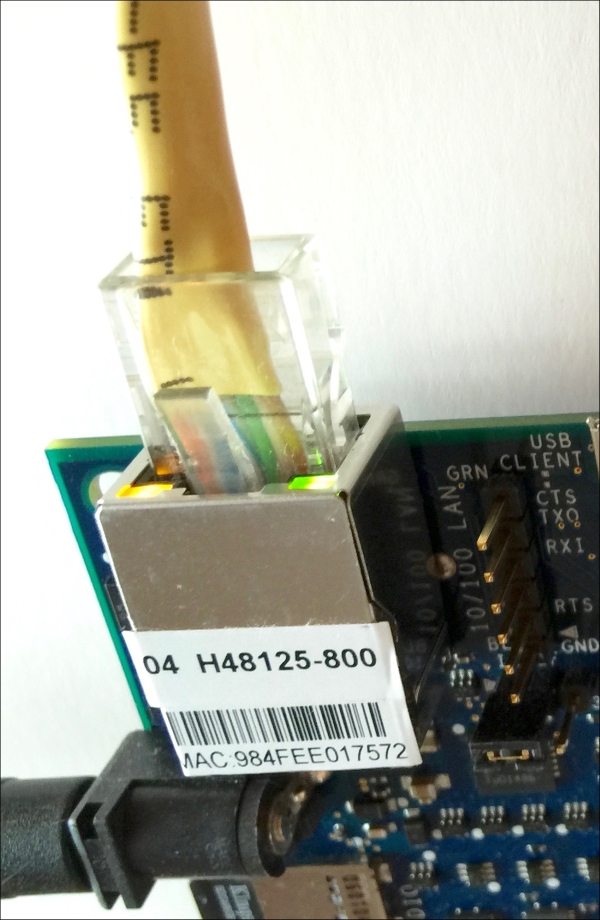
The Ethernet jack is located in the upper-left corner of the board, labeled 10/100 LAN, above the power jack. The Ethernet port supports both the Ethernet and Fast Ethernet standards, and therefore, it can work with either 10 Mbps or 100 Mbps nominal throughput rates. The Ethernet port is extremely useful to connect the board to our LAN and access it through an IP address. There is an adhesive label with the MAC (Media Access Control) address for the Ethernet onboard network interface card. The MAC address is also known as physical address.
The following screenshot shows this adhesive label on the Ethernet jacket and a cable plugged in it. The MAC address for the board shown in the image is A1B2C3D4E5F6. If we use the convention that expresses a MAC address as six groups of two hexadecimal digits separated by colons (:), the MAC address will be expressed as A1:B2:C3:D4:E5:F6. The MAC address is extremely useful to identify the board in our LAN DHCP client list. For security reasons, the original MAC address has been erased and we use a fake MAC address for our example.

A six pin, 3.3V USB TTL UART header is located next to the Ethernet jack, specifically UART 1, the second UART port in the board. The six pin, 3.3V USB TTL UART header has the following labels on the right-hand side:
- CTS
- TXO
- RXI
- No label (empty)
- RTS
- GND
Next to the Ethernet jack and the UART header, there is a micro USB Type B connection, labeled USB CLIENT. We can use this connection to connect the computer to the board, in order to perform firmware updates or transfer sketches.
Tip
However, it is important to know that you cannot power the board off USB. In addition to it, never connect a cable to the micro USB Type B connection before you connect the power supply to the board.
Next to the micro USB connection, there is a USB 2.0 host connector, labeled USB HOST. The connector supports a maximum of 128 USB endpoint devices. We can use this connector to plug a USB thumb drive for additional storage, USB keyboard, USB mouse, or any other USB device that we might need. However, we must consider the necessary drivers and their compatibility with the Linux distribution that we will be using with the board, before we plug any device.
The following image shows the UART header, micro USB connector, and the USB 2.0 port, from left to right, next to the Ethernet jack.

The following image shows the side view with all the connectors and jacks. From left to right, the USB 2.0 port, the micro USB connector, the UART header, and the Ethernet jack with the green (SPEED) and yellow (LINK) LEDs.

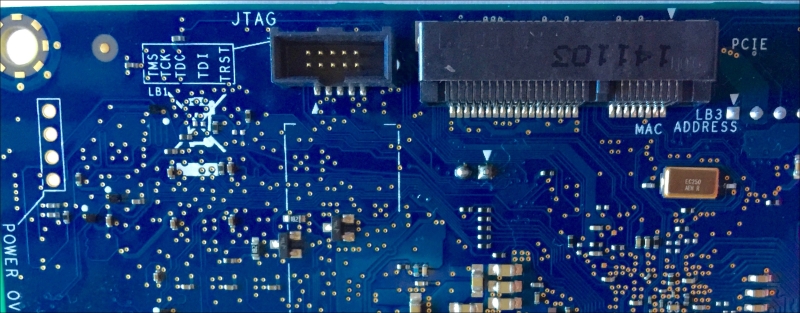
The back of the board provides a mini PCI Express slot, also known as the mPICe slot, compliant with PCIe 2.0 features, labeled PCIE. The slot is compatible with both full size and half size mPCIe modules that we can connect to the board to expand its capabilities. The half size mPCIe module requires an adapter to be connected to the slot on the board.
Tip
It is possible to add another USB host port via the mPCIe slot. The mPCIe slot is extremely useful to provide WiFi, Bluetooth, and other types of connectivity that aren't included as onboard features.
Next to the mPCIe slot, there is a 10-pin JTAG (Joint Test Action Group) header, labeled JTAG. It is possible to use the JTAG interface for debugging purposes in combination with debugging software that supports the Intel Quark SoC X1000 application processor, such as the free and open source on-chip debugging software OpenOCD.
The next image shows the back-view for the board with mPCIe slot and the JTAG header.


