Gathering information with Microsoft Forms
Web forms are an excellent tool for gathering information. Whether you require feedback from a specific process, an event registration, or even a simple contact form, you must clearly define the fields to collect the data in these forms.
Microsoft Forms gives you an easy way to create them with an easy-to-use interface that allows you to quickly create forms, quizzes, and polls. Most importantly, it offers a way to easily gather information from external users to your organization, as we will discover in Chapter 9, Empowering Your Applications with AI Builder, where we will use this tool to gather possible complaints from our customers.
Getting ready
Microsoft Forms is a service that goes beyond Microsoft 365. You can even use it with your personal Microsoft accounts. However, you must create the forms inside your tenant to use it with Power Platform. For this recipe, we will learn the necessary steps to build a form.
Summer basketball camp registration
Questions to be added to the form:
|
Field type |
Required |
Text |
Extra |
|
Text |
Yes |
Child’s Full Name |
|
|
Text |
Yes |
Parent / Guardian |
|
|
Choice |
Yes |
Campus options |
Choices: 2 weeks regular student price 2 weeks external student price 2 weeks sibling’s price |
Table 1.3: Form fields configuration
How to do it…
- Head to Microsoft Forms by typing this address: https://forms.microsoft.com, and once there, click on the New Form button. This action will open the designer for you to start setting up the form.
- Click on the Untitled form text to define the name, description, and image. You can also click Style on the toolbar to change to one of the built-in themes.
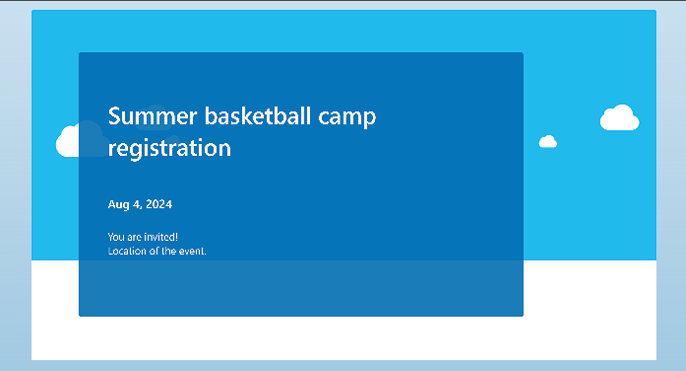
The following is an example using one of the immersive styles:

Figure 1.6: Microsoft Forms style
- Now, let’s start including fields. A list of options appears to select the type. You can choose from the following field types:

Figure 1.7: Field types available in Microsoft Forms
- Click Quick start with and select Text. Change the
QuestiontoChild's Full Nameand enable the Required setting. - Repeat Step 4 to add the
Parent / Guardianquestion. - Again, click on + Add new question, but this time, select Choice. Replace the
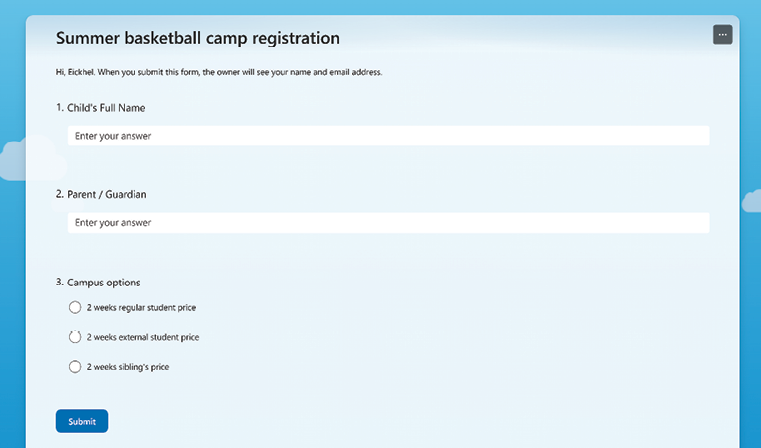
QuestionwithCampus options. ReplaceOption 1andOption 2with2 weeks regular student priceand2 weeks external student price, respectively. Click + Add option to include2 weeks sibling's price. - Click Preview on the toolbar and, depending on the layout and style of the form, click Start now afterward. You should have a form just like the following:

Figure 1.8: Registration preview
- From the toolbar, click on Back to leave the preview mode and click the gear icon to configure who can fill out the form. Regularly, you should select Anyone can respond. You can change it as desired.
How it works…
Now that our form is ready, we could start building Power Automate actions that will get triggered when we receive responses.


