


Restoring a VM
Like Backup, we can also restore virtual machines through the Proxmox GUI. VMs can be restored through the Backup menu tab of the VM or by selecting a backup file through the storage content list. If restore is selected through the VM backup option, then the VM ID cannot be changed. To understand this better, let's take a look at the following example:
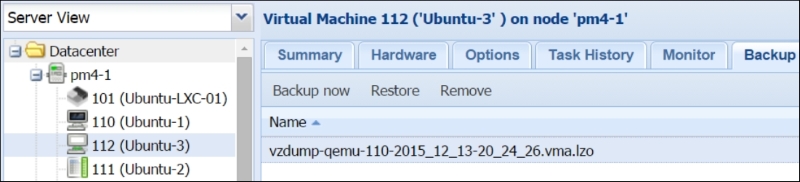
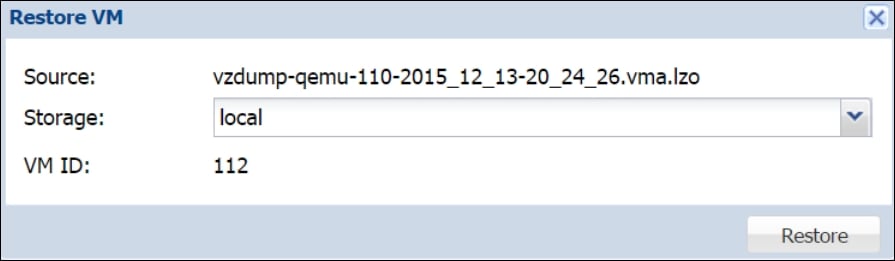
In the preceding screenshot, we are under the Backup option for VM #112. Since the backup option shows a list of all backup files stored in that backup storage node, we can see the backup files for VM #110. If we select the backup file and then click on Restore, we will not be able to restore the VM #110 on its own. Instead, it will actually replace VM #112. The following screenshot shows the Restore dialog box where the destination VM ID is not definable:
In order to restore a backup file with its original VM ID, we need to select the backup file from the storage content tab menu, as shown in the following screenshot:
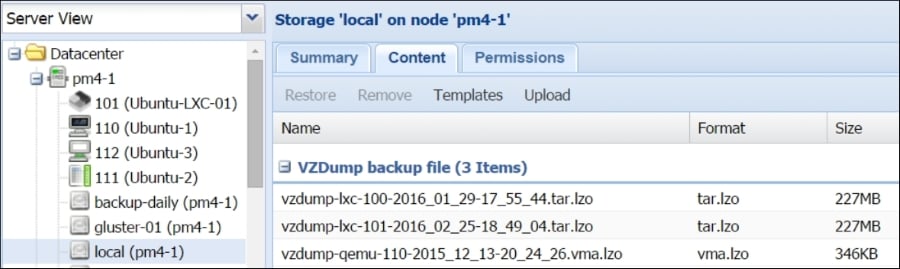
If we select...


