Setting up a virtual device and running your app
As a part of installing Android Studio, you downloaded and installed the latest Android software development kit (SDK) components. These included a base emulator, which you will configure to create a virtual device to run Android apps on. An emulator mimics the hardware and software features and configuration of a real device. The benefit is that you can make changes and quickly see them on your desktop while developing your app. Although virtual devices do not have all the features of a real device, the feedback cycle is often quicker than going through the steps of connecting a real device.
Also, although you should ensure your app runs as expected on different devices, you can standardize it by targeting a specific device by downloading a device profile, even if you don’t have a real device if this is a requirement of your project.
The screen you will have seen (or something similar) when installing Android Studio is as follows:
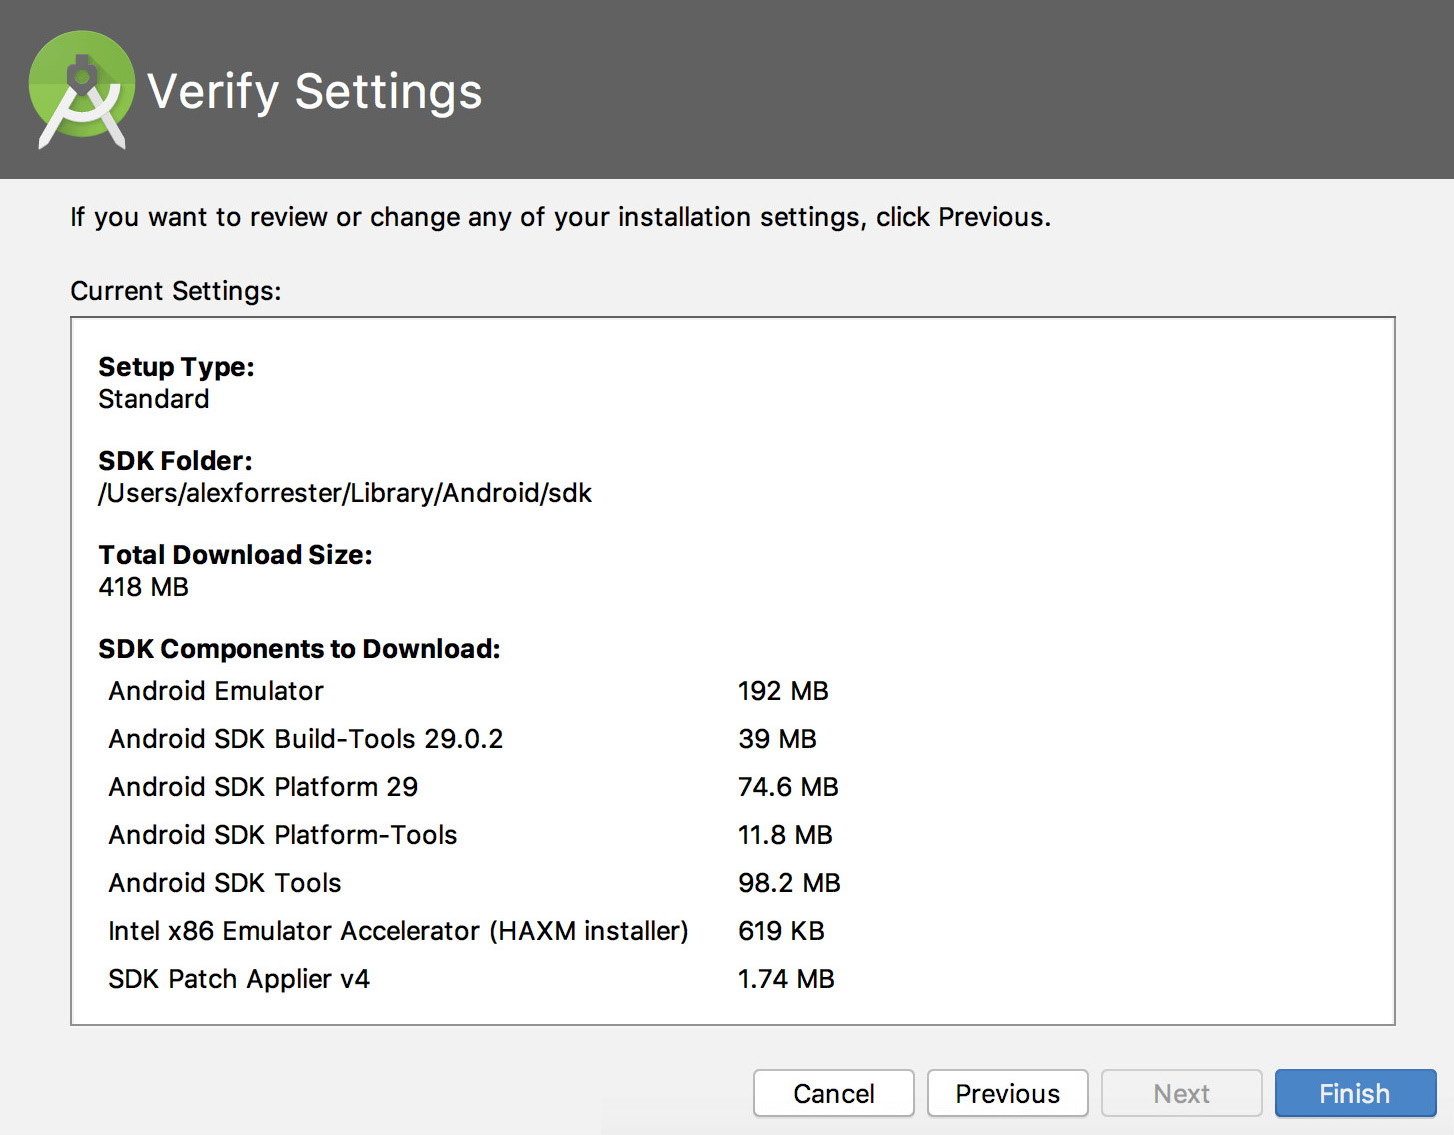
Figure 1.4 – SDK components
Let’s take a look at the SDK components that are installed and how the virtual device fits in:
- Android Emulator: This is the base emulator, which we will configure to create virtual devices of different Android makes and models.
- Android SDK Build-Tools: Android Studio uses the build tools to build your app. This process involves compiling, linking, and packaging your app to prepare it for installation on a device.
- Android SDK Platform: This is the version of the Android platform that you will use to develop your app. The platform refers to the API level.
- Android SDK Platform-Tools: These are tools you can use, ordinarily, from the command line, to interact with and debug your app.
- Android SDK Tools: In contrast to the platform tools, these are tools that you use predominantly from within Android Studio in order to accomplish certain tasks, such as the virtual device for running apps and the SDK manager to download and install platforms and other components of the SDK.
- Intel x86 Emulator Accelerator (HAXM installer): If your OS provides it, this is a feature at the hardware level of your computer you will be prompted to enable, which allows your emulator to run more quickly.
- SDK Patch Applier v4: As newer versions of Android Studio become available, this enables patches to be applied to update the version you are running.
With this knowledge, let’s start with the next exercise of this chapter.
Exercise 1.02 – setting up a virtual device and running your app on it
We set up an Android Studio project to create our app in Exercise 1.01, Creating an Android Studio project for your app, and we are now going to run it on a virtual device. You can also run your app on a real device, but you will use a virtual device in this exercise. This process is a continuous cycle while working on your app. Once you have implemented a feature, you can verify its look and behavior as you require.
For this exercise, you will create a single virtual device, but you should ensure you run your app on multiple devices to verify that its look and behavior are consistent. Perform the following steps:
- In the toolbar in Android Studio, you will see two drop-down boxes next to each other with app and No devices pre-selected:

Figure 1.5 – The Android Studio toolbar
app is the configuration of the app that we will run. As we haven’t set up a virtual device yet, it says No devices.
- In order to create a virtual device, click on Device Manager, as shown in Figure 1.5, to open the virtual devices window/screen. The option to do this can also be accessed from the Tools menu:
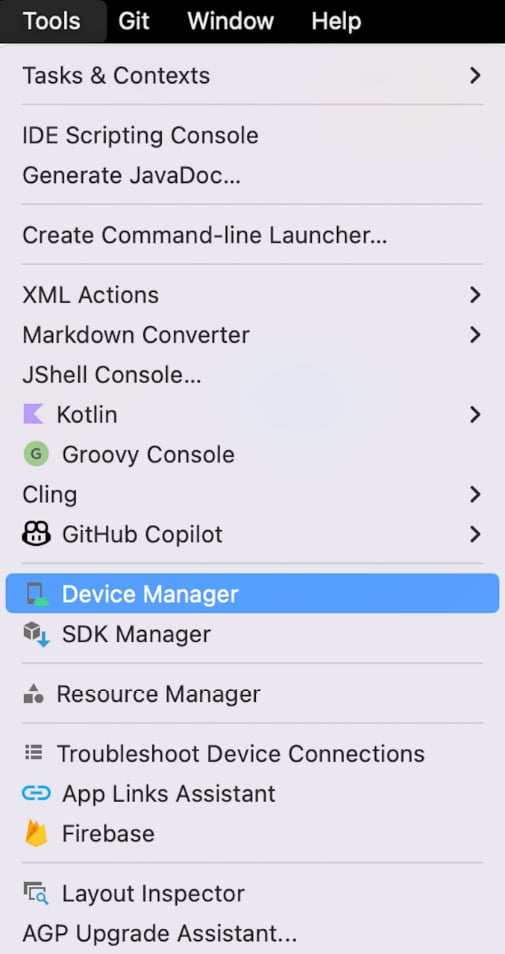
Figure 1.6 – Device Manager in the Tools menu
- Click the button or toolbar option to open the Device Manager window and click the Create device button, as shown in Figure 1.7:

Figure 1.7 – The Device Manager window
You will then be presented with a screen, as shown in Figure 1.8:
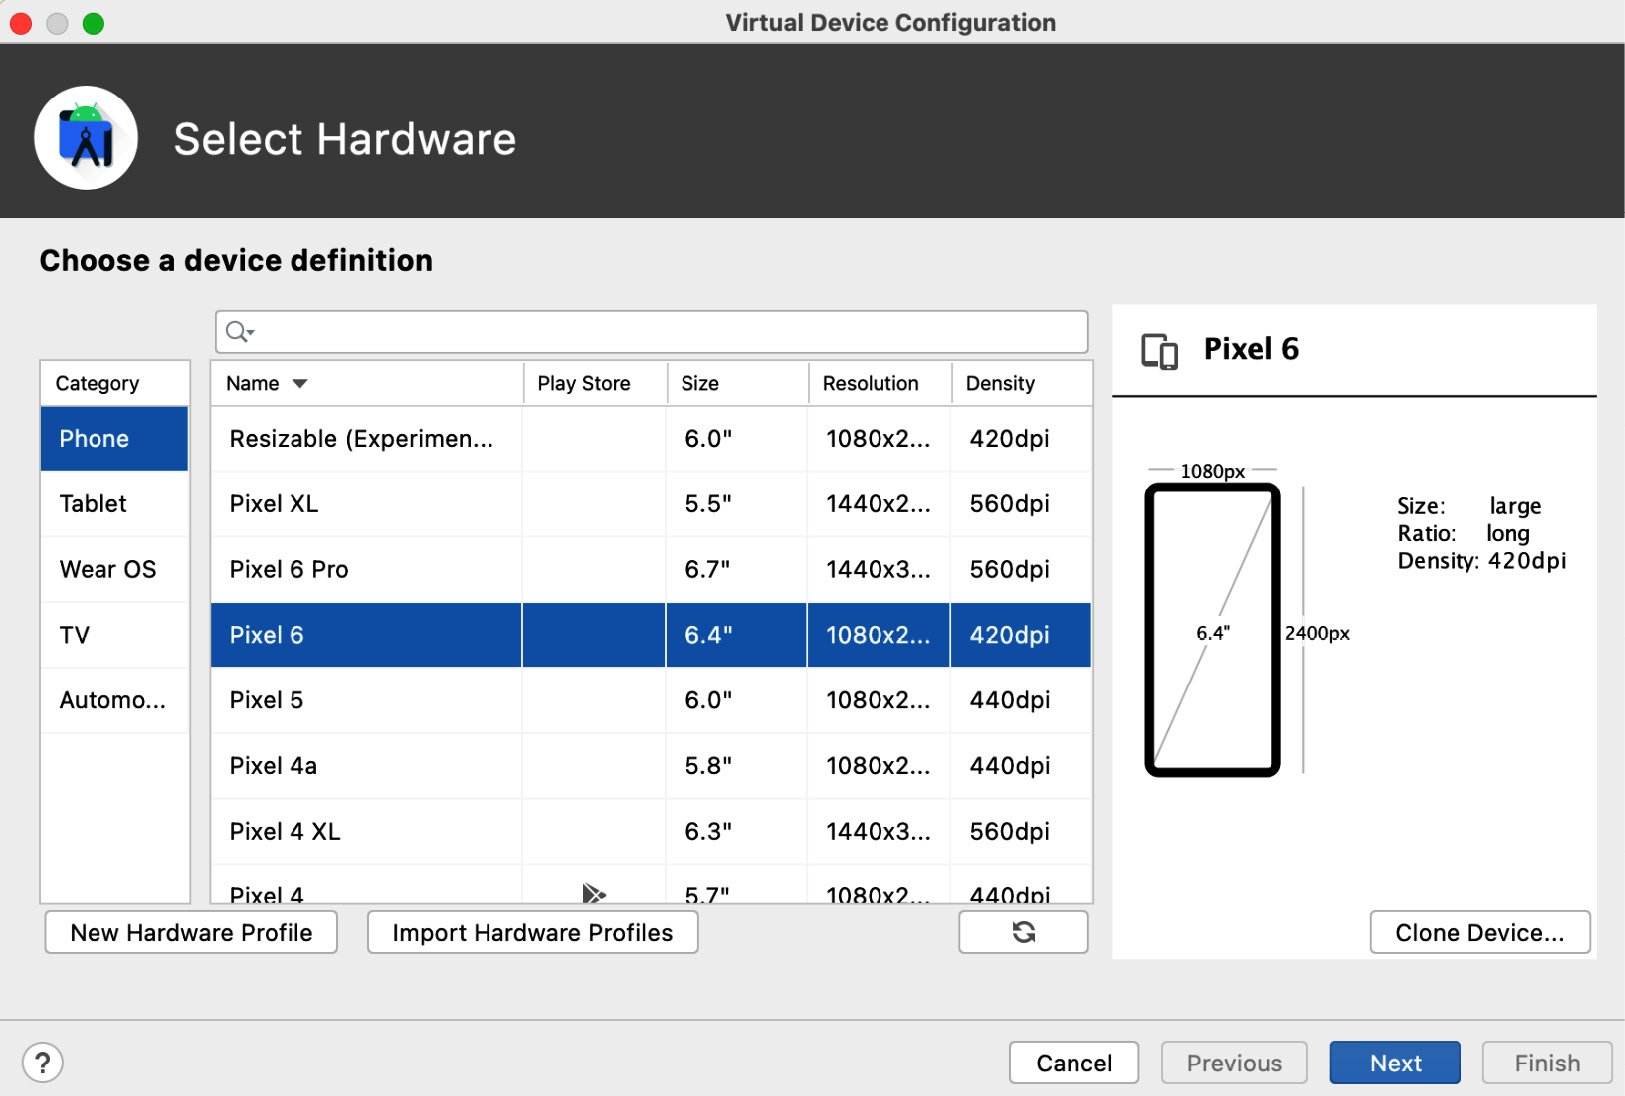
Figure 1.8 – Device definition creation
- We are going to choose the Pixel 6 device. The real (non-virtual device) Pixel range of devices is developed by Google and has access to the most up-to-date versions of the Android platform. Once selected, click the Next button:
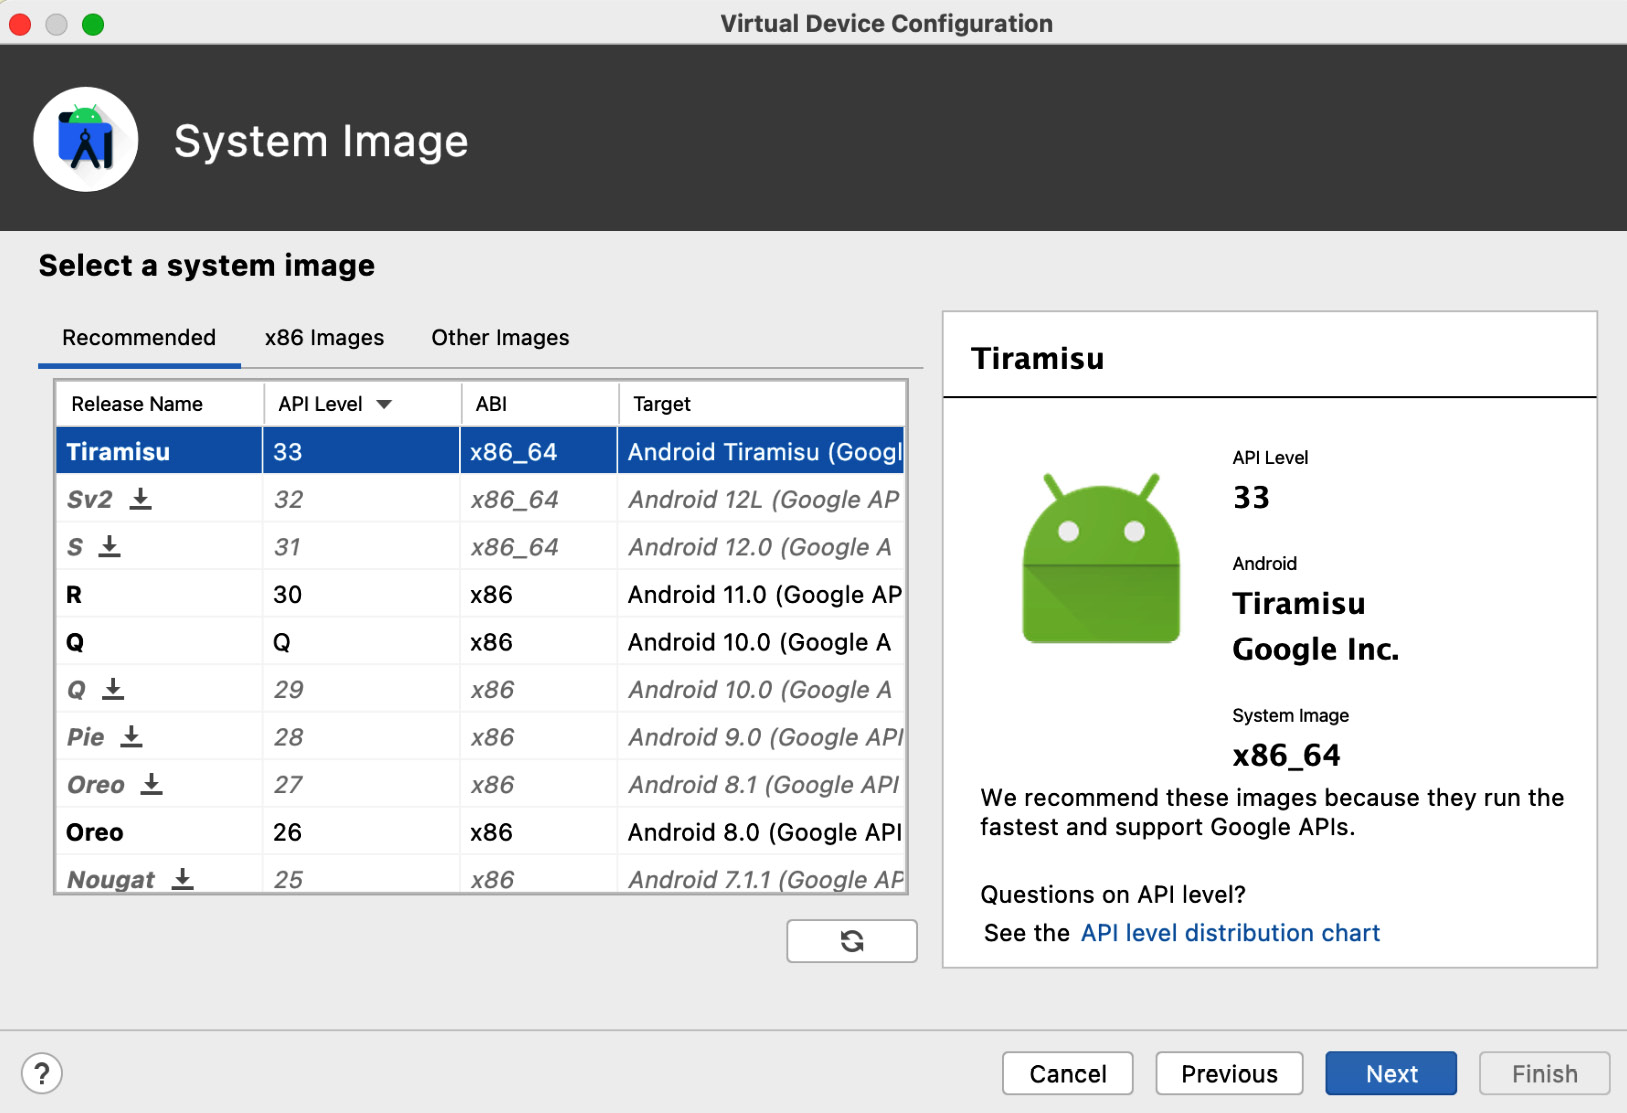
Figure 1.9 – System Image
The Tirimasu name displayed here is the initial code/release name for Android 13. Select the latest system image available. The Target column might also show (Google Play) or (Google APIs) in the name. Google APIs mean that the system image comes pre-installed with Google Play Services.
This is a rich feature set of Google APIs and Google apps that your app can use and interact with. On first running the app, you will see apps such as Maps and Chrome instead of a plain emulator image. A Google Play system image means that, in addition to the Google APIs, the Google Play app will also be installed.
- You should develop your app with the latest version of the Android platform to benefit from the latest features. On first creating a virtual device, you will have to download the system image. If a Download link is displayed next to Release Name, click on it, and wait for the download to complete. Select the Next button to see the virtual device you have set up:
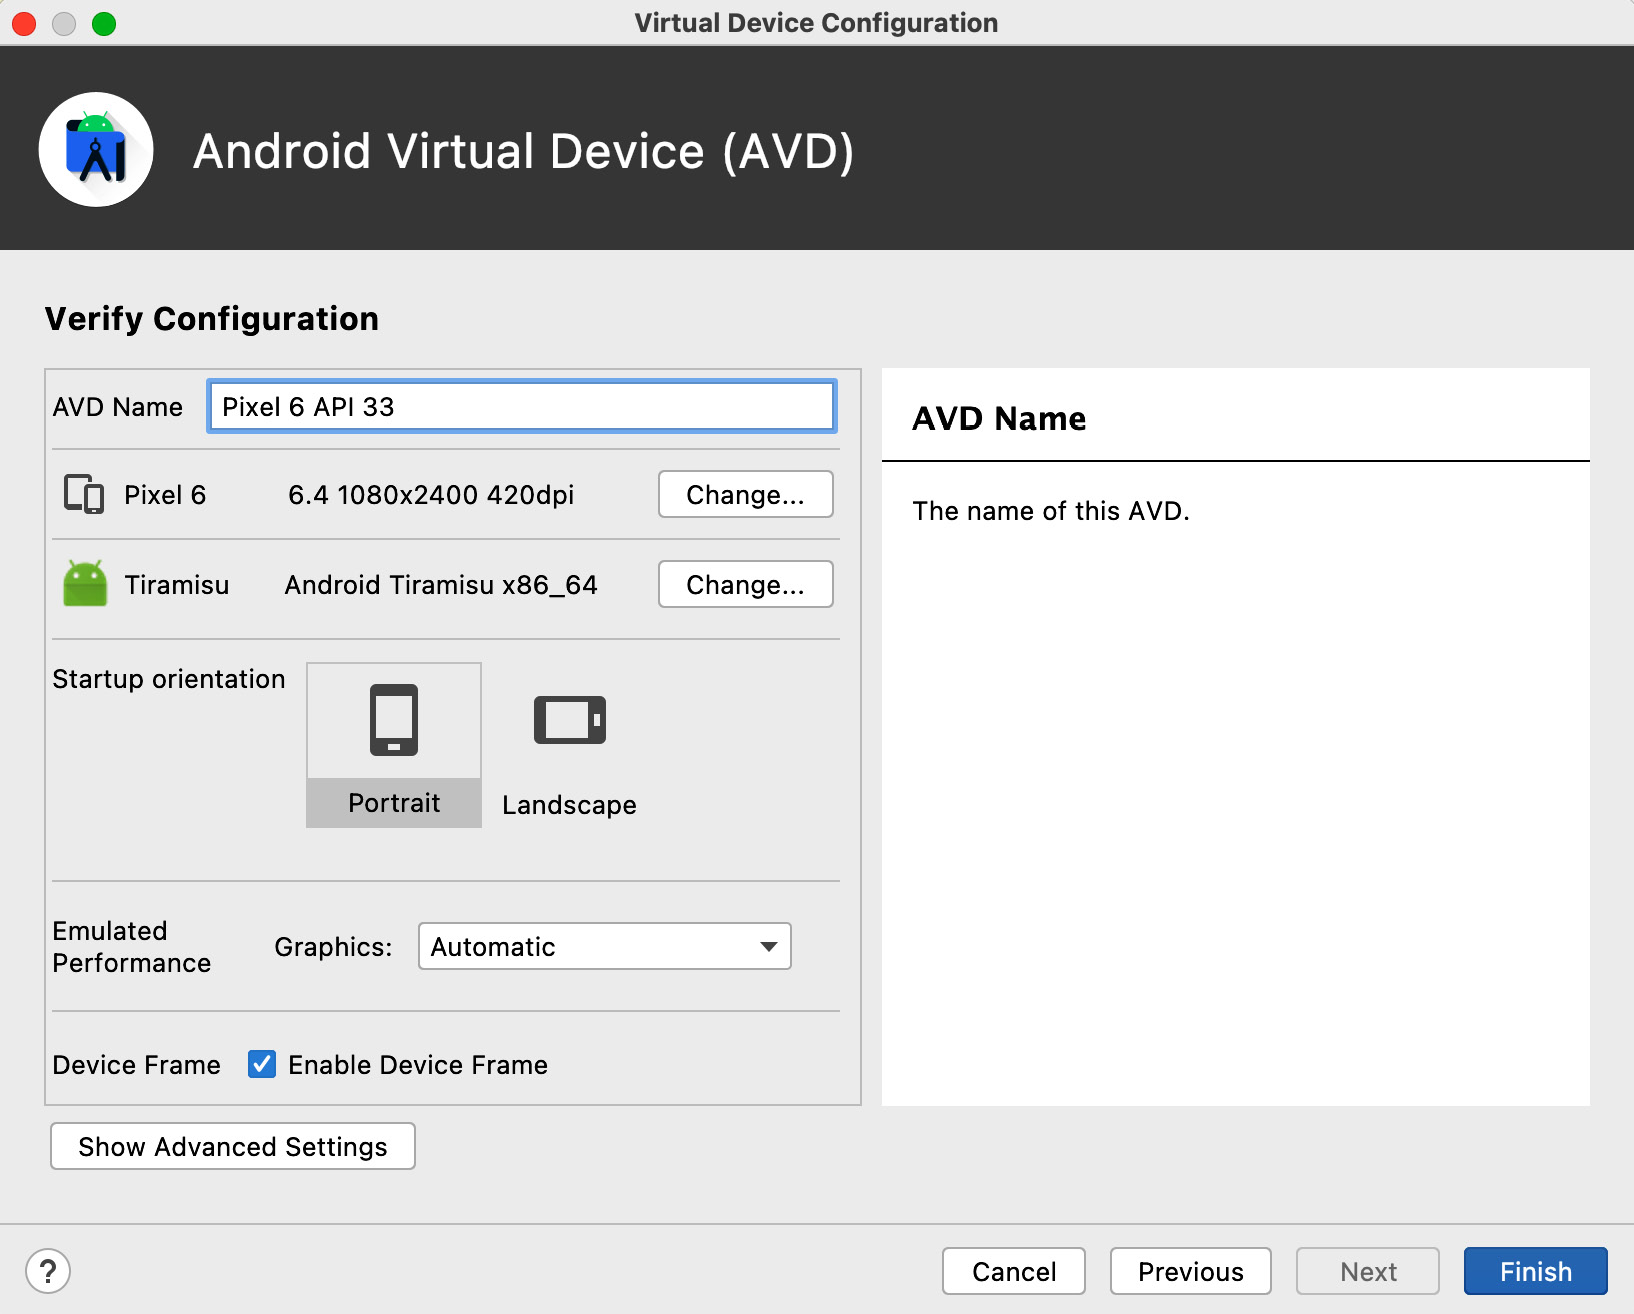
Figure 1.10 – Virtual device configuration
- Click Finish, and your virtual device will be created. You will then see your device highlighted:

Figure 1.11 – Virtual devices listed
- Press the play arrow button under the Actions column to run the virtual device:
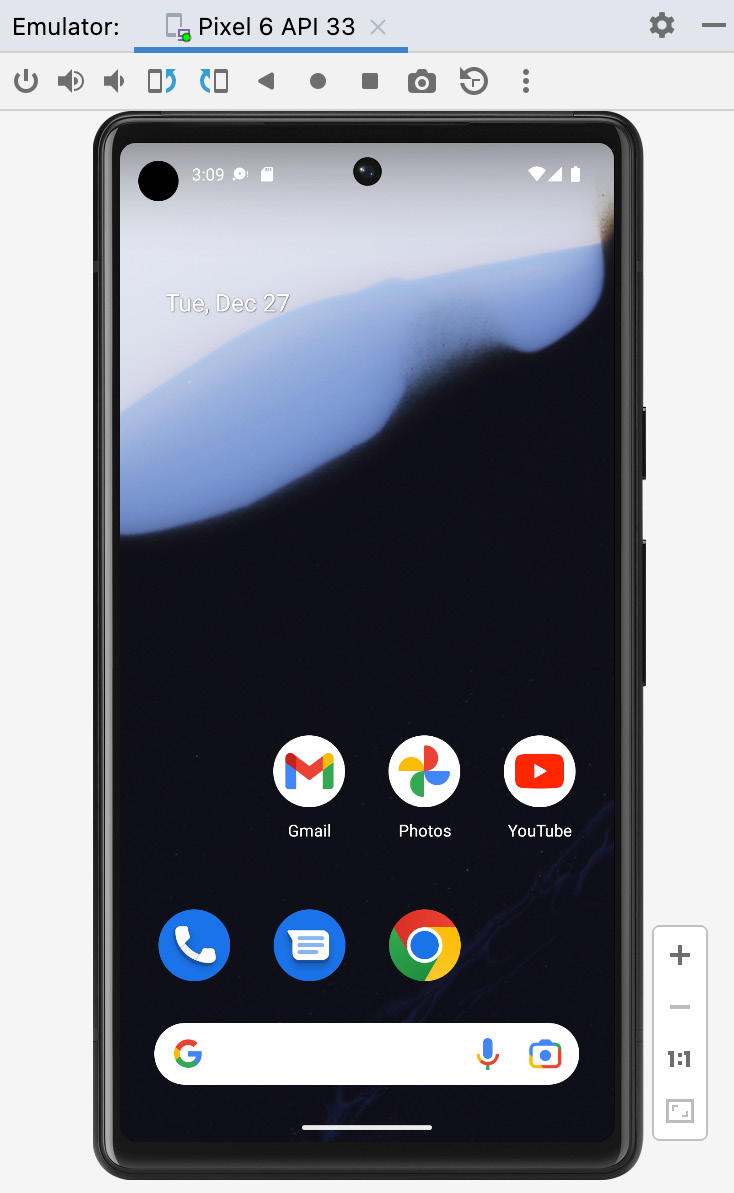
Figure 1.12 – Virtual device launched
You will then see the virtual device running within Android Studio in the Emulator tool window. Now that you’ve created the virtual device and it’s running, you can go back into Android Studio to run your app.
- The virtual device you have set up and started will be selected. Press the green triangle/play button to launch your app:

Figure 1.13 – App launch configuration
This will load the app into the emulator as shown in Figure 1.14.
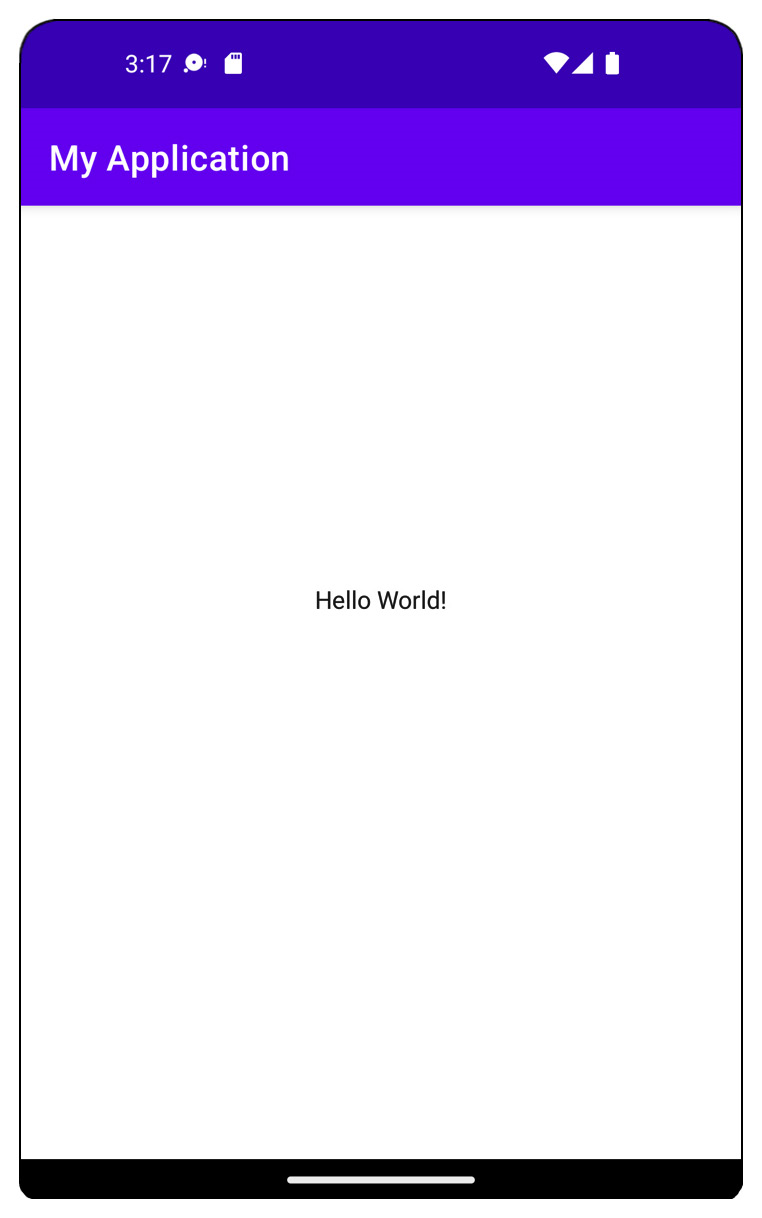
Figure 1.14 – The app running on a virtual device
In this exercise, you have gone through the steps to create a virtual device and run the app you created on it. The Android Virtual Device Manager, which you have used to do this, enables you to create the device (or range of devices) you would like to target your app for. Running your app on the virtual device allows a quick feedback cycle to verify how a new feature development behaves and that it displays the way you expect it to.
Next, you will explore the AndroidManifest.xml file of your project, which contains the information and configuration of your app.


