Search icon CANCEL
Subscription
0
Cart icon
Your Cart (0 item)
Close icon
You have no products in your basket yet
Arrow left icon
Explore Products
Best Sellers
New Releases
Books
Videos
Audiobooks
Learning Hub
Free Learning
Arrow right icon
Arrow up icon
GO TO TOP
Sculpting the Blender Way

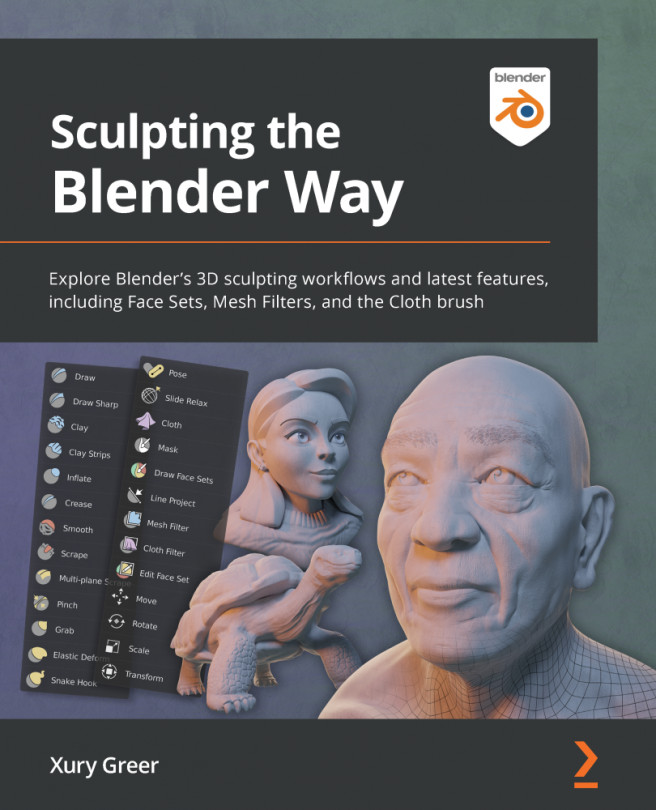
You're reading from   Sculpting the Blender Way Explore Blender's 3D sculpting workflows and latest features, including Face Sets, Mesh Filters, and the Cloth brush

Arrow left icon
Product type Paperback
Published in Jan 2022
Publisher Packt
ISBN-13 9781801073875
Length 502 pages
Edition 1st Edition
Tools
Arrow right icon
Author (1):
Arrow left icon
Xury Greer Xury Greer
Author Profile Icon Xury Greer
Xury Greer
Arrow right icon
View More author details
Toc

Table of Contents (12) Chapters Close

Preface 1. Chapter 1: Exploring Blender's User Interface for Sculpting 2. Chapter 2: Overview of Blender's Sculpting Workflows FREE CHAPTER 3. Chapter 3: Sculpting a Simple Character Head with Basic Brushes 4. Chapter 4: How to Make a Base Mesh for a 3D Sculpture 5. Chapter 5: Learning the Power of Subdivision and the Multiresolution Workflow 6. Chapter 6: Using Advanced Features and Customizing the Sculpting Brushes 7. Chapter 7: Making Eyeballs 8. Chapter 8: Making Accessories and Clothing 9. Chapter 9: Creating Teeth, Eyebrows, and Hair 10. Chapter 10: Rendering Sculptures for Your Portfolio 11. Other Books You May Enjoy

Using custom falloff

By default, the brushes have a smooth falloff on the sculpture. For example, if we draw with the Draw brush, the surface of the sculpture will be raised upward wherever our brush touches the surface. The pattern of this raised area has a rounded edge, strongest in the center and rounded out toward the edges with a smooth falloff curve. This smooth falloff works well in most situations, but if we learn how to customize the falloff pattern, we can make the brushes behave in more interesting ways. For instance, we can make the brush stronger at the edges, or we can intensify it even more toward the center, or we can remove the falloff so that the strength is constant across the brush's area of influence.

Getting ready

Launch Blender, and then start a new project using the sculpting preset. The Quad Sphere model that comes with the sculpting preset doesn't have enough polygons to easily demonstrate our brush falloff settings, so we should add a Multiresolution...

lock icon The rest of the chapter is locked
Register for a free Packt account to unlock a world of extra content!
A free Packt account unlocks extra newsletters, articles, discounted offers, and much more. Start advancing your knowledge today.
Unlock this book and the full library FREE for 7 days
Get unlimited access to 7000+ expert-authored eBooks and videos courses covering every tech area you can think of
Renews at $19.99/month. Cancel anytime
Banner background image