


Creating a new project
After the installation of PyCharm, we will create a new project in order to implement our first Python code snippet:
- Open PyCharm and you will see the Projects section:
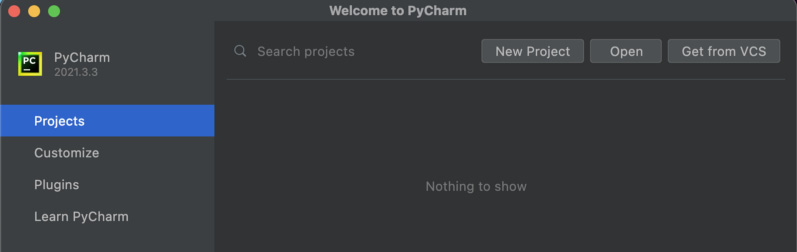
Figure 1.6 – PyCharm IDE
- Add a project name:
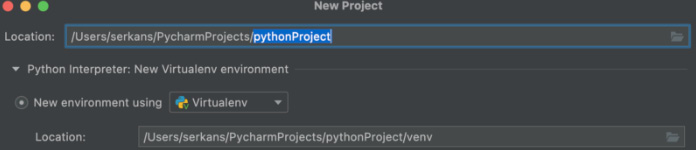
Figure 1.7 – Creating a new project
- The project is ready to be implemented. Right-click and then click Run ‘main’:
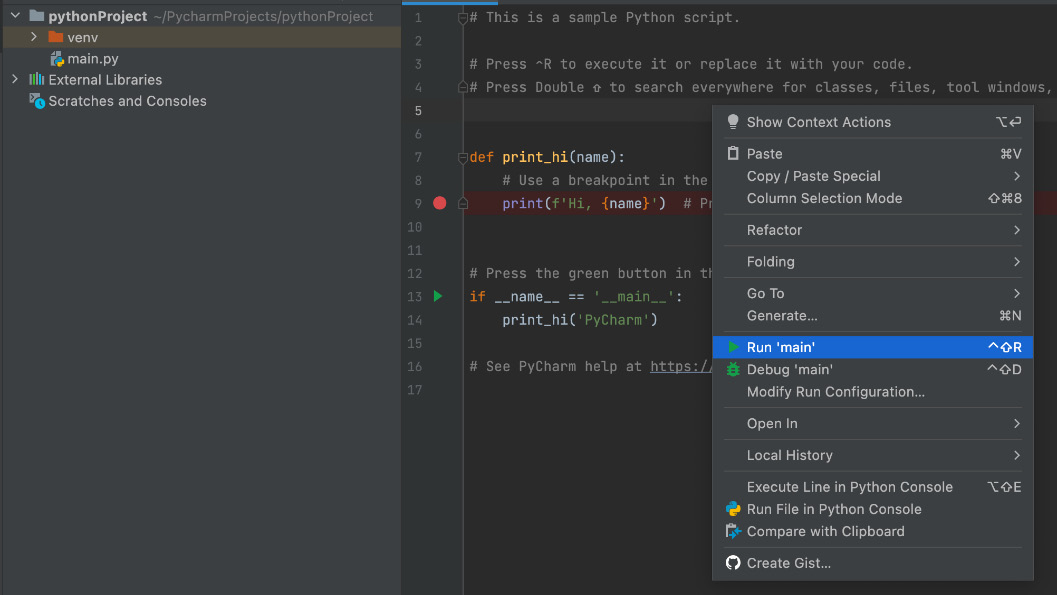
Figure 1.8 – Sample project
- The command runs the application:

Figure 1.9 – Running the application
Congrats! You have created your first project within PyCharm.


