Understanding headless and headed browsers within app development and testing
In the same way that web application developers and testers have choices around frameworks and languages, they also have the option to choose whether to exercise their web application against a web browser with its UI loaded (that is, headed) or its UI unloaded (that is, headless).
Headless Browsers
A headless browser is a normal browser that simply does not load its UI during runtime.
The decision regarding how to use the web browser depends on the goal and objectives behind the developer's and tester's actions. We will cover these methods in a bit more detail next.
Choosing between headed browsers and headless browsers
Using a headless browser could be extremely beneficial when there is no need to explore any elements or actions on the browser UI, and the main objective is to ensure that tests or other actions on the browsers are just running properly. Another scenario where headless browsers can become very cost-effective is when running a massive set of tests in parallel where there is no need to view the browser UI. Such execution will run much faster due to the savings on memory and other hardware resources that UI browsers typically consume, along with the environment initiation time that each browser would typically take to render the HTML pages. Additionally, you can consider the parallel-testing-at-scale use case as part of a regression build within CI after or in parallel with the UI-based cross-browser testing.
It is important to understand that developers and testers cannot only rely on headless browser testing, which is harder to debug and does not always expose the real end user experience across the different platforms. Combining headed testing with headless testing should be strategically planned and executed by the different teams. All major browser vendors including Google, Mozilla, and Microsoft offer a headless option that the end user can turn on through command-line flags or within the various test automation frameworks such as Selenium and Puppeteer.
Selenium offers a nice set of code samples that can be used to launch any of the supported web browsers in headed or headless mode. Here is a sample configuration within the Selenium 4 (https://github.com/SeleniumHQ/selenium/blob/trunk/javascript/node/selenium-webdriver/chrome.js#L333) framework that would launch the Chrome browser in headless mode:
let driver = new Builder()
.forBrowser('chrome')
.setChromeOptions(new chrome.Options().headless())
.build();
Note that, later in the book, as we dive deeper into the Selenium framework, we will learn how to use this framework in both headed and headless modes. In general, most testing frameworks such as Selenium, Playwright, and Cypress support the two methods of how to test a web application.
To use the various browsers from the command-line interface, developers and testers can leverage dozens of options to take screenshots, remotely debug a web application, and more.
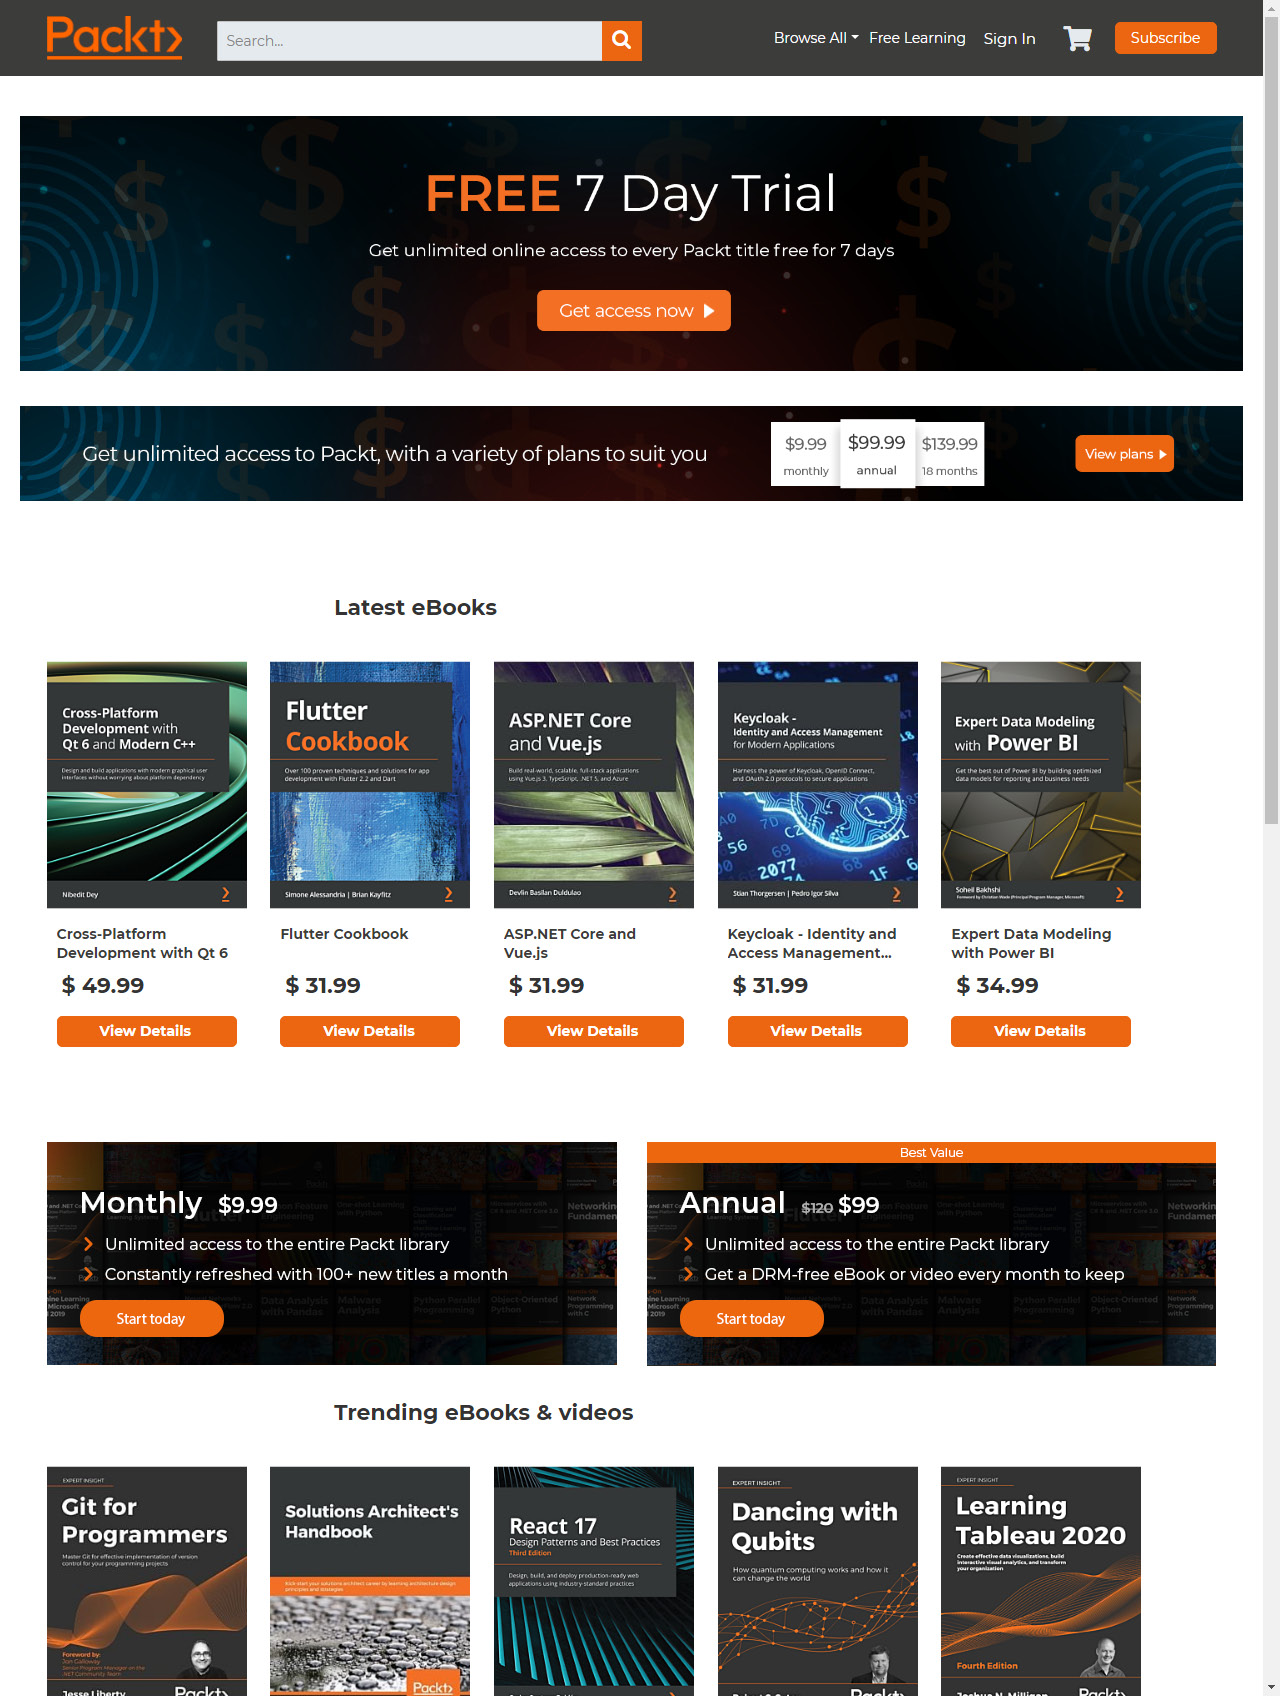
Here is a simple command-line option that uses the headless Microsoft Edge browser that is built on Chromium to capture a screenshot of the PacktPub website home page:
Msedge –-headless –-disable-gpu –screenshot=c:\[..]\packt.png –window-size=1280,1696 https://www.packtpub.com/
Prior to running the preceding command, please ensure that you have the Edge browser in the system environment path.
As you can see, in Figure 1.5, the browser captured the home page with the window size that was specified in the command line:

Figure 1.5 – The PacktPub website screen capture using the Edge headless browser CLI
Headless browser testing frameworks
Now that we've established the notion of a headless browser environment that is fast, cost-efficient, and quite easy to use, let's explore an automation framework that works well with the Chrome headless browser, called Puppeteer (https://developers.google.com/web/tools/puppeteer). This tool is a node library developed by Google and comes with a high-level API to control headless Chrome over the DevTools protocol. It has all the benefits of the Chrome browser, including form submission, user inputs, along with additional headless-specific features such as measuring the runtime performance of the web application and more.
Note
Microsoft is leading the development of an equivalent framework that is derived from Puppeteer, called Playwright. Later in the book, we will examine it in more depth.
To get started with this headless solution, please run the following npm install command:
npm install puppeteer
While installing the solution, developers can start scripting in JavaScript and utilize the APIs available in this framework. Using the following code snippet as an example, developers can automatically navigate to a specific website and capture a screenshot:
const puppeteer = require('puppeteer');
(async() => {
const browser = await puppeteer.launch({headless:false}); // default is true
const page = await browser.newPage();
await page.goto('https://www.packtpub.com');
await page.screenshot({path: 'Packt.png'});
await browser.close();
})();
If setting the headless flag to false, the execution of the code will launch the built-in Chrome browser.
Figure 1.6 is a screenshot of the preceding code sample that was executed:

Figure 1.6 – A screenshot of the Packt home page taken through Puppeteer JavaScript test in headless mode
The preceding example is a simple use case of Puppeteer; however, this framework can extend the DevTools protocol capabilities and generate, through automated code, an HTTP Archive file (HAR) for security, performance, and other web traffic analysis. In the recent Selenium 4 version, as well as within Cypress, developers can also leverage the Chrome DevTools Protocol (CDP) to benefit from some of Puppeteer's capabilities.
To generate an HAR file as part of a test automation script, developers should include the following lines of code in their test automation scenarios, after installing the puppeteer-har node module:
const puppeteerHar = require('puppeteer-har');
const har = new puppeteerHar(page);
await har.start({path: 'results.har'});
await page.goto('https://www.packtpub.com');
await har.stop();
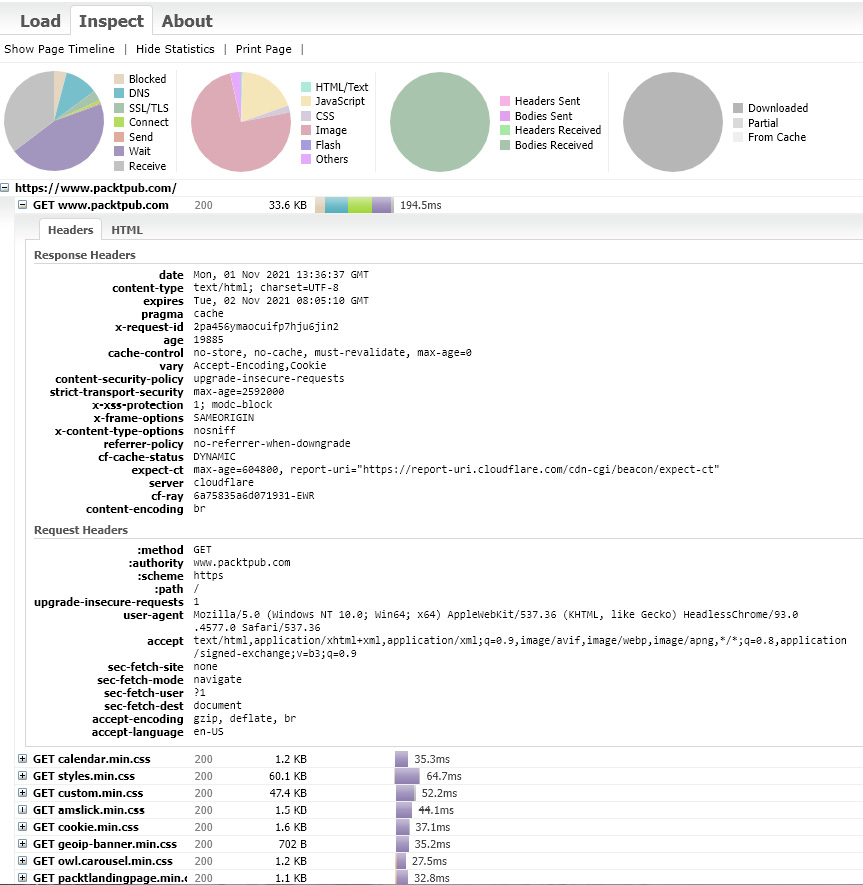
Adding the preceding code to the screenshot example will generate a results.har file from the PacktPub website. Developers can use any HAR file viewer to analyze the generated resource or simply add the Google Chrome HAR viewer browser extension.
When examining the generated HAR file, developers can get insights on page load times, page statistics, website requests, and response header details:

Figure 1.7 – A screenshot of the Packt home page HAR file generated through the automated Puppeteer script
Developers can then use these insights to optimize website performance, detect security vulnerabilities, and more.
As mentioned earlier, Google designed the headless browser tool to help developers test and debug their web applications. Additionally, to succeed in debugging a web application while running in headless mode, Headless browsers provide a remote debugging capability that can be used either manually from the CLI or within the automated JavaScript code:
--remote-debugging-port=9222 (example)
While running the tests with headless mode and adding this command, developers can use a headed Chrome browser to navigate to http://localhost:9222 and inspect all the outputs coming from the execution.


