VirtualBox is similar to VMware Workstation Player, and is a hypervisor that's an open source and completely free desktop application from which you can run any virtual machine, once it's installed on the host operating system. VirtualBox can be downloaded from this URL:
https://www.virtualbox.org/wiki/Downloads
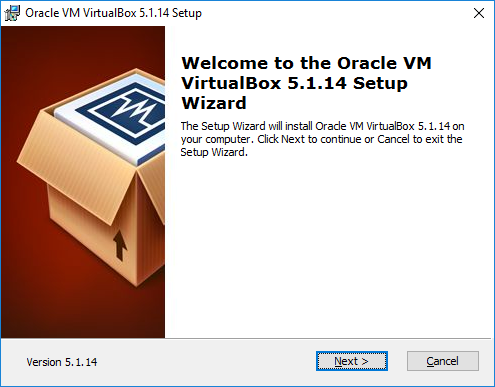
We will now go ahead and install Kali on VirtualBox. Similar to VMware, we will just execute the downloaded executable, which should lead us to the following screen:
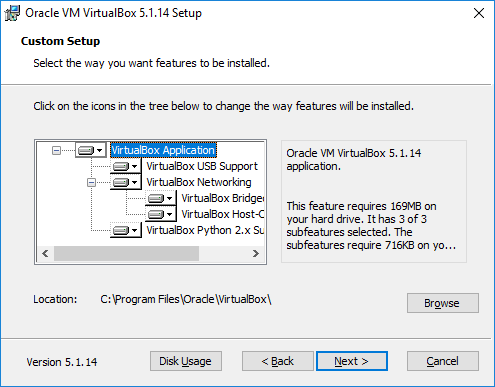
Once we click on Next, the VirtualBox should provide options to customize the different ways to store, but by default, we would be selecting VirtualBox Application:
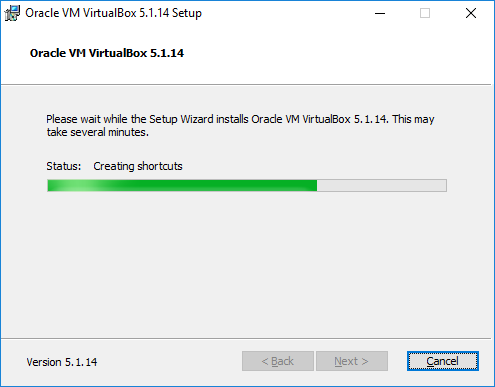
Click on Next; you will be able to see the progress, as shown in the following screenshot:
The following screenshot shows the confirmation message you get on the successful installation of Oracle VirtualBox:
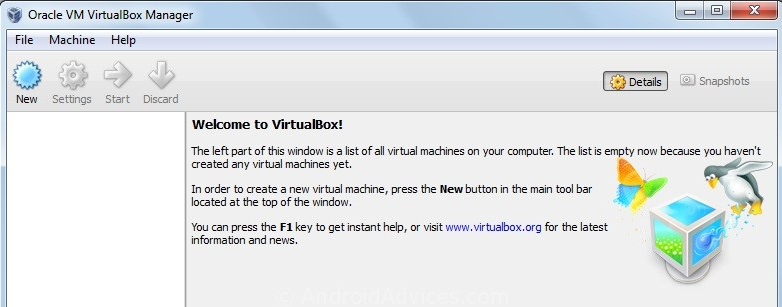
So, the next step is to install Kali onto VirtualBox. Click on New from the menu, which should take us to the following screen, where we can type the name of our choice and select the right version of the platform: for example, 64-bit Debian or 32-bit Debian, as per the ISO image that we downloaded:
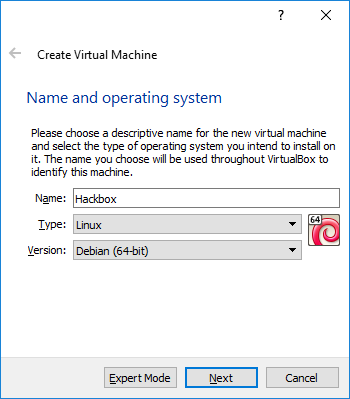
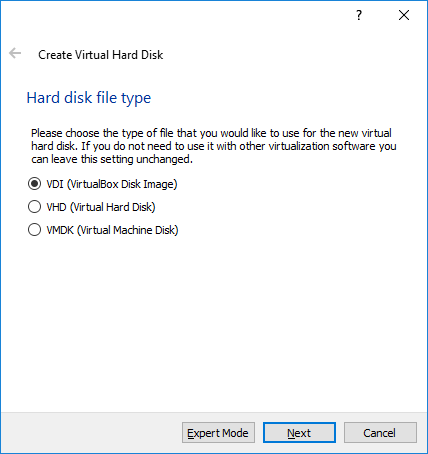
Click on Next and provide the amount of RAM required for Kali. We recommend at least 1 GB. By clicking on Next, we will be creating a virtual hard drive for Kali on the host operating system. Click on Next to choose the hard disk file type: mostly, we select VDI (Virtualbox Disk Image), as shown in the following screenshot:
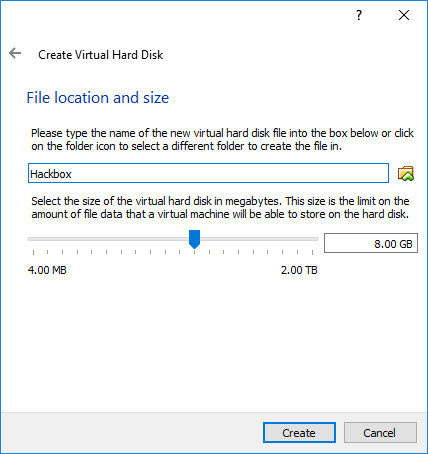
By clicking on Next, we will be creating the size of the HDD, as shown in the following screenshot:
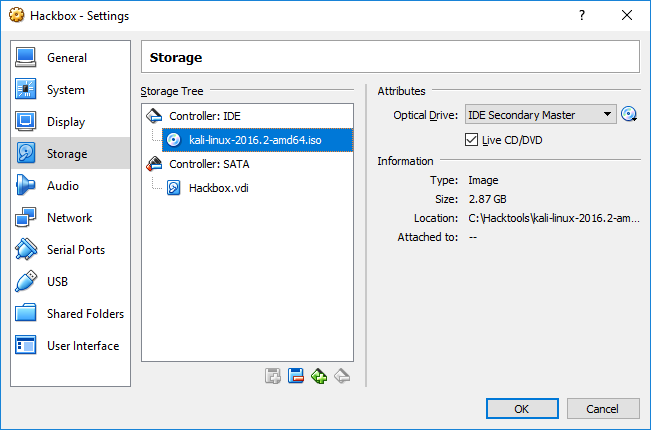
Finally, we have to go to Hackbox | Settings to load the ISO image as an external drive, as shown in the following screenshot:
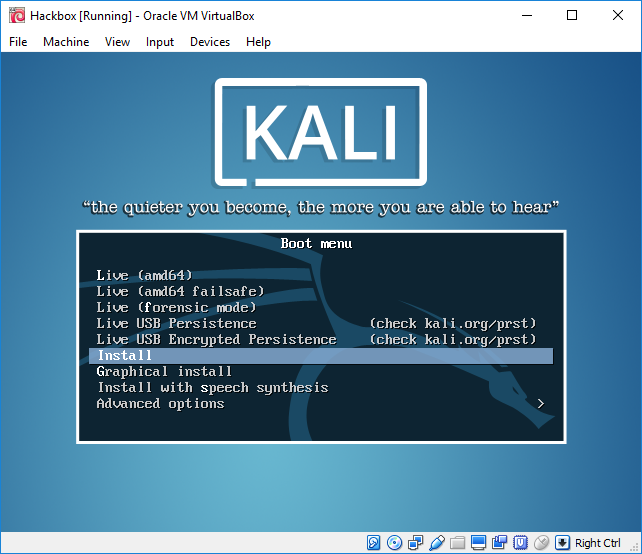
That's it; we should now be able to see the following screen and install Kali to VirtualBox without any issues:
