The following are the series of steps involved in Knockout.js installation and usage:
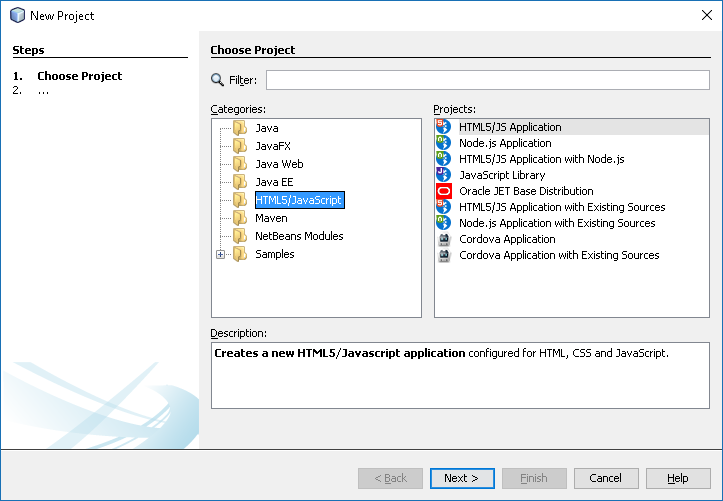
- Create a new web application in NetBeans using the options File | New Project. This opens the New Project wizard, as shown in the following screenshot:
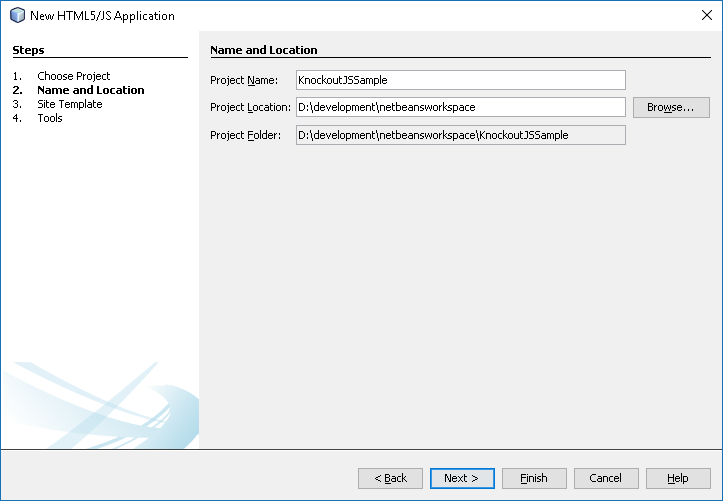
- Press Next to provide the name and location of the project, as shown in the following screenshot:
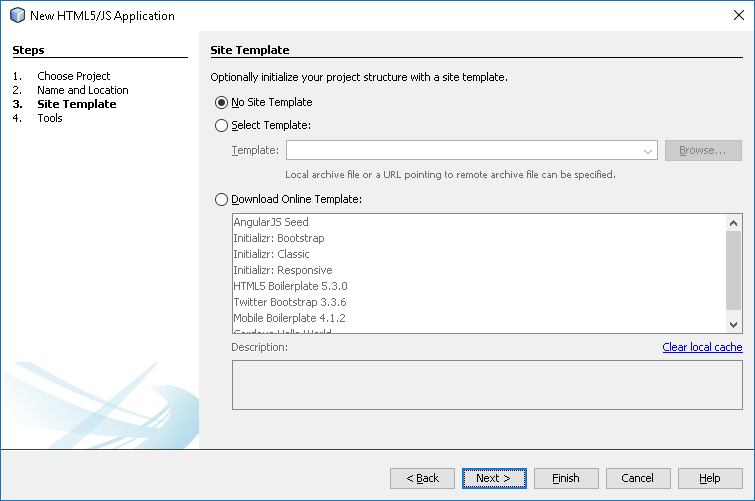
- Enter the Project Name and select the Next option to select the site template; choose No Site Template, as shown in the following screenshot:
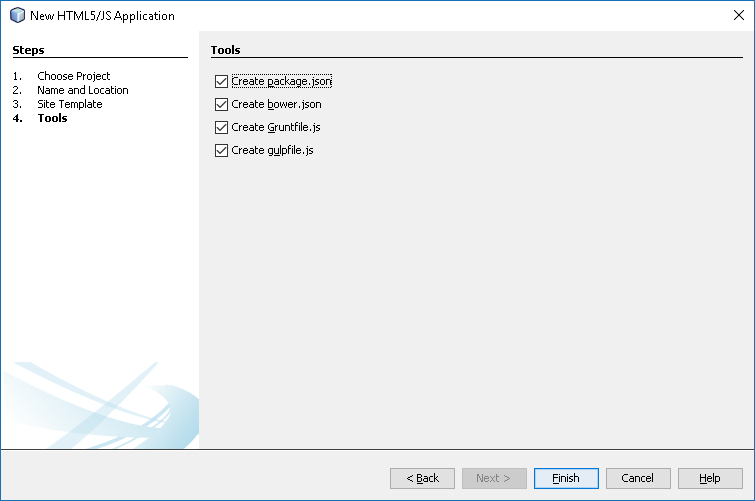
- Click the Next button to select the build package tools including package.json, bower.json, Gruntfile.js, and gulpfile.js, as shown in the following screenshot:
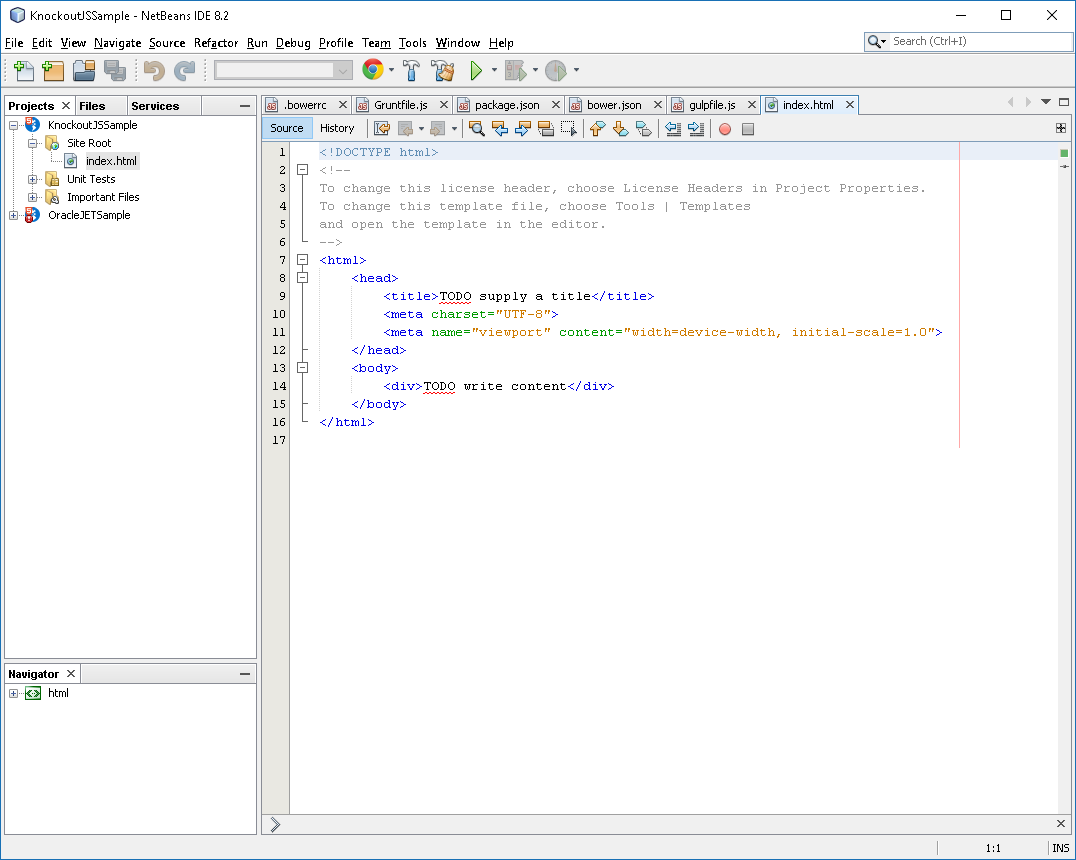
- Click on Finish to create the project and show the index.html page, as shown in the following screenshot:
- Right-click on the Site Root folder and choose New Folder to create a directory for...