Testing and experimenting with the examples
The code and examples are organized per chapter and, with the examples, we will provide a simple integrated server that you can use to access all the examples. To get this server up and running, we need to install Node.js and npm. These tools are used to manage JavaScript packages and build JavaScript applications and make it easier to modularize our Three.js code and integrate existing JavaScript libraries.
To install these two tools, go to https://nodejs.org/en/download/ and select the appropriate installer for your operating system. Once installed, open a terminal and check whether everything is working. On my machine, the following versions are being used:
$ npm --version
8.3.1
$ node --version
v16.14.0
Once these tools have been installed, we need to perform a few steps to get all the externally needed dependencies before we can build and access the examples:
- First, we need to download the external libraries used in the examples. For instance, Three.js is one of the dependencies we need to download.
To download all the dependencies, run the following command in the directory where you downloaded or extracted all the examples:
$ npm install
added 570 packages, and audited 571 packages in 21s
The preceding command will start downloading all the required JavaScript libraries and store these in the node_modules folder.
- Next, we need to build the examples. Doing so will combine our source code and the external libraries into a single file, which we can show in the browser.
To build the examples using npm, use the following command:
$ npm run build
> [email protected] build
> webpack build
...
Note that you only have to run the two preceding commands once.
- With that, all the examples will have been built and are ready for you to explore. To open these examples, you need a web server. To start a server, simply run the following command:
$ npm run serve
> [email protected] serve
> webpack serve –open
<i> [webpack-dev-server] Project is running at:
<i> [webpack-dev-server] Loopback: http://localhost:8080/
<i> [webpack-dev-server] On Your Network (Ipv4): http://192.168.68.144:8080/
<i> [webpack-dev-server] On Your Network (Ipv6): http://[fe80::1]:8080/
…
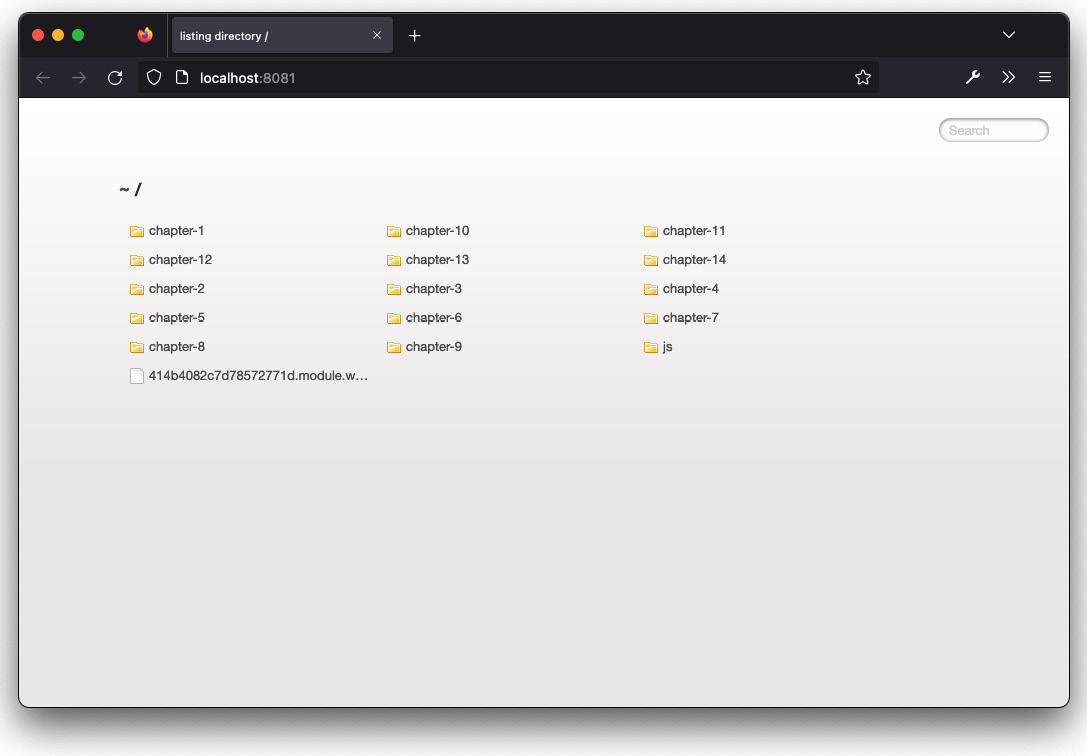
At this point, you’ll probably notice that npm has already opened your default browser and shows the content of http://localhost:8080 (if this isn’t the case, just open your browser of choice and navigate to http://localhost:8080). You’ll be presented with an overview of all the chapters. In each of these subfolders, you’ll find the examples that are explained in that chapter:

Figure 1.6 – Overview of all the chapters and examples
One very interesting feature of this server is that we can now see the changes we make to the source code immediately reflected in the browser. If you have started the server by running npm run serve, open up the chapter-01/geometries.js example from the sources you’ve downloaded in your editor and change something; you’ll see that this is also changed at the same time in your browser after you have saved the change. This makes testing changes and fine-tuning colors and lights much easier. If you open the chapter-01/geometries.js file in your code editor, and you open the http://localhost:8080/chapter-01/geometries.html example in your browser, you can see this in action. In your editor, change the color of the cube. To do so, find the following code:
initScene(props)(({ scene, camera, renderer, orbitControls }) => {
  const geometry = new THREE.BoxGeometry();
  const cubeMaterial = new THREE.MeshPhongMaterial({
    color: 0xFF0000,
  });
Change it to the following:
initScene(props)(({ scene, camera, renderer, orbitControls }) => {
  const geometry = new THREE.BoxGeometry();
  const cubeMaterial = new THREE.MeshPhongMaterial({
    color: 0x0000FF,
  });
Now, when you save the file, you’ll immediately see that the color of the cube in the browser changes, without you having to refresh the browser or do anything else.
Note
The setup we’re working with in this book is one of many different approaches you can use to develop web applications. Alternatively, you can include Three.js (and other libraries) directly in your HTML file or use an approach with import-maps, as is done with the example on the Three.js website. All of these have advantages and disadvantages. For this book, we’ve chosen an approach that makes it easy to experiment with the sources and get direct feedback in the browser, and closely resembles how these kinds of applications are built normally.
A good starting point to understand how everything works together is by looking at the HTML file that we opened in the browser.


