The tools are organized into tool categories called Tool Palettes. This is quite helpful when building a workflow, as viewing a category at a glance quickly facilitates suitable workflow development. For instance, to build a workflow that is focused primarily on data cleansing and renaming of fields, swiftly select the Preparation Tool Palette to use the applicable tools for the workflow. We'll explore more on these types of tools and how to best utilize them in Chapter 3, Data Preparation and Blending. In this section, our goal is to add and remove tool palettes and pin them, so you can easily access them, which will help streamline your workflow.
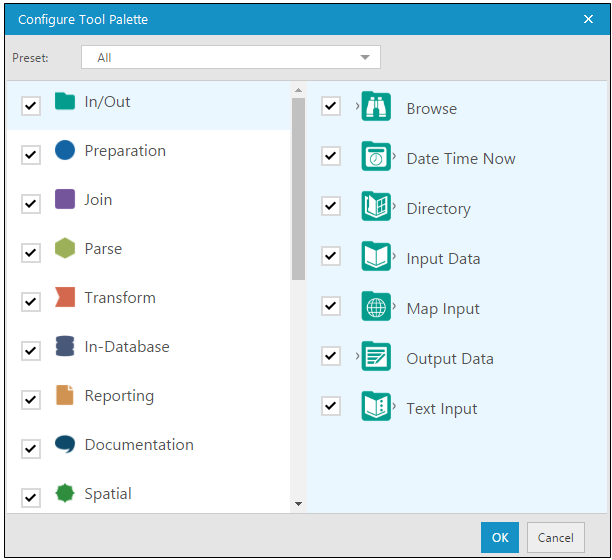
Let's see how to select the tool categories to view the tools available. Select the Add/Remove Tools icon  next to categories. The Configure Tool Palette window will appear, allowing you to:
- Select a configured Preset option
- Show/hide tool categories by selecting or deselecting various tool categories on the left side
- Select a Tool Palette on the left side, and then on the right side select/deselect tools to show/hide the tools
The following snapshot shows the Configure Tool Palette window:

A tool category can be locked by right clicking on a tool palette and selecting Pin [Category]. In this case, the Spatial category will be pinned. The unlocked categories will remain to the right of the Favorites tool category, which by default is automatically pinned:

To unpin a tool category and return it to its original position, right click on the tool category and select Unpin [Category] or Unpin All Groups.


