About the Book
Computer Vision (CV) has become an important aspect of AI technology. From driverless cars to medical diagnostics and monitoring the health of crops to fraud detection in banking, computer vision is used across all domains to automate tasks. The Computer Vision Workshop will help you understand how computers master the art of processing digital images and videos to mimic human activities.
Starting with an introduction to the OpenCV library, you'll learn how to write your first script using basic image processing operations. You'll then get to grips with essential image and video processing techniques such as histograms, contours, and face processing. As you progress, you'll become familiar with advanced computer vision and deep learning concepts, such as object detection, tracking, and recognition, and finally shift your focus from 2D to 3D visualization. This CV workshop will enable you to experiment with camera calibration and explore both passive and active canonical 3D reconstruction methods.
By the end of this book, you'll have developed the practical skills necessary for building powerful applications to solve computer vision problems.
Audience
If you are a researcher, developer, or data scientist looking to automate everyday tasks using computer vision, this workshop is for you. A basic understanding of Python and deep learning will help you to get the most out of this workshop.
About the Chapters
Chapter 1, Basics of Image Processing, introduces you to the basic building blocks of images – pixels. You will get hands-on experience in how to access and manipulate images using NumPy and OpenCV.
Chapter 2, Common Operations When Working with Images, introduces the idea of geometric transformations as matrix multiplication and shows how to carry them out using the OpenCV library. This chapter also details the arithmetic operations involved when working with images.
Chapter 3, Working with Histograms, introduces the concept of histogram equalization, a powerful tool to enhance the contrast and improve the visibility of dark objects in an image.
Chapter 4, Working with Contours, will familiarize you with the concept of contours. You will learn how to detect contours and nested contours, which can greatly assist you in object detection tasks.
Chapter 5, Face Processing in Image and Video, explains the concept of Haar Cascade classifiers for carrying out face detection, face tracking, smile detection, and skin detection to build Snapchat-type filters.
Chapter 6, Object Tracking, introduces various object trackers like GOTURN, MIL, Kalman Trackers, and more, that help track the detected object across various frames in videos.
Chapter 7, Object Detection and Face Recognition, teaches you how to implement various face recognition techniques that help in recognizing the identity of persons in a given image. This chapter will also help you to implement object-detection techniques that are used to detect and recognize objects in a given image or video. This chapter covers traditional machine learning and deep learning algorithms using the OpenCV module.
Chapter 8, OpenVINO with OpenCV, introduces a new toolkit by Intel – OpenVINO – which can be used for optimizing and enhancing the program performance built using the OpenCV library.
Conventions
Code words in text, database table names, folder names, filenames, file extensions, pathnames, dummy URLs, user input, and Twitter handles are shown as follows:
"The np.random.rand function, on the other hand, only needs the shape of the array. For a 2D array, it will be provided as np.random.rand(number_of_rows, number_of_columns)."
Words that you see on the screen (for example, in menus or dialog boxes) appear in the same format.
A block of code is set as follows:
# Display the image
cv2.imshow("Lion",img)
cv2.waitKey(0)
cv2.destroyAllWindows()
New terms and important words are shown like this:
"The world of artificial intelligence (AI) is impacting how we, as humans, can use the power of smart computers to perform tasks much faster, more efficiently, and with minimal effort."
Long code snippets are truncated and the corresponding names of the code files on GitHub are placed at the top of the truncated code. The permalinks to the entire code are placed below the code snippet. These should appear as follows:
Activity5.03.ipynb
# OpenCV Utility Class for Mouse Handling
class Sketcher:
    def __init__(self, windowname, dests, colors_func):
        self.prev_pt = None
        self.windowname = windowname
        self.dests = dests
        self.colors_func = colors_func
        self.dirty = False
        self.show()
        cv2.setMouseCallback(self.windowname, self.on_mouse)
The complete code for this step can be found at https://packt.live/2Bv4wU3.
Key parts of code snippets are highlighted as follows:
foreground = cv2.imread("../data/zebra.jpg")
foreground = cv2.cvtColor(foreground, cv2.COLOR_BGR2GRAY)
Code Presentation
Lines of code that span multiple lines are split using a backslash ( \ ). When the code is executed, Python will ignore the backslash, and treat the code on the next line as a direct continuation of the current line.
For example:
history = model.fit(X, y, epochs=100, batch_size=5, verbose=1, \
                    validation_split=0.2, shuffle=False)
Comments are added into code to help explain specific bits of logic. Single-line comments are denoted using the # symbol, as follows:
# Print the sizes of the dataset
print("Number of Examples in the Dataset = ", X.shape[0])
print("Number of Features for each example = ", X.shape[1])
Multi-line comments are enclosed by triple quotes, as shown below:
"""
Define a seed for the random number generator to ensure the
result will be reproducible
"""
seed = 1
np.random.seed(seed)
random.set_seed(seed)
Setting up Your Environment
Before we explore the book in detail, we need to set up specific software and tools. In the following section, we shall see how to do that.
Downloading Anaconda Installer
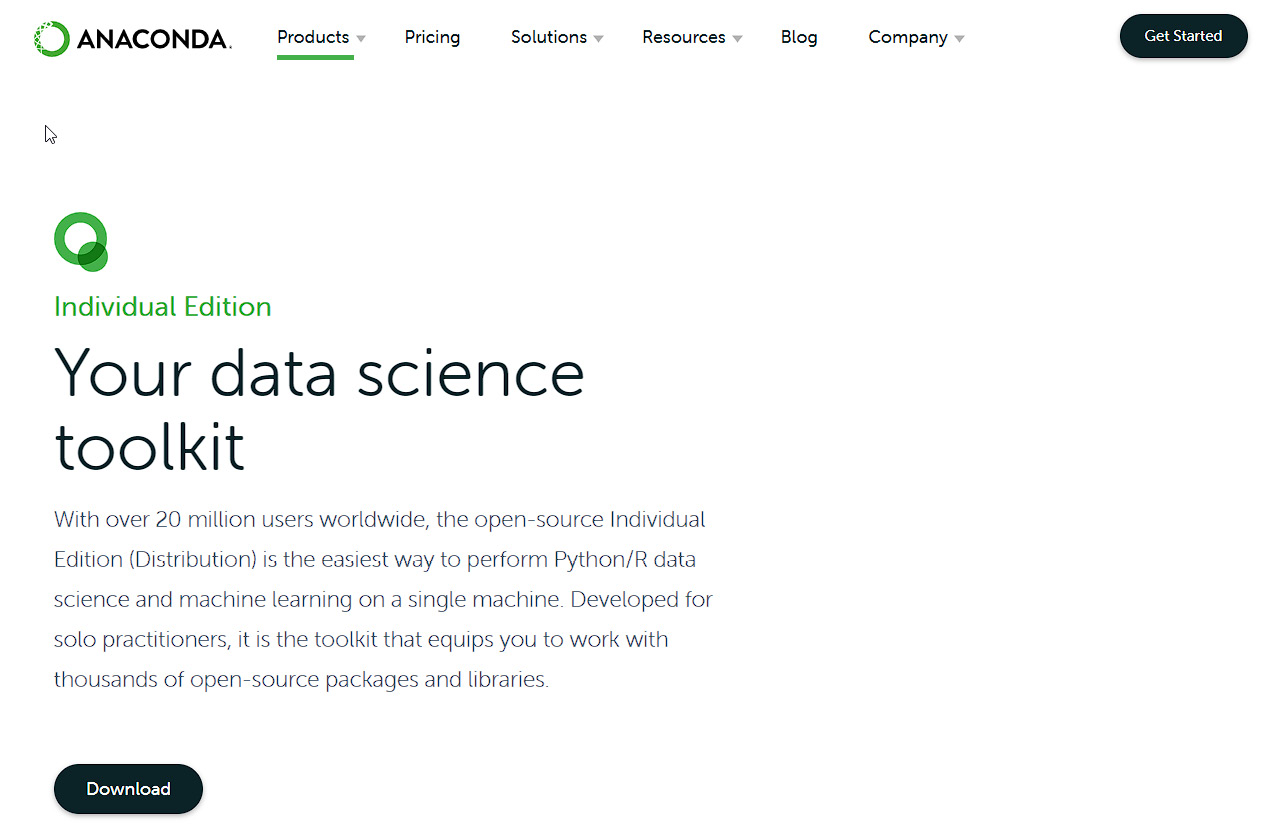
Anaconda is a Python package manager that easily allows you to install and use the libraries needed for this book. To download Anaconda, head over to this link: https://www.anaconda.com/products/individual. It will open up to the following page:

Figure 0.1: Anaconda Website
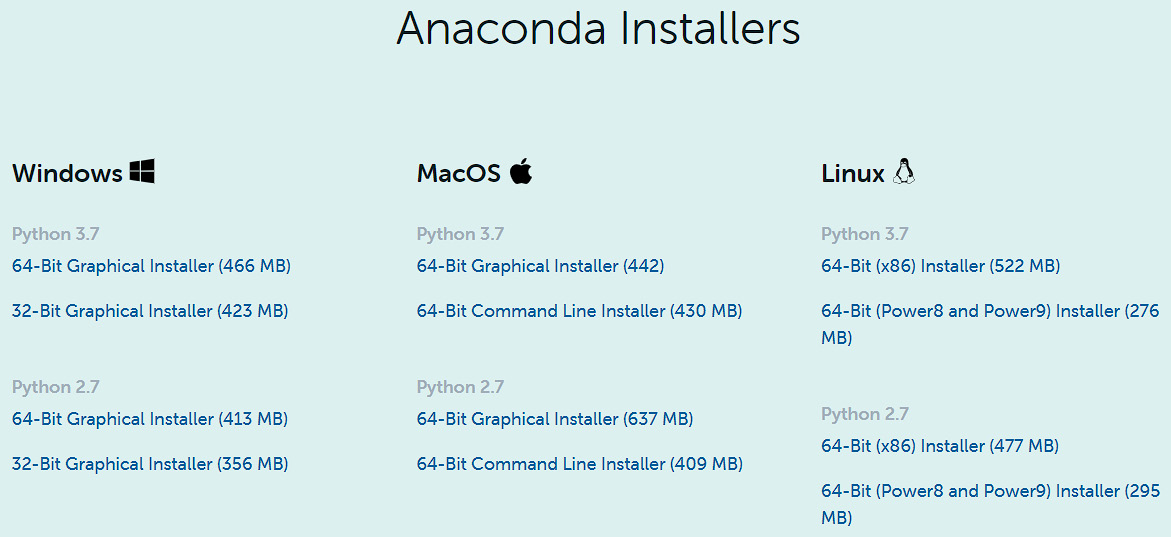
Click the Download button. It will take you to the bottom of the page where you can select the Anaconda installer based on your operating system. Ensure that you click the correct "-bit" version depending on your computer system, either 32-bit or 64-bit. You can find this information in the System Properties window of your operating system.
Important
Make sure that you download the installer for Python 3.7 only, as that's the Python version we are going to use in this book.

Figure 0.2: Available Anaconda installers
Based on your operating system, detailed instructions on how to install Anaconda are provided in the sections that follow.
Installing Anaconda on Windows
- Once you have downloaded the file, click it to launch the installer.
- Agree to the license terms and click
Next. - Select installation for "
Just Me" and clickNext. - Select "
Add Anaconda3 to my PATH environment variable" and "Register Anaconda3 as my default Python 3.7" and clickInstall. - Click
Nextand wait for the installation to complete. - Click
Finish.
Installing Anaconda on Linux
- Locate the Python 3.7 Anaconda Installer
.shfile that you downloaded. - Use
bash ~/Downloads/anaconda3-2020.02-linux-x86_64.sh/to install Anaconda. - Enter
Yesto agree to the license terms and conditions. - You can use the default answers for the rest of the questions by pressing Enter.
- Once the installation is complete, close the current terminal.
Installing Anaconda on macOS X
- Double-click the downloaded file to launch the installer.
- Click
Yesto agree to the license terms and conditions. - Click the
Installbutton to start the installation. - Select "
Install for me only" to install Anaconda for the current user only and clickContinue. - The preceding steps will install Anaconda on your system. Finally, click
Closeto close the installer.
Installing Other Libraries
pip comes pre-installed with Anaconda. Once Anaconda is installed on your machine, all the required libraries can be installed using pip, for example, pip install numpy. Alternatively, you can install all the required libraries using pip install –r requirements.txt. You can find the requirements.txt file at https://packt.live/3e5kj9n.
The exercises and activities will be executed in Jupyter Notebooks. Jupyter is a Python library and can be installed in the same way as the other Python libraries – that is, with pip install jupyter, but fortunately, it comes pre-installed with Anaconda. To open a notebook, simply run the command jupyter notebook in the Terminal or Command Prompt.
Accessing the Code Files
You can find the complete code files of this book at https://packt.live/31VCegb .
The high-quality color images used in this book can be found at https://packt.live/32tsCJK.
If you have any issues or questions about installation, please email us at [email protected].


