Kali system setup
Kali Linux can be downloaded in a few different ways. One of the most popular ways to get Kali Linux is to download the ISO image. The ISO image is available in 32-bit and 64-bit images.
If you plan on using Kali Linux on a virtual machine such as VMware, there is a VM image prebuilt. The advantage of downloading the VM image is that it comes preloaded with VMware tools. The VM image is a 32-bit image with Physical Address Extension support, or better known as PAE. In theory, a PAE kernel allows the system to access more system memory than a traditional 32-bit operating system. There have been some well-known personalities in the world of operating systems that have argued for and against the usefulness of a PAE kernel. However, the authors of this book suggest using the VM image of Kali Linux if you plan on using it in a virtual environment.
Running Kali Linux from external media
Kali Linux can be run without installing software on a host hard drive by accessing it from an external media source such as a USB drive or DVD. This method is simple to enable; however, it has performance and operational implementations. Kali Linux having to load programs from a remote source would impact performance and some applications or hardware settings may not operate properly. Using read-only storage media does not permit saving custom settings that may be required to make Kali Linux operate correctly. It's highly recommended to install Kali Linux on a host hard drive.
Installing Kali Linux
Installing Kali Linux on your computer is straightforward and similar to installing other operating systems. First, you'll need compatible computer hardware. Kali is supported on i386, amd64, and ARM (both armel and armhf) platforms. The hardware requirements are shown in the following list, although we suggest exceeding the minimum amount by at least three times. Kali Linux, in general, will perform better if it has access to more RAM and is installed on newer machines. Download Kali Linux and either burn the ISO to DVD, or prepare a USB stick with Kali Linux Live as the installation medium. If you do not have a DVD drive or a USB port on your computer, check out the Kali Linux Network Install.
The following is a list of minimum installation requirements:
A minimum of 8 GB disk space for installing Kali Linux.
For i386 and amd64 architectures, a minimum of 512MB RAM.
CD-DVD Drive / USB boot support.
You will also need an active Internet connection before installation. This is very important or you will not be able to configure and access repositories during installation.
When you start Kali you will be presented with a Boot Install screen. You may choose what type of installation (GUI-based or text-based) you would like to perform.

Select the local language preference, country, and keyboard preferences.

Select a hostname for the Kali Linux host. The default hostname is Kali.

Select a password. Simple passwords may not work so chose something that has some degree of complexity.

The next prompt asks for your timezone. Modify accordingly and select Continue. The next screenshot shows selecting Eastern standard time.

The installer will ask to set up your partitions. If you are installing Kali on a virtual image, select Guided Install – Whole Disk. This will destroy all data on the disk and install Kali Linux. Keep in mind that on a virtual machine, only the virtual disk is getting destroyed. Advanced users can select manual configurations to customize partitions. Kali also offers the option of using LVM, logical volume manager. LVM allows you to manage and resize partitions after installation. In theory, it is supposed to allow flexibility when storage needs change from initial installation. However, unless your Kali Linux needs are extremely complex, you most likely will not need to use it.

The last window displays a review of the installation settings. If everything looks correct, select Yes to continue the process as shown in the following screenshot:

Kali Linux uses central repositories to distribute application packages. If you would like to install these packages, you need to use a network mirror. The packages are downloaded via HTTP protocol. If your network uses a proxy server, you will also need to configure the proxy settings for you network.

Kali will prompt to install GRUB. GRUB is a multi-bootloader that gives the user the ability to pick and boot up to multiple operating systems. In almost all cases, you should select to install GRUB. If you are configuring your system to dual boot, you will want to make sure GRUB recognizes the other operating systems in order for it to give users the options to boot into an alternative operating system. If it does not detect any other operating systems, the machine will automatically boot into Kali Linux.

Congratulations! You have finished installing Kali Linux. You will want to remove all media (physical or virtual) and select Continue to reboot your system.

Kali Linux and VM image first run
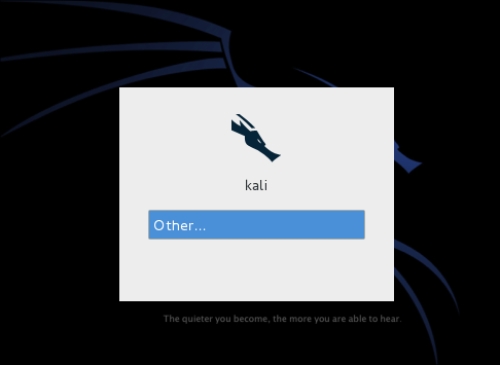
On some Kali installation methods, you will be asked to set the root's password. When Kali Linux boots up, enter the root's username and the password you selected. If you downloaded a VM image of Kali, you will need the root password. The default username is root and password is toor.


