Kubernetes is supported on a variety of platforms and OSes. For the examples in this book, I used an Ubuntu 16.04 Linux VirtualBox for my client and Google Compute Engine (GCE) with Debian for the cluster itself. We will also take a brief look at a cluster running on Amazon Web Services (AWS) with Ubuntu.
Most of the concepts and examples in this book should work on any installation of a Kubernetes cluster. To get more information on other platform setups, refer to the Kubernetes getting started page on the following GitHub link:
http://kubernetes.io/docs/getting-started-guides/
First, let's make sure that our environment is properly set up before we install Kubernetes. Start by updating packages:
$ sudo apt-get update
Install Python and curl if they are not present:
$ sudo apt-get install python
$ sudo apt-get install curl
Install the gcloud SDK:
$ curl https://sdk.cloud.google.com | bash
Configure your Google Cloud Platform (GCP) account information. This should automatically open a browser from where we can log in to our Google Cloud account and authorize the SDK:
$ gcloud auth login
A default project should be set, but we can verify this with the following command:
$ gcloud config list project
We can modify this and set a new default project with this command. Make sure to use project ID and not project name, as follows:
$ gcloud config set project <PROJECT ID>
https://console.developers.google.com/project
Alternatively, we can list active projects:
$ gcloud alpha projects list
Now that we have our environment set up, installing the latest Kubernetes version is done in a single step, as follows:
$ curl -sS https://get.k8s.io | bash
It may take a minute or two to download Kubernetes depending on your connection speed. Earlier versions would automatically call the kube-up.sh script and start building our cluster. In version 1.5, we will need to call the kube-up.sh script ourselves to launch the cluster. By default, it will use the Google Cloud and GCE:
$ kubernetes/cluster/kube-up.sh
After you run the kube-up.sh script, we will see quite a few lines roll past. Let's take a look at them one section at a time:

The preceding image, GCE prerequisite check, shows the checks for prerequisites as well as making sure that all components are up to date. This is specific to each provider. In the case of GCE, it will verify that the SDK is installed and that all components are up to date. If not, you will see a prompt at this point to install or update:
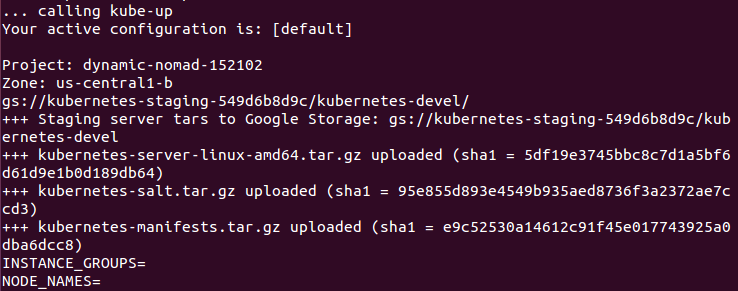
Now the script is turning up the cluster. Again, this is specific to the provider. For GCE, it first checks to make sure that the SDK is configured for a default project and zone. If they are set, you'll see those in the output.
Next, it uploads the server binaries to Google Cloud storage, as seen in the Creating gs:... lines:
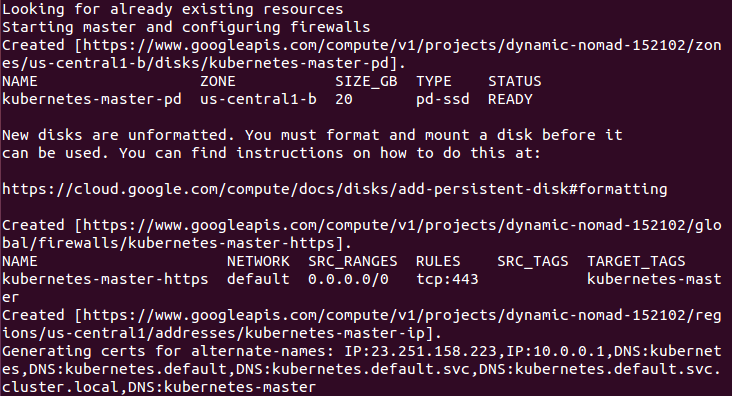
It then checks for any pieces of a cluster already running. Then, we finally start creating the cluster. In the output in the preceding figure Master creation, we see it creating the master server, IP address, and appropriate firewall configurations for the cluster:
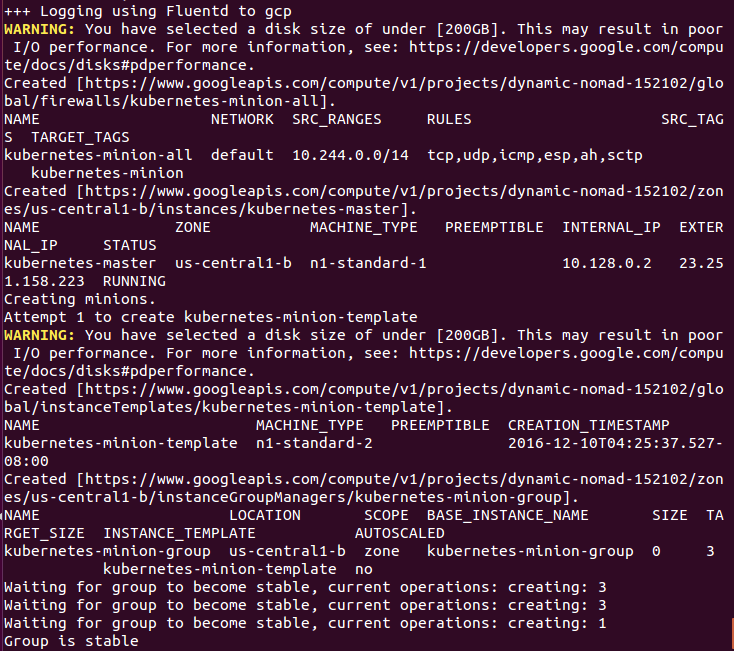
Finally, it creates the minions or nodes for our cluster. This is where our container workloads will actually run. It will continually loop and wait while all the minions start up. By default, the cluster will have four nodes (minions), but K8s supports having more than 1000 (and soon beyond). We will come back to scaling the nodes later on in the book.
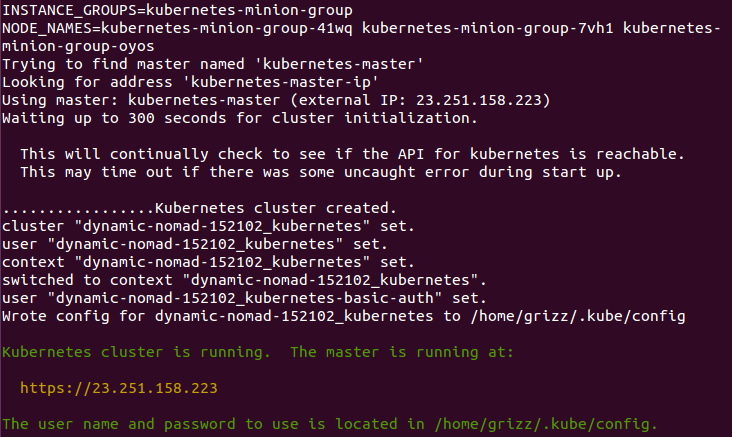
Now that everything is created, the cluster is initialized and started. Assuming that everything goes well, we will get an IP address for the master. Also, note that configuration along with the cluster management credentials are stored in home/<Username>/.kube/config:
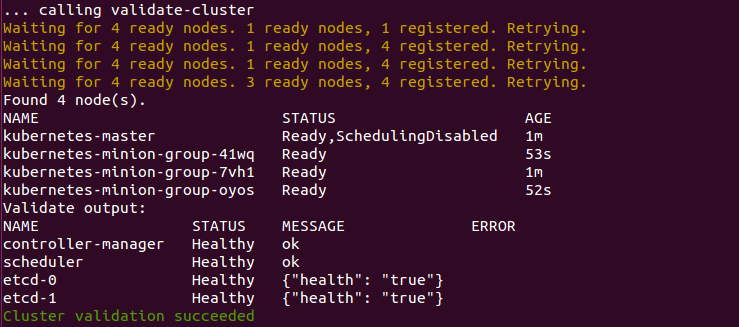
Then, the script will validate the cluster. At this point, we are no longer running provider-specific code. The validation script will query the cluster via the kubectl.sh script. This is the central script for managing our cluster. In this case, it checks the number of minions found, registered, and in a ready state. It loops through giving the cluster up to 10 minutes to finish initialization.
After a successful startup, a summary of the minions and the cluster component health is printed on the screen:
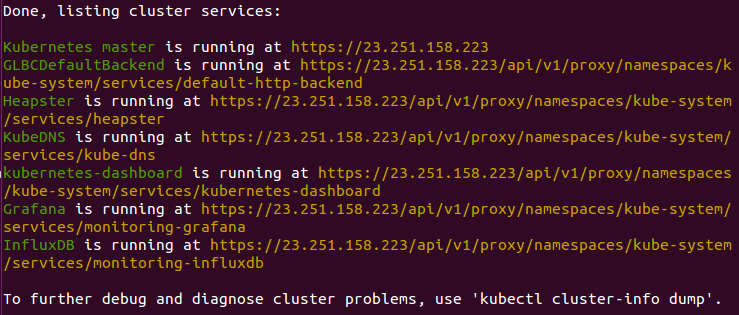
Finally, a kubectl cluster-info command is run, which outputs the URL for the master services including DNS, UI, and monitoring. Let's take a look at some of these components.


