Reporting from Professional
The simplest way to report data from P6 Professional is to choose File | Print and follow the onscreen options. You may also press Ctrl + P or click on the printer icon. However, you will want to choose Print Preview so that you can edit the formatting of the reports.
Screen printing
Choose File | Print Preview. This brings up a screen showing what the output would look like on your printer. In the following screenshot we have chosen a small envelops size in order for it to fit well into this book:
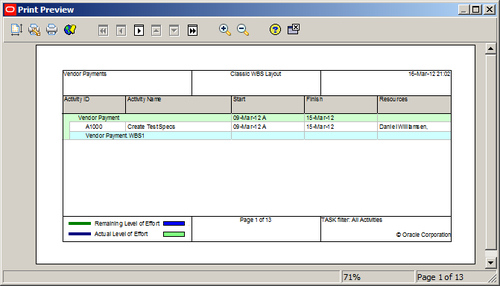
The main things to notice here are the page navigation buttons, the boxes with arrows at the top, and the text in the lower right-hand corner of the screen, Page 1 of 13. This printout would go for 13 pages! Specifically, this report includes a Gantt chart that extends from project's start to end. You can adjust this by clicking on the icon at the upper-left of the screen (the paper icon with the up/down and left/right arrow). There are a number of tabs which will be familiar for Excel users. The first page lets you adjust the scale of the report so that it will fit into a set number of pages. Here is also where you would be able to adjust the paper size to something a little more reasonable than a DL Envelope!
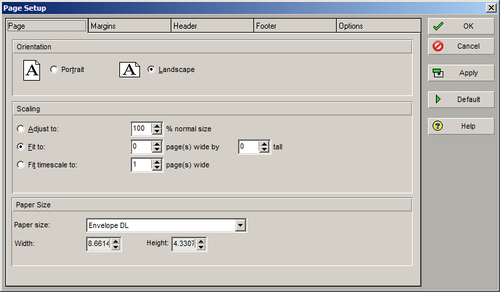
The Margins, Header, and Footer tabs are helpful and were discussed in Chapter 2, Getting Around: Understanding and Customizing the P6 Interface. The unique tab is Options. This lets you choose what will be printed. If you don't need the Gantt chart, deselect it.
If you must show the chart, you can choose a date range to display.
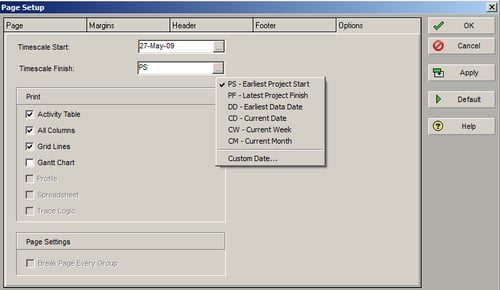
Once the preview looks reasonable, you may print it out from your favorite device.
Reports
P6 comes with a reporting engine and a set of preconfigured reports. You can see these reports by clicking on Tools | Reports | Reports. This brings up a tab showing a number of reports grouped by area of functionality:
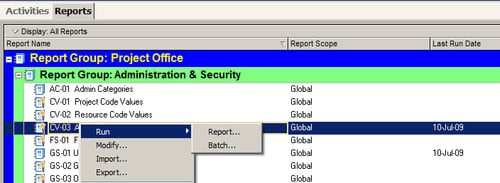
If you right-click a report and click on Run | Report…, you will be able to run the report and then view and save it in a number of formats and with a number of options.
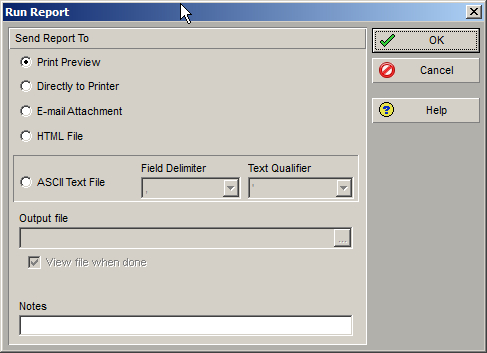
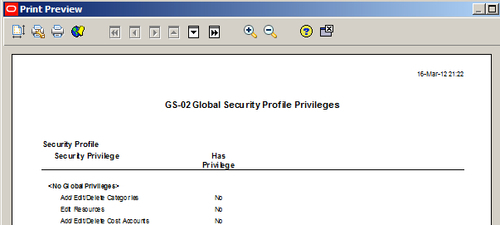
If you choose Print Preview, you will see preview of the report:
Note
In the main reports listing the reports are grouped together in bands and levels. You can edit this organization and move reports around by clicking on Tools | Reports | Report Groups.
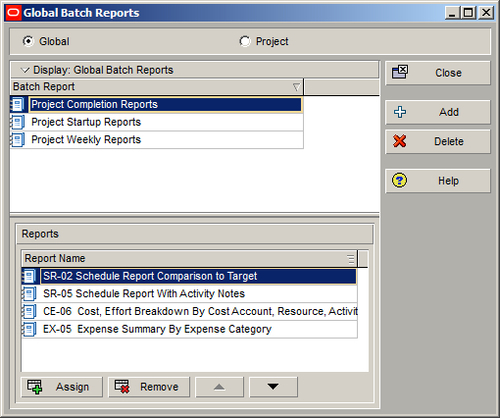
Sometimes you want to print a collection of reports all together at once. This is called a batch. You can view and manage batch reports by clicking on Tools | Reports | Batch.
There are Global Batches that show data that is not specific to one project, and Project Batches that will show report data designed on the currently opened project. Create a new batch by pressing Add. Give it a name, and then assign existing reports to the batch.
Editing reports
You are not limited to the reports that come with P6. You can copy and modify them as needed, or create your own reports anew. To do this, click on Tools | Reports | Report Wizard….
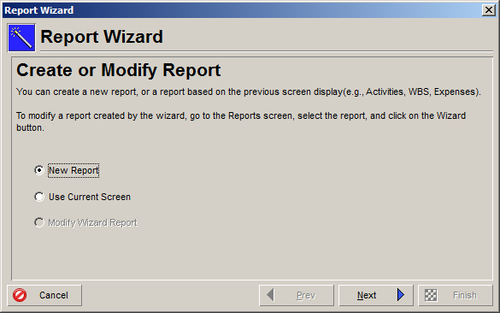
When you run the wizard you can create a new report, or base it on an existing screen. If a report was originally created by the wizard, you can also modify it. The wizard walks you through selecting data to show, and then lets you sort, group, and filter as needed.
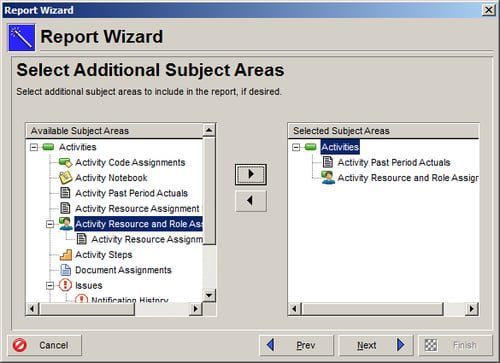
This is a very handy way to create straightforward reports for showing your data.
You may also use the report editor to create your report at a finer level of detail. To enter the editor, go to the Reports screen, right-click on a report and click on Modify….
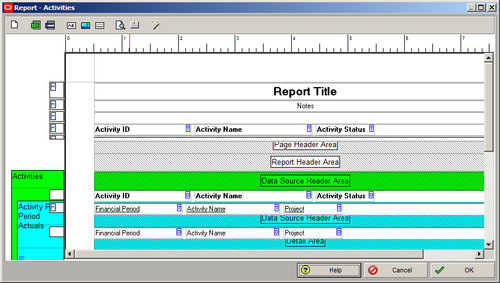
You can use the report to generate far more sophisticated reports than the wizard can produce. Such reports can be optimized for HTML viewing, and can include hyperlinks. You can also access fields and create combinations of fields that are not available through the wizard. A full discussion of this powerful tool is beyond the scope of this book.
The report editor has been around for many years, and is loathed by some, loved by others. Although it does the job, the technology behind it has not advanced much over the past few years. The reporting engine behind the P6 Web client, however, is quite advanced. We invite the reader to experiment with the reporting tool in P6 and to consult the built-in help documentation.


