In this section, we will be exploring Jupyter Notebooks, the primary tool with which we will do data analysis with Python. We will see what Jupyter Notebooks are, and we will also talk about Markdown, which is what we use to create formatted text in Jupyter Notebooks. In a Jupyter Notebook, there are two types of blocks. There are blocks of Python code that are executable, and then there are formatted, human-readable text blocks.
Users execute the Python code blocks, and the results are inserted directly into the document. Code blocks can be rerun in any order without necessarily affecting later blocks, unless they are also run. Since a Jupyter Notebook is based on IPython, there's some additional functionality, for example, magic functions.
Jupyter Notebooks is included with Anaconda. Jupyter Notebooks allow plain text to be intermixed with code. Plain text can be formatted with a language called Markdown. It is done in plain text. We can also insert paragraphs. The following example is some common syntax you see in Markdown:
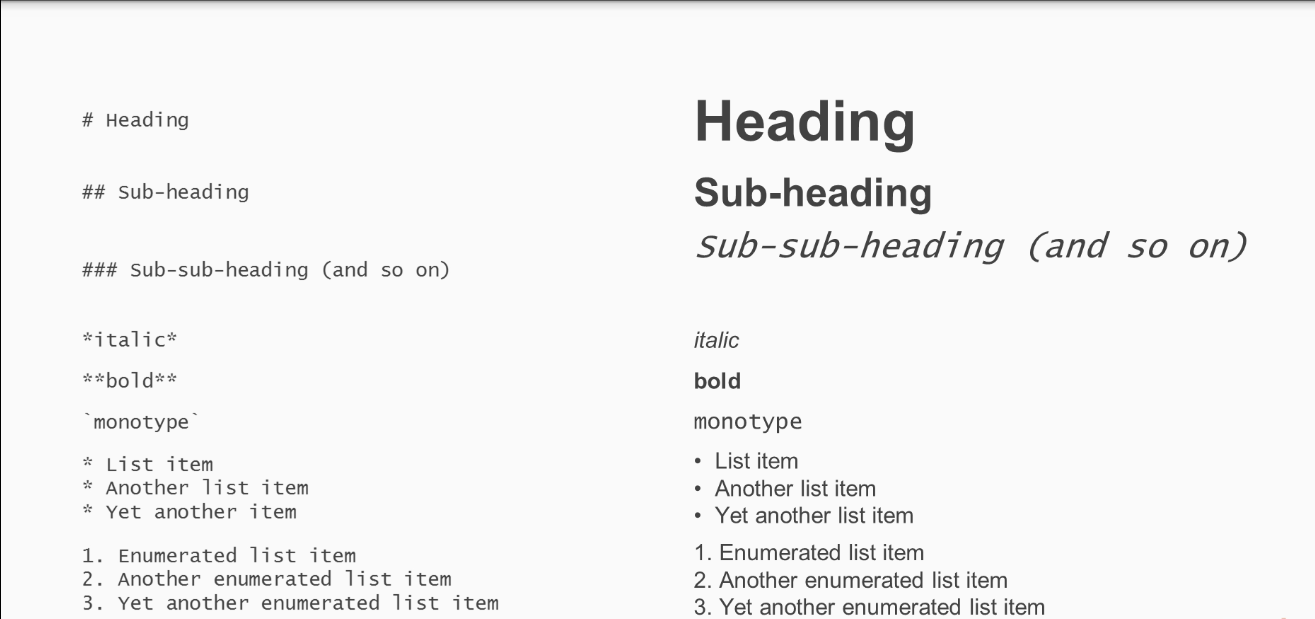
The following screenshot shows a Jupyter Notebook:
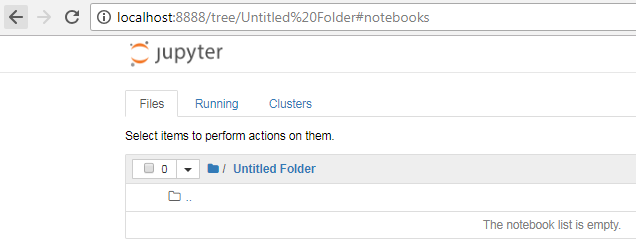
As you can see, it runs out of a web browser, such as Chrome or Firefox, in this case, Chrome. When we begin the Jupyter Notebook, we are in a file browser. We are in a newly created directory called Untitled Folder. In Jupyter Notebook there are options for creating new Notebooks, text files, and folders. As seen the the preceding screenshot, currently there is no Notebook saved. We will need a Python Notebook, which can be created by selecting the Python option in the New drop-down menu shown in the following screenshot:
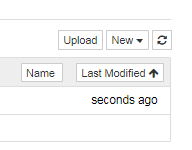
When the Notebook has started, we begin with a code block. We can change this code block to a Markdown block, and we can now start entering text.
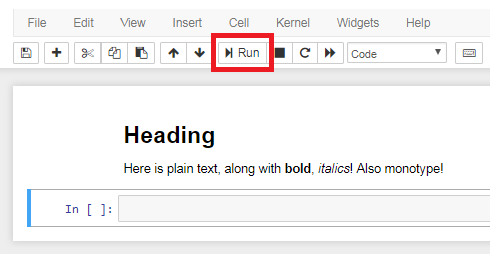
For example, we can enter a heading. We can also enter plain text along with bold and italics, as shown in the next screenshot:
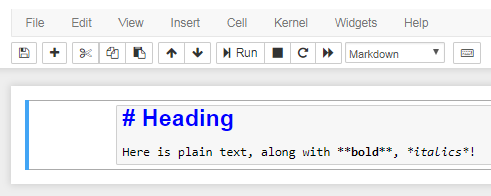
As you can see, there is some hint of how the rendering will look at the end, but we can actually see the rendering by clicking on the run cell button. If we want to change this, we can double-click on the same cell. Now we're back to plain text editing. Here we add monotype and then click on Run cell again, shown as follows:
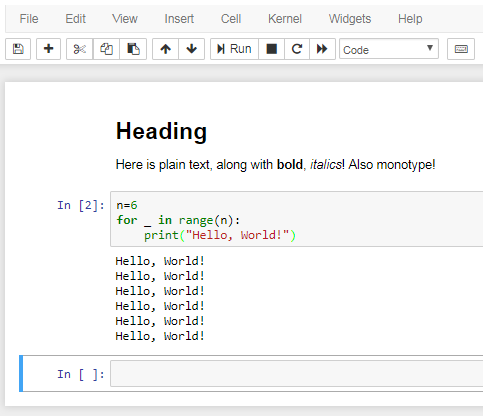
On pressing Enter, a new cell is immediately created afterwards. This cell is a Python cell, where we can enter Python code. For example, we can create a variable. We print Hello, world! multiple times, as shown in the next screenshot:
To see what happens when the cell is executed, we simply click on the run cell; also, when we pressed Enter, a new cell block was created. Let's make this cell block a Markdown block. If we want to insert an additional cell, we can press Insert cell below. In this first cell, we're going to enter some code, and in the second cell, we can enter code that is dependent on code in the first cell. Notice what happens when we try to execute the code in the second cell before executing the code in the first. An error will be produced, shown as follows:
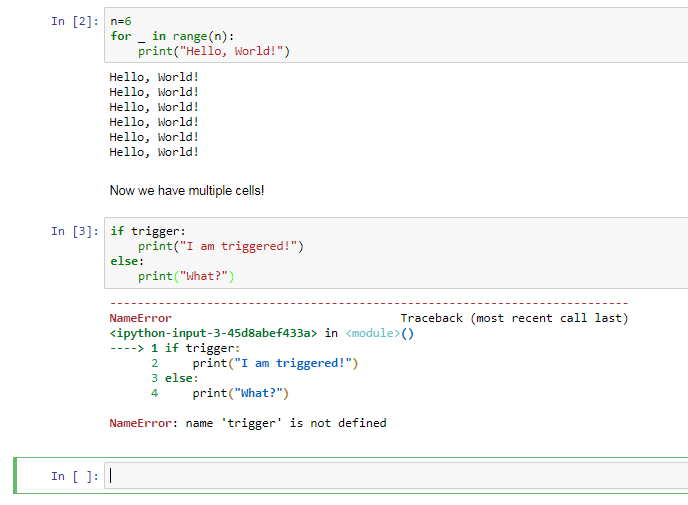
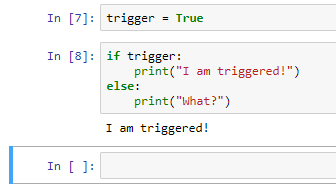
The complaint, the variable trigger, has not been defined. In order for the second cell to work, we need to run this first cell. Then, when we run the second cell, we get the expected output. Now let's suppose we were to change the code in this cell; say, instead of trigger = False, we have trigger = True. This second cell will not be aware of the change. If we run this cell again, we get the same output. So we will need to run this cell first, thus affecting the change; then we can run the second cell and get the expected output.
What has happened in the background? What's going on is that there is a kernel, which is basically a running session of Python, tracking all of our variables and everything that has happened up to this point. If we click on Kernel, we can see an option to restart the kernel; this will basically restart our session of Python. We are initially warned that by restarting the kernel, all variables will be lost.
When the kernel has been restarted, it doesn't appear as if anything has changed, but if we run the second cell, an error will be produced because the variable trigger does not exist. We will need to run the previous cell first in order for this cell to work. If we want to, instead, not merely restart the kernel but restart the kernel and also rerun all cells, we need to click on Restart & Run All. After restarting the kernel, all cell blocks will be rerun. It may not appear as if anything has happened, but we have started from the first, run it, run the second cell, and then run the third cell, shown as follows:
We can also import libraries. For example, we can import a module from Matplotlib. In this case, in order for Matplotlib to work interactively in a Jupyter Notebook, we will need to use what's called a magic function, which begins with a %, the name of the magic function, and any sort of parameters we need to pass to it. We'll cover these in more detail later, but first let's run that cell block. plt has now been loaded, and now we can use it. For example, in this last cell, we will type in the following code:

Notice that the output from this cell is inserted directly into the document. We can immediately see the plot that was created. Returning to magic functions, this is not the only function that we have available. Let's see some other functions:
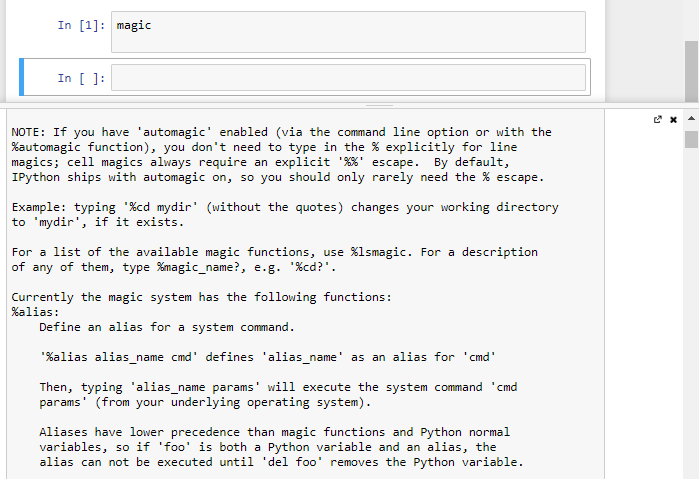
- The magic function, magic, will print info about the magic system, as shown in the following screenshot:
- Another useful function is timeit, which we can use to profile code. We first type in timeit and then the code that we wish to profile, shown as follows:

- The magic function pwd can be used to see what the working directory is, shown as follows:

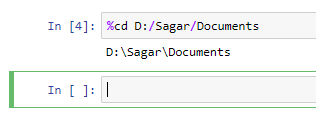
- The magic function cd can be used to change the working directory, shown as follows:
- The magic function pylab is useful if we wish to start both Matplotlib and NumPy in interactive mode, shown as follows:

If we wish to see a list of available magic functions, we can type lsmagic, shown as follows:

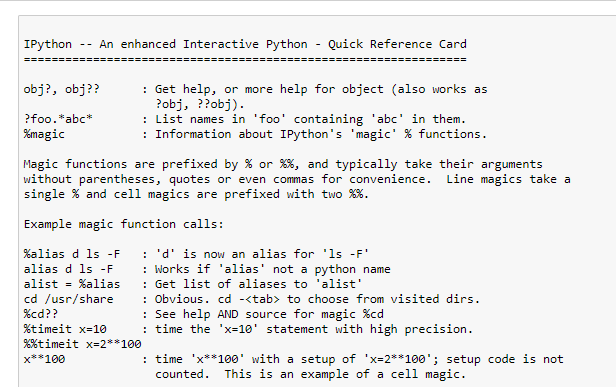
And if we wish for a quick reference sheet, we can use the magic function quickref, shown as follows:
Now that we're done with this Notebook, let's give it a name. Let's simply call it My Notebook. This is done by clicking on the name of the Notebook at the top of the editor pane. Finally, you can save, and after saving, you can close and halt the Notebook. So this will close the Notebook and halt the Notebook's kernel. That would be the clean way to leave the Notebook. Notice now, in our tree, we can see the directory where the Notebook was saved, and we can see that the Notebook exists in that directory. It is an ipynb document.


