Installing VS Code
Visit the VS Code site at https://code.visualstudio.com and download it for Windows, macOS, or Linux, following the installation instructions for your preferred platform.
Note
It is better to check the Create a Desktop Icon checkbox for ease of use.
VS Code is free and open source. It supports multiple languages and needs to be configured for the C# language. Once VS Code is installed, you will need to add the C# for Visual Studio Code (powered by OmniSharp) extension to support C#. This can be found at https://marketplace.visualstudio.com/items?itemName=ms-dotnettools.csharp. To install the C# extension, follow the per-platform instructions:
- Open the
Extensiontab and typeC#.Note
If you do not want to directly install the C# extension from the website, install it from VS code itself.
- Select the first selection, that is,
C# for Visual Studio Code (powered by OmniSharp). - Click on the
Installbutton. - Restart
VS Code:
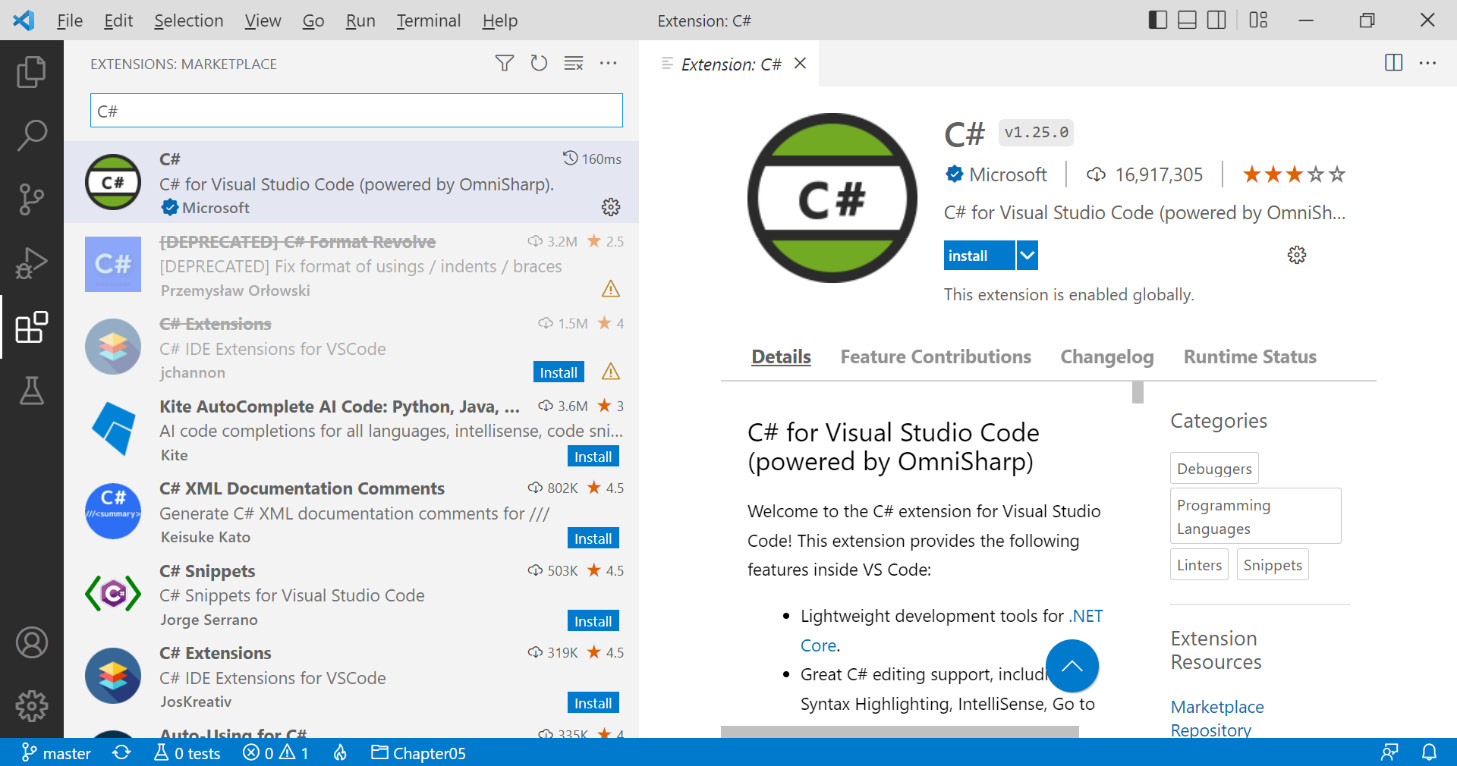
Figure 0.1: Installing the C# extension for VS Code
You will see that the C# extension gets successfully installed on VS Code. You have now installed VS Code on your system.
The next section will cover how VS Code can be used as you move between the book chapters.
Moving Between Chapters in VS Code
To change the default project to build (whether it is an activity, exercise, or demo), you will need to point to these exercise files:
tasks.json/tasks.argslaunch.json/configurations.program
There are two different patterns of exercise that you should be aware of. Some exercises have a project of their own. Others have a different main method. The main method of a single project per exercise can be configured like this (in this example for Chapter 3, Delegates, Events, and Lambdas, you are configuring Exercise02 to be the build and launch points):
launch.json
{
    "version": "0.2.0",
    "configurations": [
        {
            "name": ".NET Core Launch (console)",
            "type": "coreclr",
            "request": "launch",
            "preLaunchTask": "build",
            "program": "${workspaceFolder}/Exercises/ /Exercise02/bin/Debug/net6.0/Exercise02.exe",
            "args": [],
            "cwd": "${workspaceFolder}",
            "stopAtEntry": false,
            "console": "internalConsole"
        }

    ]
}
tasks.json
{
    "version": "2.0.0",
    "tasks": [
        {
            "label": "build",
            "command": "dotnet",
            "type": "process",
            "args": [
                "build",
                "${workspaceFolder}/Chapter05.csproj",
                "/property:GenerateFullPaths=true",
                "/consoleloggerparameters:NoSummary"
            ],
            "problemMatcher": "$msCompile"
        },

    ]
}
One project for each exercise (for example, Chapter05 Exercise02) can be configured like this:
launch.json
{
    "version": "0.2.0",
    "configurations": [
        {
            "name": ".NET Core Launch (console)",
            "type": "coreclr",
            "request": "launch",
            "preLaunchTask": "build",
            "program": "${workspaceFolder}/bin/Debug/net6.0/Chapter05.exe",
            "args": [],
            "cwd": "${workspaceFolder}",
            "stopAtEntry": false,
            "console": "internalConsole"
        }

    ]
}
tasks.json
{
    "version": "2.0.0",
    "tasks": [
        {
            "label": "build",
            "command": "dotnet",
            "type": "process",
            "args": [
              "build",
              "${workspaceFolder}/Chapter05.csproj",
              "/property:GenerateFullPaths=true",
              "/consoleloggerparameters:NoSummary",
              "-p:StartupObject=Chapter05.Exercises.Exercise02.Program",
            ],
            "problemMatcher": "$msCompile"
        },

    ]
}
Now that you are aware of launch.json and tasks.json, you can proceed to the next section which details the installation of the .NET developer platform.
Installing the .NET Developer Platform
The .NET developer platform can be downloaded from https://dotnet.microsoft.com/download. There are variants for Windows, macOS, and Docker on Linux. The C# Workshop book uses .NET 6.0.
Follow the steps to install the .NET 6.0 platform on Windows:
- Select the
Windowsplatform tab:
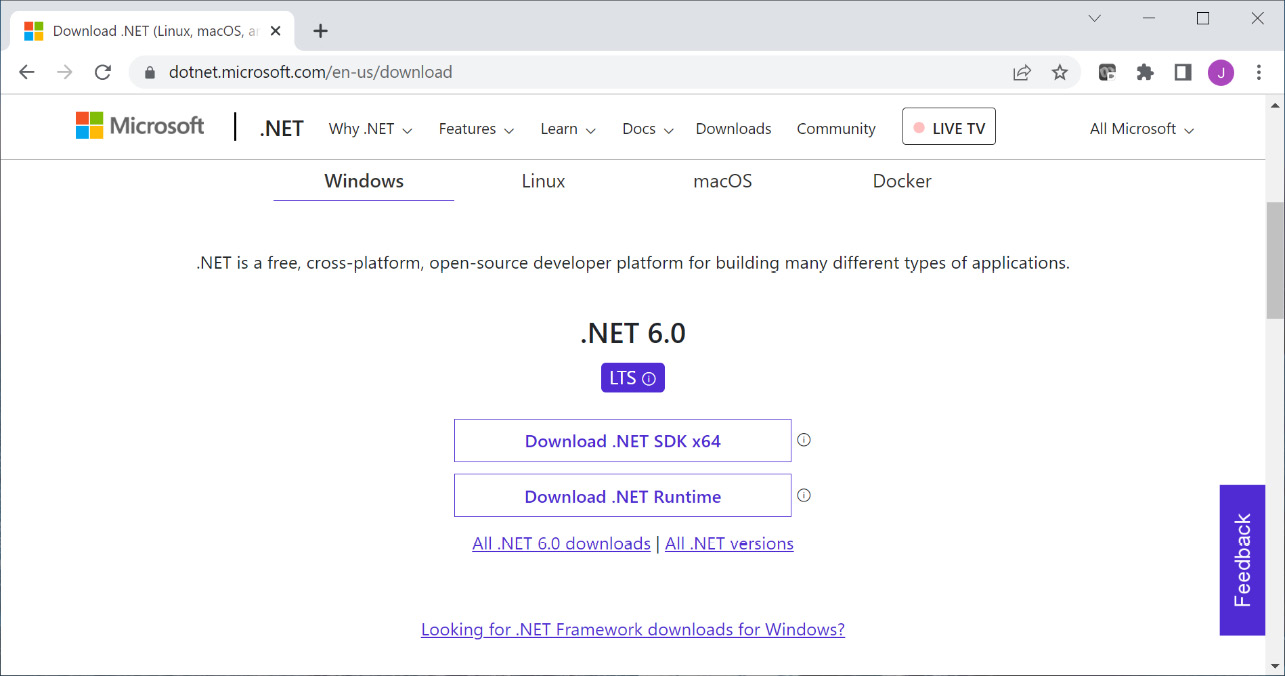
Figure 0.2: .NET 6.0 download window
- Click on the
Download .NET SDK x64option.Note
The screen shown in Figure 0.2 may change depending on the latest release from Microsoft.
- Open and complete the installation according to the respective OS installed on your system.
- Restart the computer after the installation.
Follow the steps to install the .NET 6.0 platform on macOS:
- Select the
macOSplatform tab (Figure 0.2). - Click on the
Download .NET SDK x64option.
After the download is complete, open the installer file. You should have a screen similar to Figure 0.3:
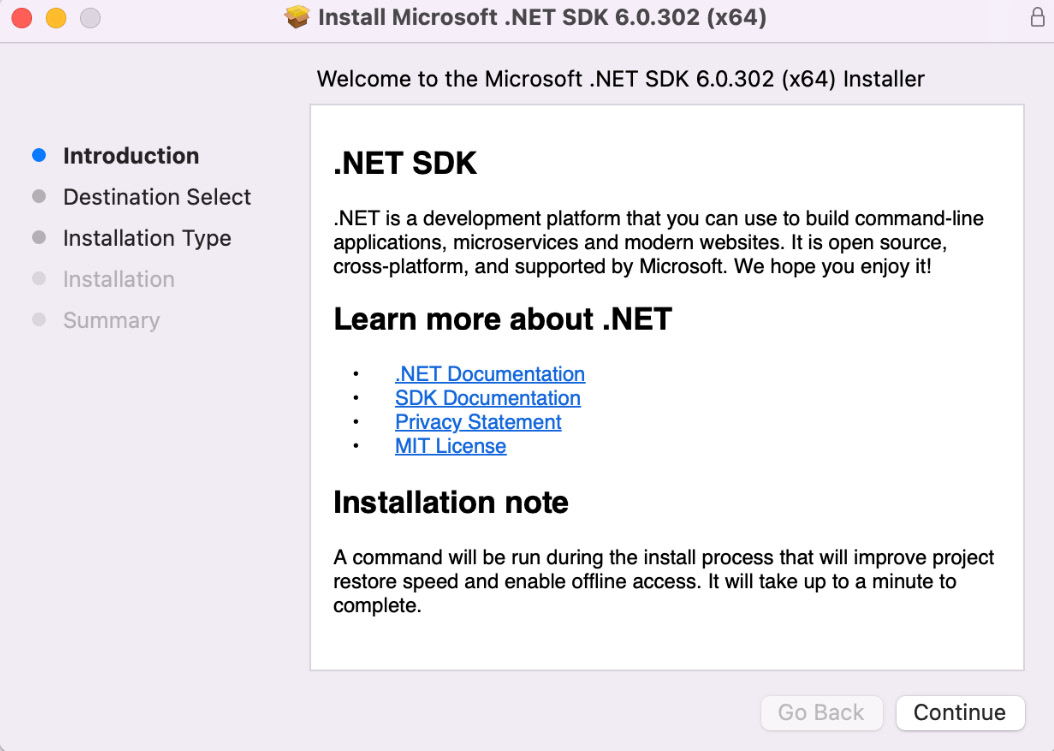
Figure 0.3: The macOS installation starting screen
- Click on the
Continuebutton.
The following screen will confirm the amount of space that will be required for the installation:
- Click on the
Installbutton to continue:
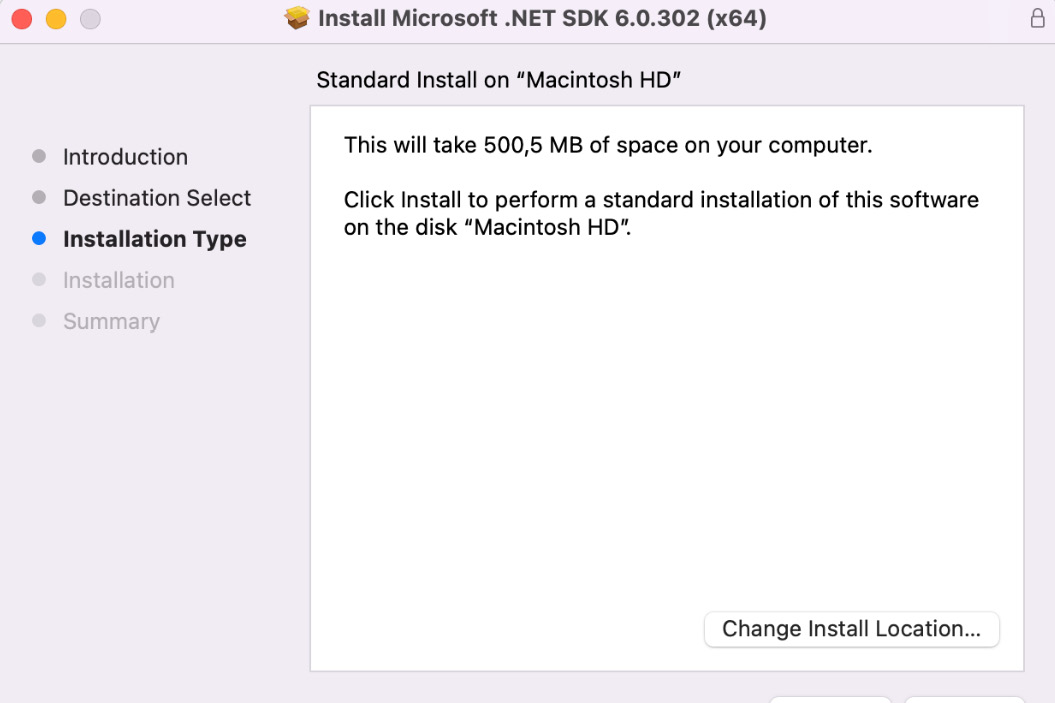
Figure 0.4: Window displaying the disk space required for installation
You will see a progress bar moving on the next screen:
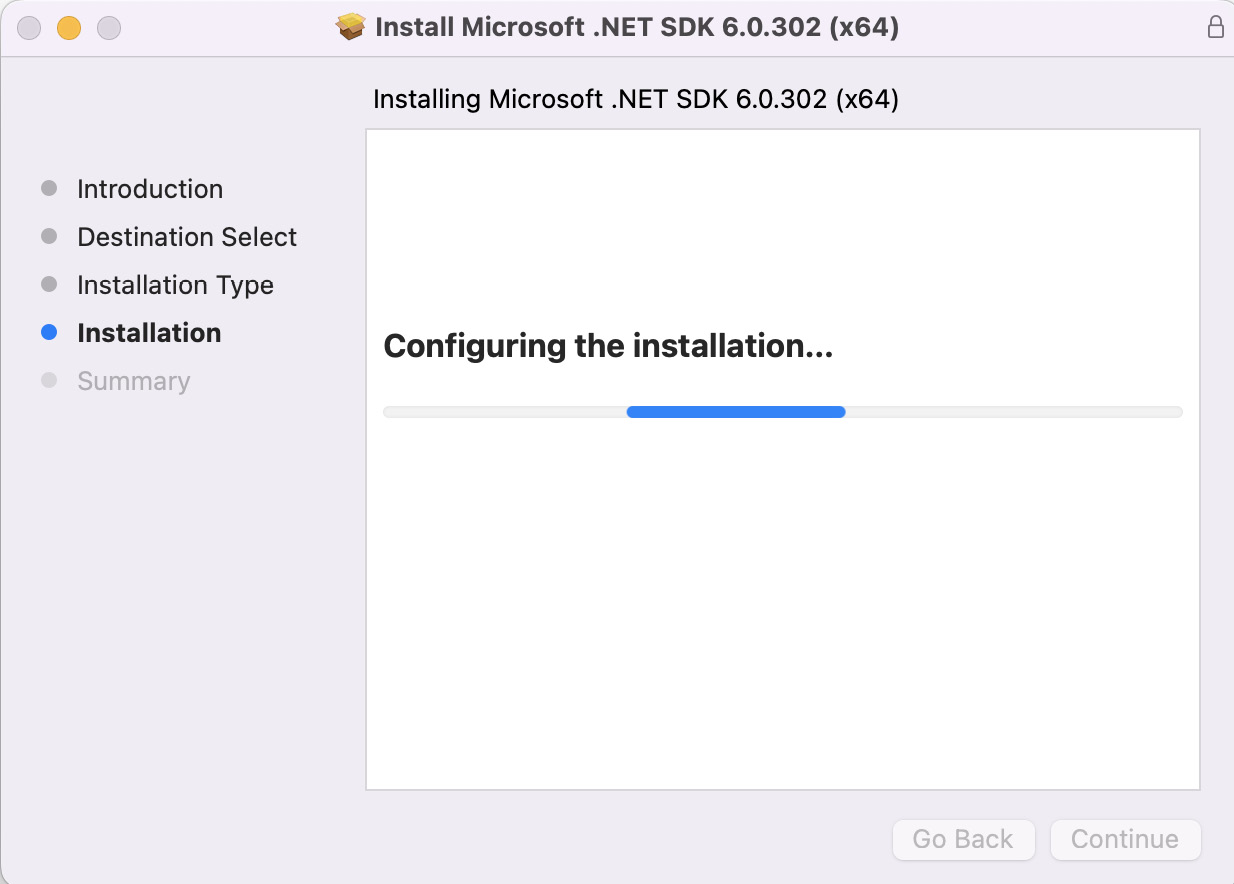
Figure 0.5: Window showing the Installation progress
Soon after the installation is finalized, you'll have a success screen (Figure 0.6):
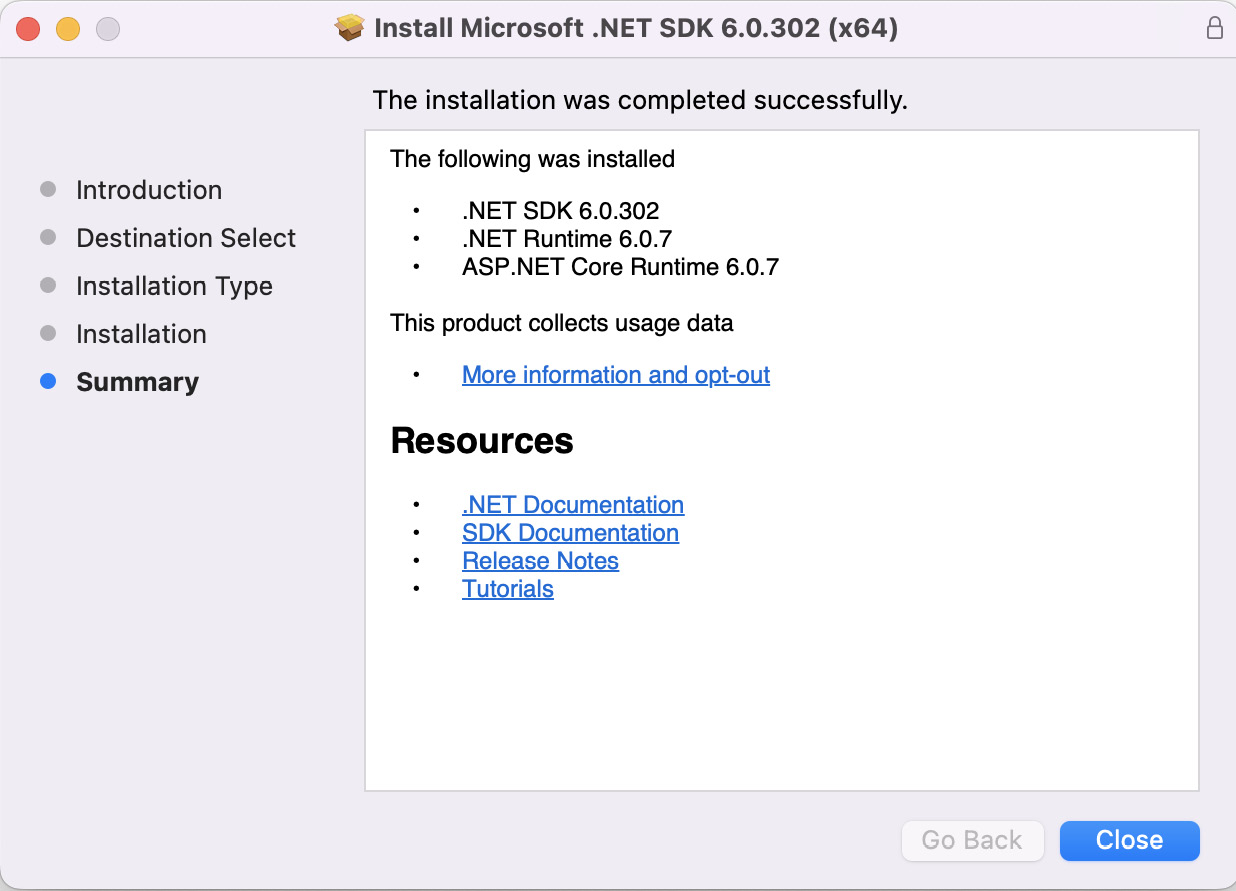
Figure 0.6: Window showing the installation as complete
- In order to check whether the installation was a success, open your Terminal app and type:
dotnet –list-sdks
This will check the version of .NET installed on your machine. Figure 0.7 shows the output where your installed SDKs will be listed:

Figure 0.7: Checking the installed .NET SDKs in Terminal
With these steps, you can install the .NET 6.0 SDK on your machine and check the installed version.
Note
Net 6.0 installation steps for Linux are not included as they are like Windows and macOS.
Before proceeding further, it is important to know about .NET 6.0 features.
The .NET 6.0 Features Found in Windows, macOS, and Linux
Windows
- .NET 6.0: This is the latest long-term support (LTS) version recommended for Windows. It can be used for building many different types of applications.
- .NET Framework 4.8: This is a Windows-only version for building any type of app to run on Windows only.
macOS
- .NET 6.0: This is the LTS version recommended for macOS. It can be used for building many different types of applications. Choose the version that is compatible with the processor of your Apple Computer—x64 for Intel chips and ARM64 for Apple chips.
Linux
- .NET 6.0: This is the LTS version recommended for Linux. It can be used for building many different types of applications.
Docker
- .NET images: This developer platform can be used for building different types of applications.
- .NET Core images: This offers lifetime support for building many types of applications.
- .NET framework images: These are Windows-only versions of .NET for building any type of app that runs on Windows.
With .NET 6.0 installed on your system, the next step is to configure projects using CLI.


