Custom reports
Creating custom reports in Microsoft Project allows you to tailor the information displayed to meet your specific project needs. The following steps will show you how to create a custom report:
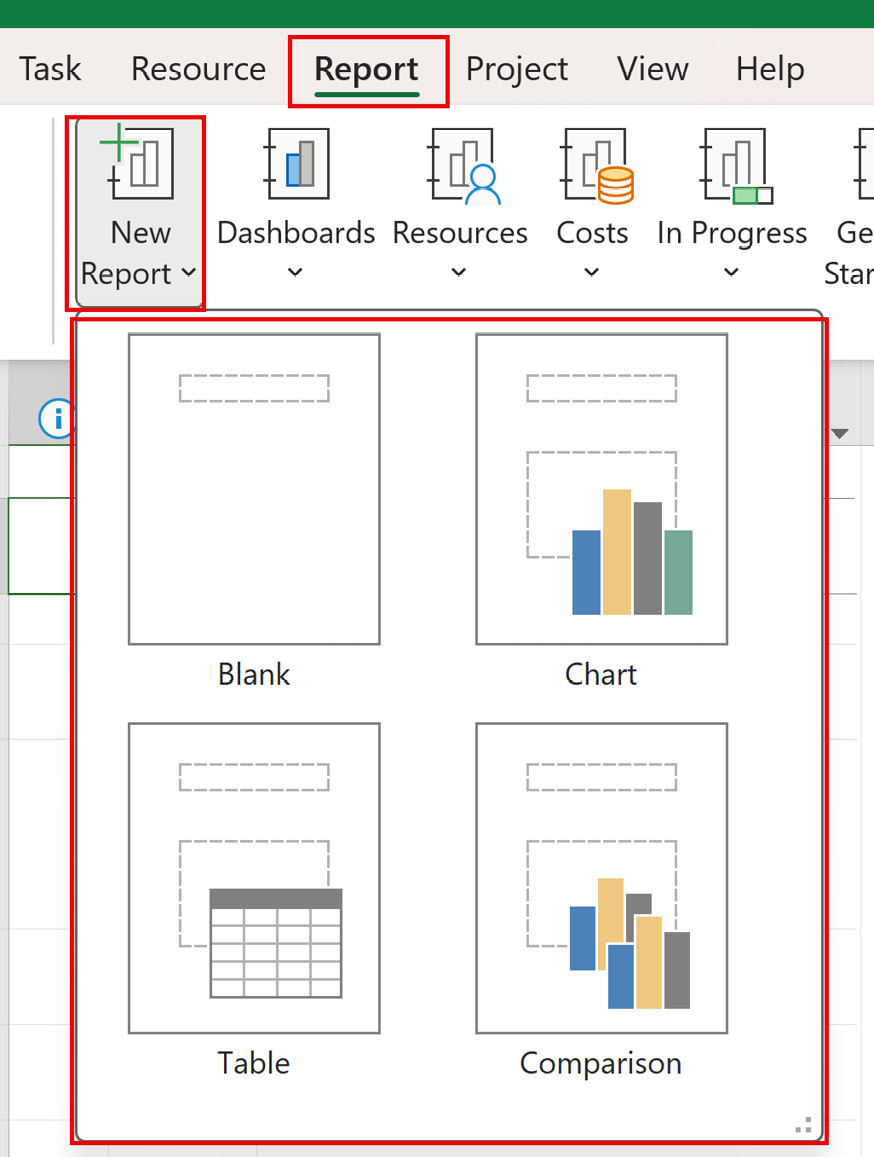
- From your project file, select the Report tab | New Report. You will see four options: Blank, Chart, Table, and Comparison. Select the type of report you want to create. Blank will be selected for this example.

Figure 11.6: New Report options
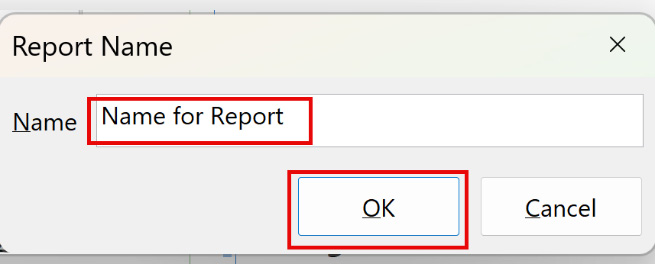
- In the dialog box that appears, enter a meaningful name for your report and click OK.

Figure 11.7: New report name
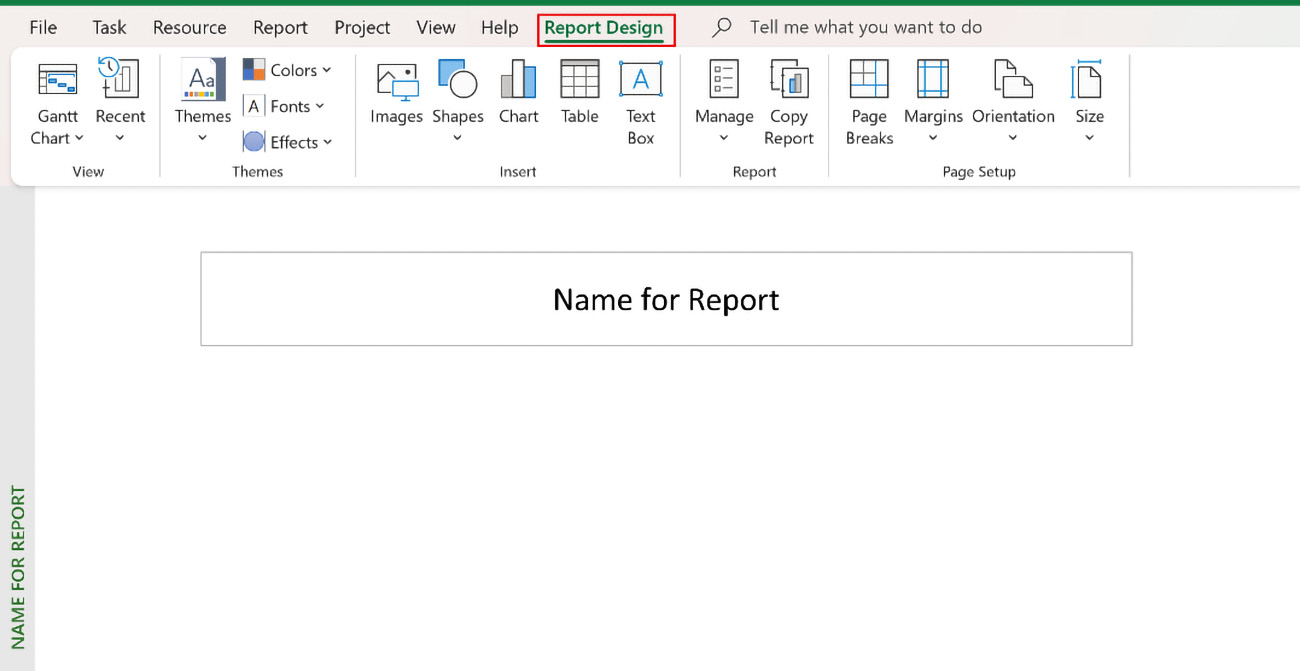
This will take you to the Report Design view. Objects and elements that you prefer to add to this view will be created in this window. Use the Report Design ribbon to customize the new report.

Figure 11.8: New blank custom report
You can now customize this view of the report by inserting text boxes, tables, charts, pictures...


