Installing Additional Tools
Power BI professionals responsible for the development of semantic models (datasets) routinely utilize additional tools beyond Power BI Desktop to create and manage their models. For example, they use Tabular Editor to quickly implement changes to measures or add new objects, such as perspectives and calculation groups. Likewise, ALM Toolkit is routinely used to deploy incremental and metadata-only changes to Power BI.
Another such tool is DAX Studio, a third-party tool used to query data models, edit and format code, browse the structure and metadata of data models, and analyze the performance and execution characteristics of DAX queries. For larger and more complex data models and expressions, as well as projects involving multiple models, DAX Studio becomes an essential supplement to the development and performance-tuning processes.
Data Analysis Expressions (DAX) is the “language of Power BI,” as it is used to create the measures and queries visualized in Power BI reports and dashboards. Power BI generates and submits DAX queries to the source data model based on the structure of the visualization, user selections, and filters—just as other tools such as Excel generate MDX queries based on the selections and structure of pivot tables and slicers from workbooks. DAX expressions are also used to define security roles and can optionally be used to create columns and tables in data models, based on other tables and columns in the model, which can be refreshed at processing time and used by measures and queries. DAX serves the same function in Azure Analysis Services (AAS) and SQL Server Analysis Services (SSAS) tabular models, as well as Power Pivot for Excel models. It’s essential that BI professionals have a robust tool to develop and analyze DAX code and the data models containing these expressions.
Getting ready
To prepare for this recipe, follow this step:
- Download the current release from the DAX Studio website: https://daxstudio.org/downloads/. The installer version is a single file that provides a wizard-based installation and setup, while the portable version is a ZIP file that does not provide a wizard-based installation. The installer version is recommended.
You are now prepared to install DAX Studio.
How to install DAX Studio
- Use the Open file link or run the file from your
Downloadsfolder. The file will be named something likeDaxStudio_3_0_10_setup.exe. - Once the installation starts, select the option Install for all users (recommended).
- If prompted by User Account Control, select the Yes button.
- Accept the license agreement and click the Next button.
- Choose a folder path to install the tool and click the Next button.
- Choose whether the DAX Studio add-in for Excel will also be installed. Click the Next button. Note that:
- The add-in for Excel is required to connect to Power Pivot for Excel data models.
- Additionally, when DAX Studio is opened from Excel, query results can be exported directly to Excel tables.
- Select the Start menu folder (the default is DAX Studio), and then click the Next button.
- Check the Create a desktop shortcut box and leave the Privacy checkbox unchecked. Click the Next button.
- Finally, click the Install button.
How it works
Upon full installation, including the add-in for Excel, launching Power BI Desktop will display an additional menu choice, External tools, in the ribbon. Selecting External tools in the ribbon displays all installed external tools, as shown in Figure 1.24:

Figure 1.24: DAX Studio in the Add-Ins ribbon in Excel
Clicking the DAX Studio icon from within Power BI Desktop launches DAX Studio and automatically connects to the current Power BI dataset.
If the Excel add-in was chosen during installation, a DAX Studio icon also appears on the Add-Ins tab in the Excel ribbon.
External tools for Power BI use a JavaScript Object Notation (JSON) file, stored in the directory C:\Program Files (x86)\Common Files\Microsoft Shared\Power BI Desktop\External Tools. These files have a .pbitool.json file extension, such as DAX Studio’s daxstudio.pbitool.json file. These files have the following format:
{
  "version": "1.0",
  "name": "DAX Studio",
  "description": "Use DAX Studio for DAX authoring, diagnosis, performance tuning and analysis.",
  "path": "C:\\Program Files\\DAX Studio\\DaxStudio.exe",
  "arguments": "/server=\"%server%\" /database=\"%database%\"",
  "iconData": "image/svg+xml;base64, … "
}
This information is read by Power BI Desktop upon starting and populates the External tools toolbar in the ribbon. This means that installing or uninstalling external tools requires Power BI Desktop to be restarted before the changes are reflected within the program.
There’s more…
There are two additional tools that are useful for Power BI, namely:
- ALM Toolkit
- Tabular Editor
ALM Toolkit is a third-party tool from MAQ Software that provides advanced features such as Power BI dataset comparison, code merging, partial deployments and bug fixes, source control integration for dataset metadata, and definition reuse between tabular models. To download and install ALM Toolkit, follow these steps:
- In a browser, navigate to http://alm-toolkit.com.
- Near the top of the page, click the DOWNLOAD LATEST VERSION button.
- Use the Open file link to launch
AlmToolkitSetup.msior open the file from yourDownloadsfolder.

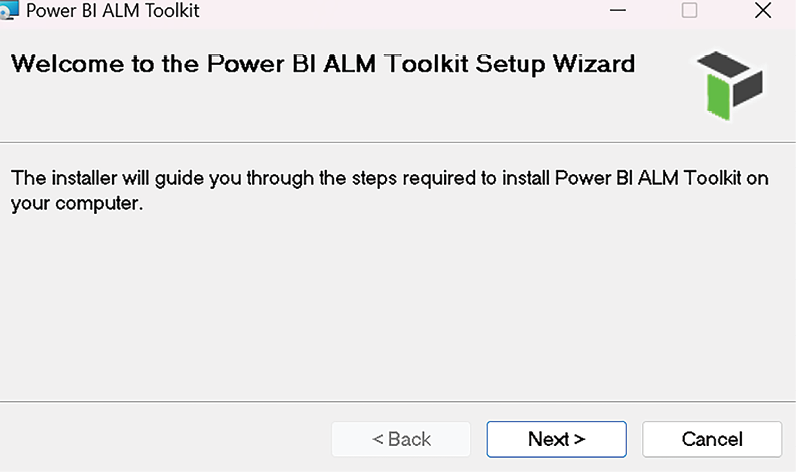
Figure 1.25: Initial installation screen for ALM Toolkit
- Click the Next button on the initial installation screen.
- Accept the license agreement and click the Next button.
- Choose a folder path and click the Next button.
- On the final installation screen, click the Next button to start the installation.
- If prompted by User Account Control, click the Yes button.
The Power BI ALM Toolkit can now be launched from the Windows Start menu or Power BI Desktop’s External tools toolbar.
Another powerful tool is Tabular Editor. At the time of this book being published, Tabular Editor comes in two versions, the free, open source version 2 and the commercial version 3. Tabular Editor is an alternative to SQL Server Data Tools (SSDT) for authoring and editing tabular models for Analysis Services. Tabular Editor provides a hierarchical view of the objects in your tabular model metadata, such as columns, measures, and hierarchies. Tabular Editor integrates with Power BI Desktop, allowing batch changes to DAX measures and enabling advanced capabilities, such as calculation groups and perspectives. Finally, Tabular Editor also enables offline editing capabilities by allowing you to open the tabular model directly from Model.bim files. To install and use Tabular Editor, follow these steps:
- Download the latest Tabular Editor from here: https://bit.ly/3bJFBvl.
- At the top of the page, click the Windows installer version, such as
TabularEditor.2.24.0.Installer.msi. The exact version number may vary. - Once the file downloads, use the Open file link or open the file from your
Downloadsfolder.

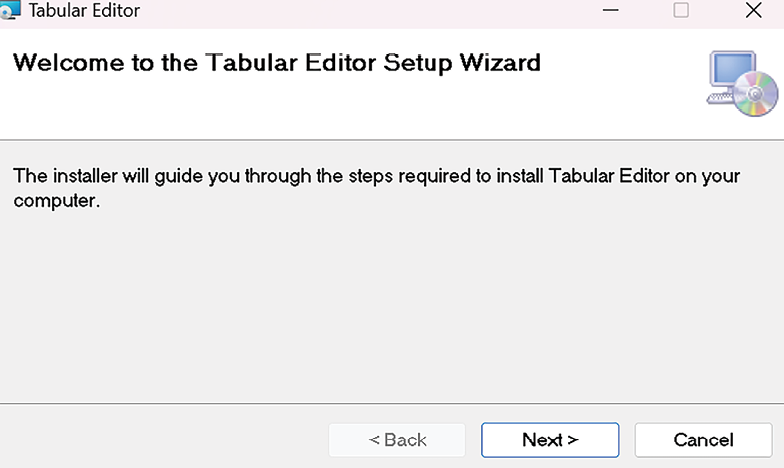
Figure 1.26: Initial installation screen for Tabular Editor
- Click the Next button on the initial installation screen.
- Accept the license agreement and click the Next button.
- Choose a folder path and click the Next button.
- Check the boxes Create Desktop shortcut and Create Program Menu shortcut, and then click the Next button.
- On the final installation screen, click the Next button to start the installation.
- If prompted by User Account Control, click the Yes button.
- Once installation is complete, click the Close button.
Tabular Editor can now be launched from the Windows Start menu or from Power BI Desktop’s External tools toolbar.
See also
- DAX Studio tutorials and documentation: https://daxstudio.org/docs/intro/
- ALM Toolkit documentation: http://alm-toolkit.com/HowToUse
- Tabular Editor documentation: https://docs.tabulareditor.com/


