Saving your reports
Now that we have created reports that we will use month after month for this company, let’s save them to ensure we will always have access to them:
- Start by clicking the Save as button on the lower right of your screen.
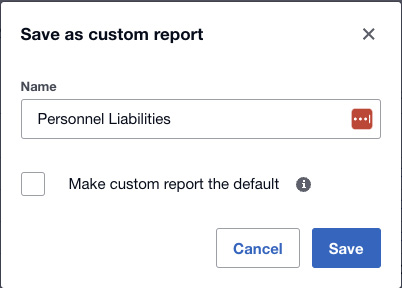
- Click Custom option to bring up the Save dialog box.
- Enter the name of your report. I usually do not use the Make custom report the default option and remove the check should it be there. I do that in case I need the original report for something else; it makes it easier to use as a jumping-off place the next time you need to customize a basic report.

Figure 15.21: Custom report save dialog box
- Click Save and you are through.
We have now saved the custom report, and this brings us to the end of the chapter.


