The control user interface can be created with the Blynk app builder using four button controllers to move the robot forward, backward, left, and right:
- Open the Blynk app builder and tap New Project:
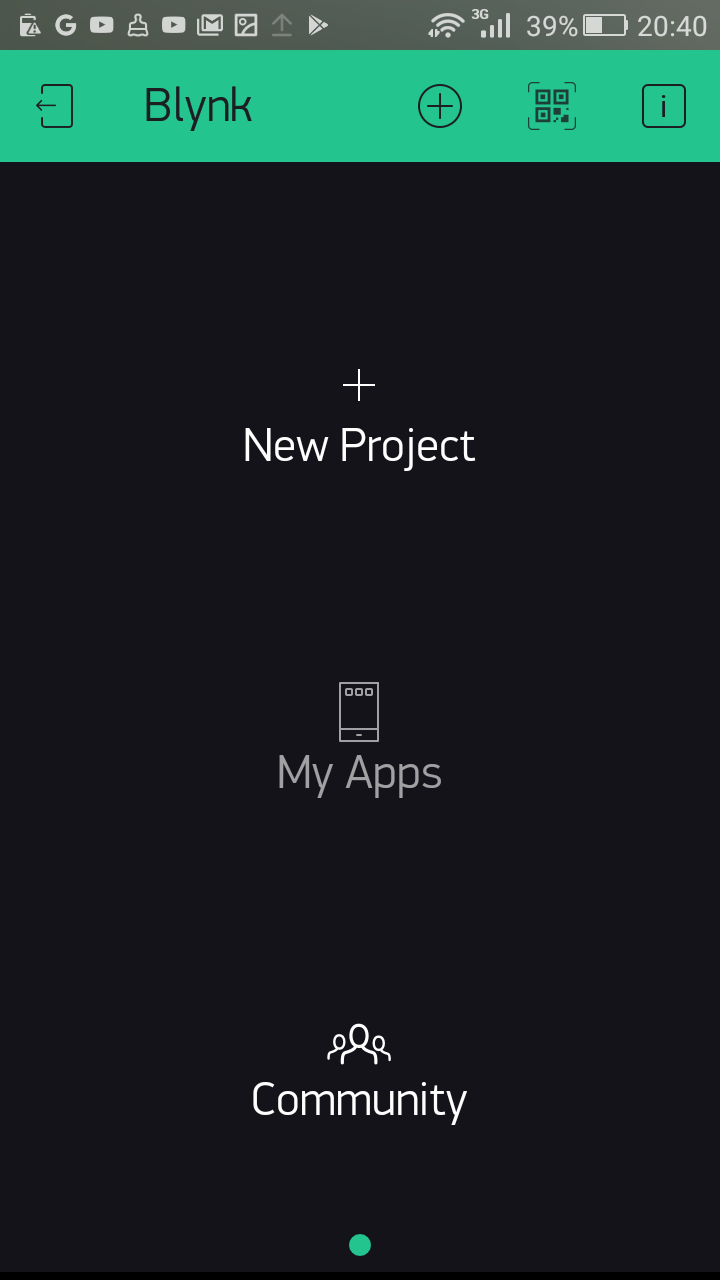
Choosing New Project
- In the Create New Project page, type in the project name, Robot Car. Under CHOOSE DEVICE, select the correct Raspberry Pi model. Then, under CONNECTION TYPE, select WiFi. If you're using a Raspberry Pi model 1 or 2, you should connect an external Wi-Fi dongle to the Raspberry Pi's USB port. The Raspberry Pi model 3 has a built-in Wi-Fi module, so you don't need to connect a Wi-Fi dongle to it. Finally, tap Create to build the project workspace:

Project Settings page
- Tap the OK button:
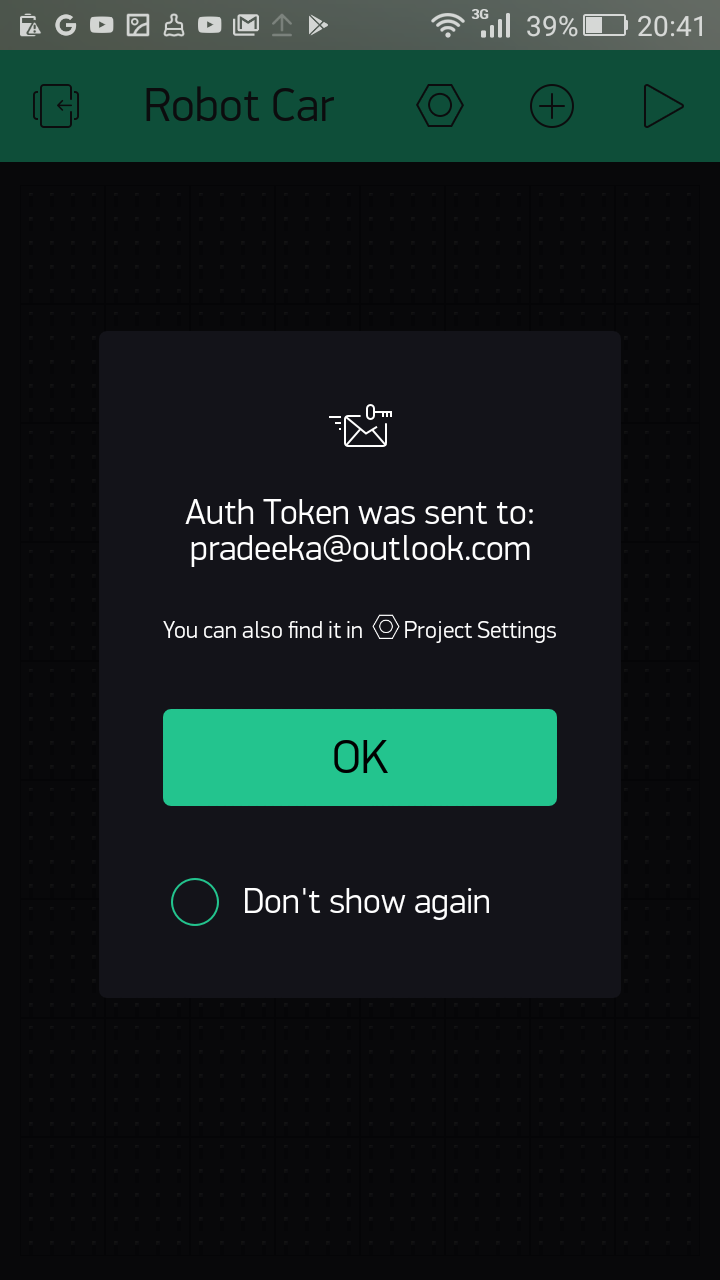
Auth token sending notification
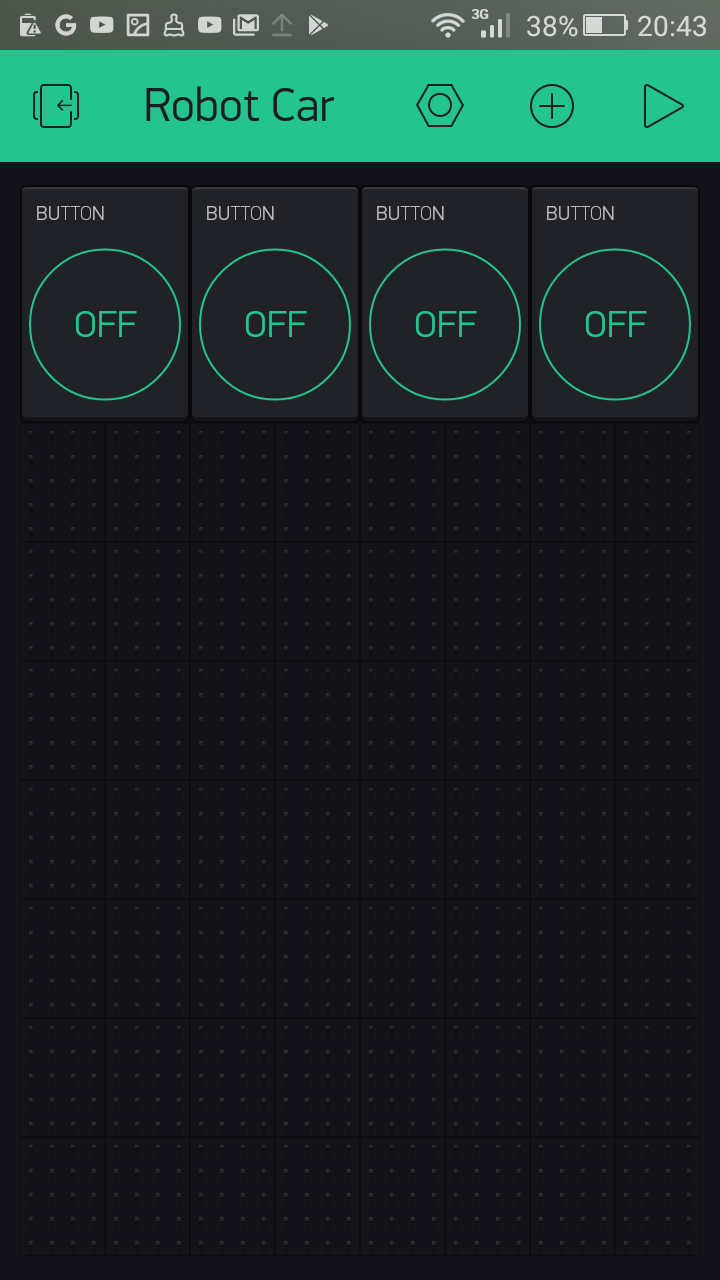
- In the project workspace, tap the plus icon to open the Widget Box and add four buttons:
Inserting...