Upgrading Veeam Backup & Replication to v12
This section will discuss the process required to upgrade your existing Veeam Backup & Replication environment to v12. If you have Veeam Backup & Replication v10 installed, you can proceed with the following steps to conduct the upgrade.
Important note
If you have Veeam Enterprise Manager installed on your server, you will be prompted to upgrade this before upgrading Veeam Backup & Replication.
Once your server is ready and you have downloaded the ISO file and mounted it, follow these steps to upgrade your server and components:
- Run the
setup.exefile on the mounted ISO drive:
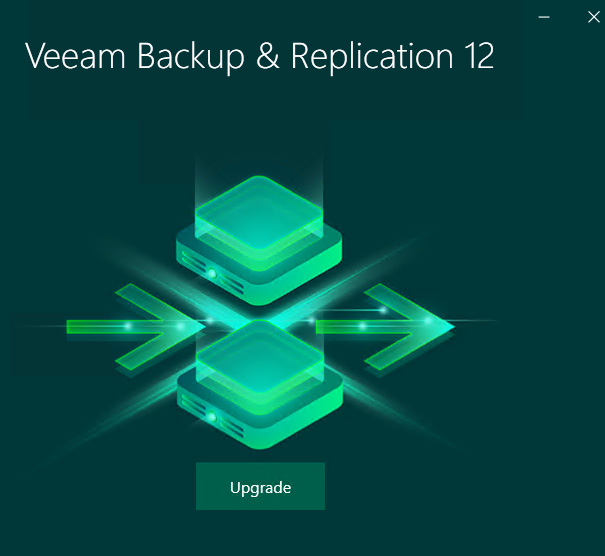
Figure 1.31 – Main installation screen – Upgrade
- Click on the Upgrade button to proceed.
- You will be prompted to click on the component to upgrade – in this case, Upgrade Veeam Backup & Replication:
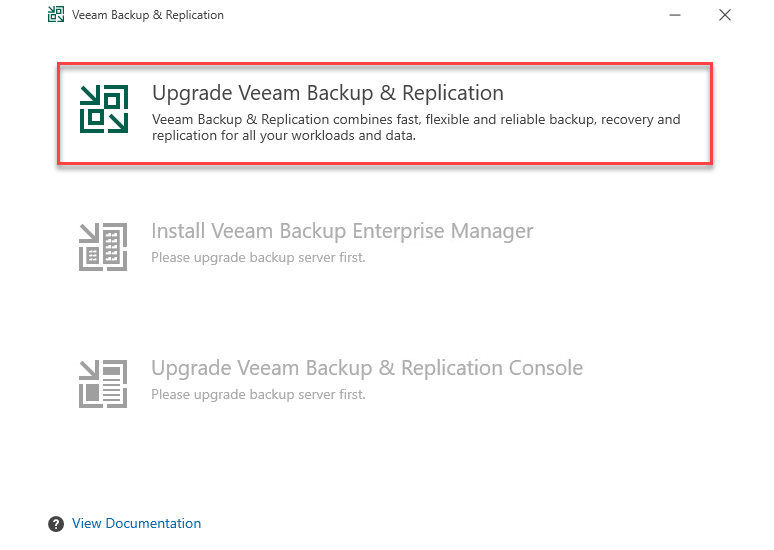
Figure 1.32 – Upgrade selection
Note
If Veeam Backup Enterprise Manager were on your server, you would be prompted to upgrade this before you could upgrade Veeam Backup & Replication.
- After clicking Veeam Backup & Replication, the upgrade installation will proceed.
- The License Agreement dialog is the next thing you will see. Here, click I Accept to proceed:
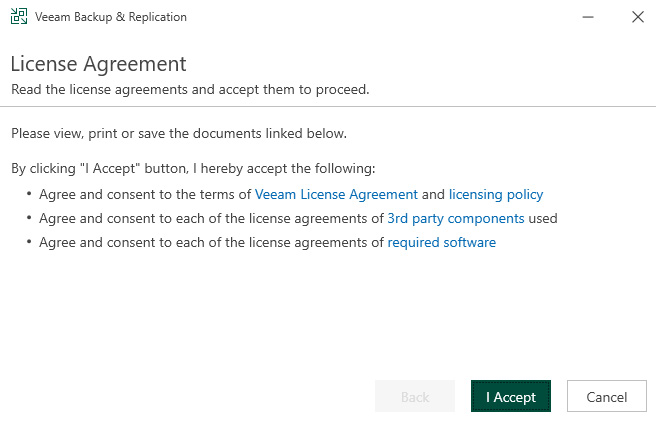
Figure 1.33 – License Agreement dialog
- After accepting the license agreement, you will be presented with the Upgrade dialog, which shows the components to be upgraded with the current and new versions. You can also check the Update remote components automatically option so that they are upgraded on console launch:
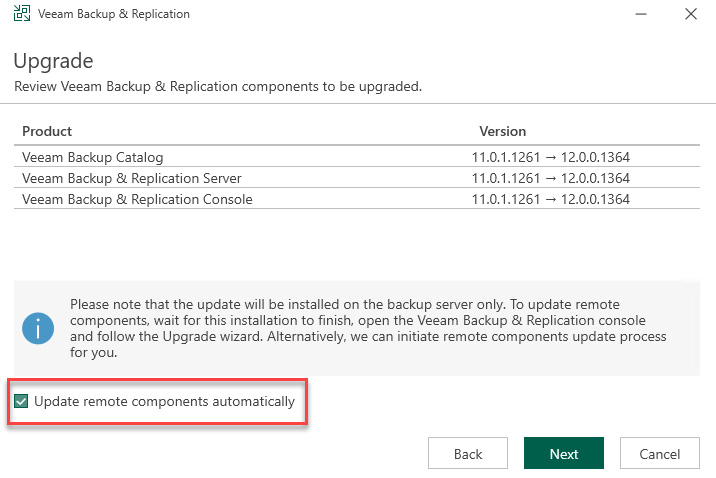
Figure 1.34 – Upgrade dialog with components
- After clicking Next, the next screen you’ll see is the License dialog. This is where you can use the Browse… button to enter your license and then click Next to proceed:
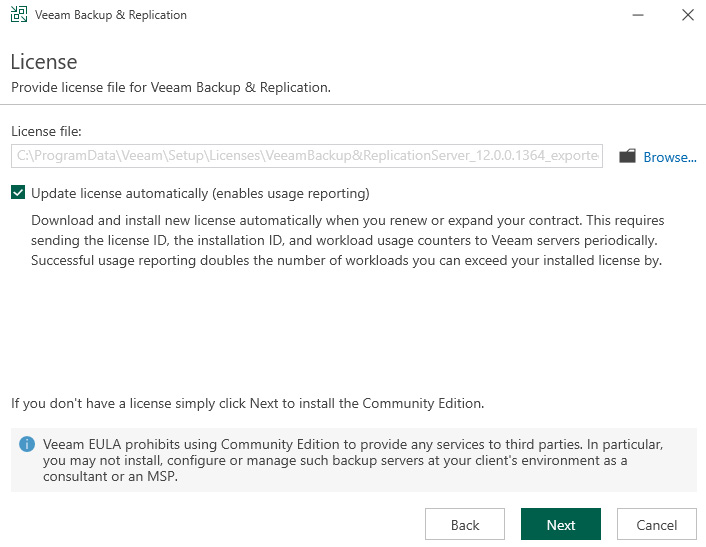
Figure 1.35 – License selection dialog
- The installer will now performs a system check and enable any missing features required for the installation to continue:
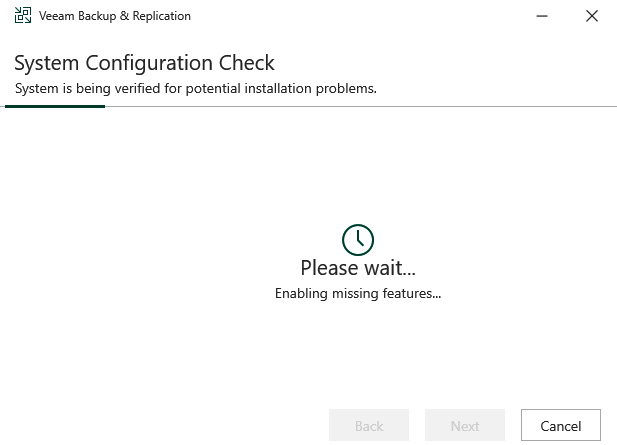
Figure 1.36 – System Configuration Check
- Now, you’ll be on the Service Account screen, which you will use for the Veeam Backup & Replication services to run under. In my case, I am using a LOCAL SYSTEM account, which is the Administrator. However, to follow best practices, you should create a service account ahead of time. Click Next to proceed after entering the required account information:
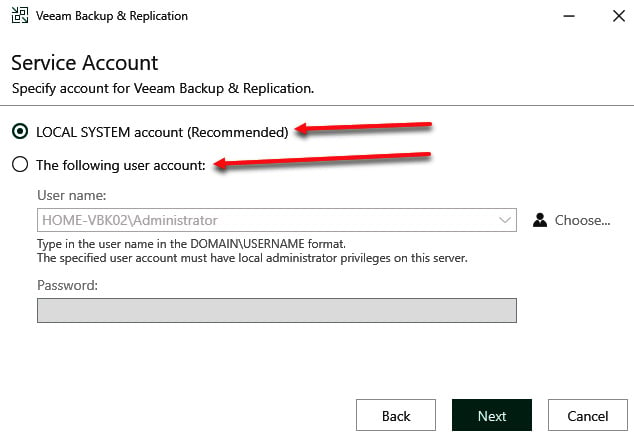
Figure 1.37 – Service Account selection
- The next screen is the Database dialog, which will detect your current installation and ask you to verify the connection settings. You should also follow best practices and have a login account created on your database server; in this case, SQL Server is using my Windows login credentials, a small deployment. Click Next after validating the settings:
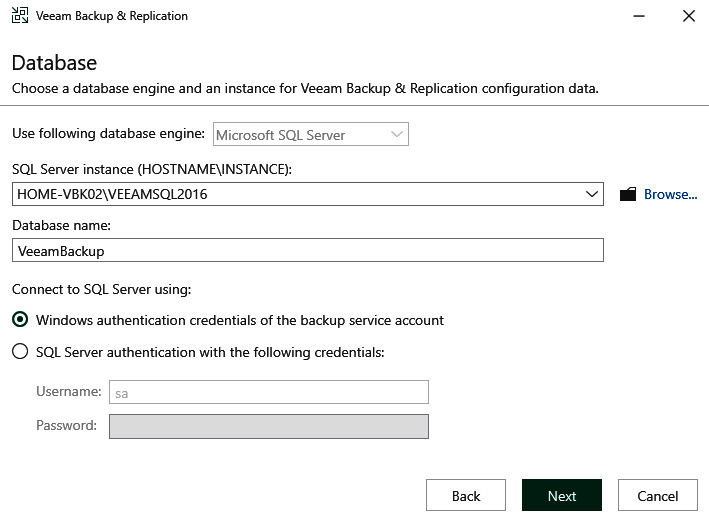
Figure 1.38 – Database validation
- You will be warned about the database being upgraded after clicking on Next. Be sure to click Yes to proceed:
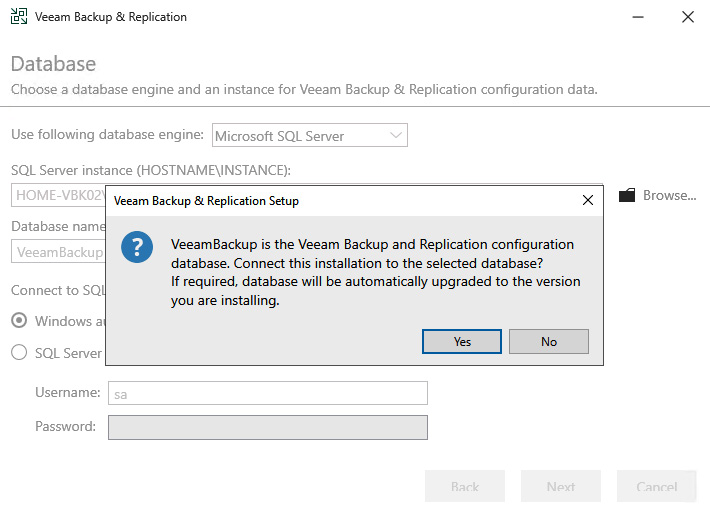
Figure 1.39 – Database upgrade warning
- At this point, a Configuration Check process will be performed to ensure there are no incompatibilities for the upgrade and highlights them if there are any so that they can be resolved before you proceed with the upgrade. Click Next to proceed:
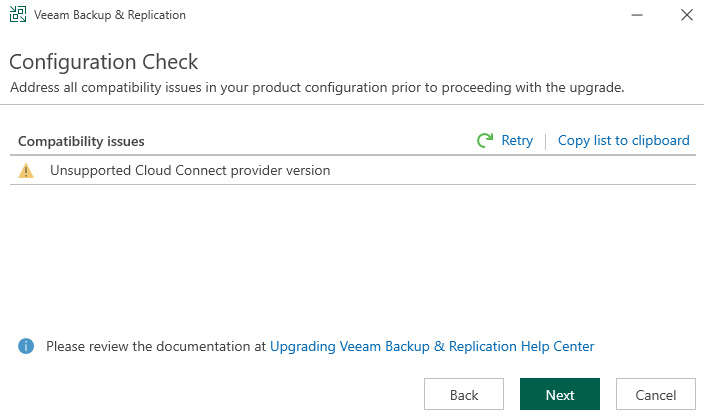
Figure 1.40 – Configuration Check for incompatibilities
Note
In my case, I have my Veeam Backup & Replication server pointed to a Service Provider record that is not compatible due to still being at v11. This check will allow users that have a Veeam Cloud connect to a Service Provider to see that they have not upgraded and be able to pause their upgrade until the Service Provider upgrades their side first. I proceeded with the upgrade for this book.
- You will now see the Ready to Upgrade dialog. Click the Upgrade button to proceed:
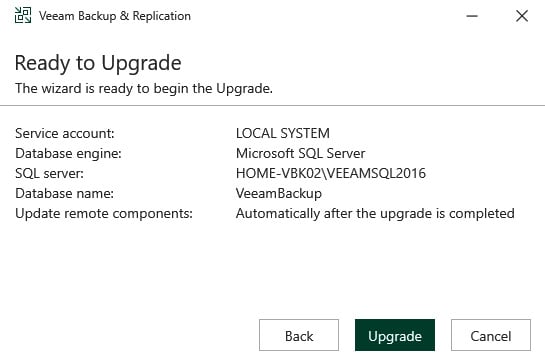
Figure 1.41 – Ready to Upgrade dialog
- The next dialog you’ll see is the progress dialog, which shows six steps that must be done to complete the upgrade:
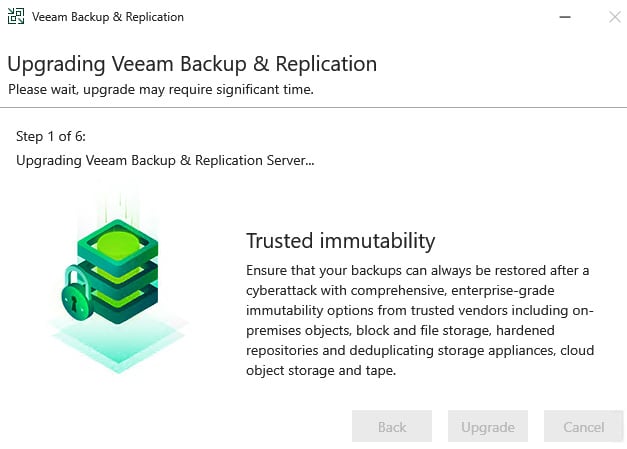
Figure 1.42 – Upgrade progress
- After the progress dialog finishes, the upgrade will be complete, and you can click Finish:
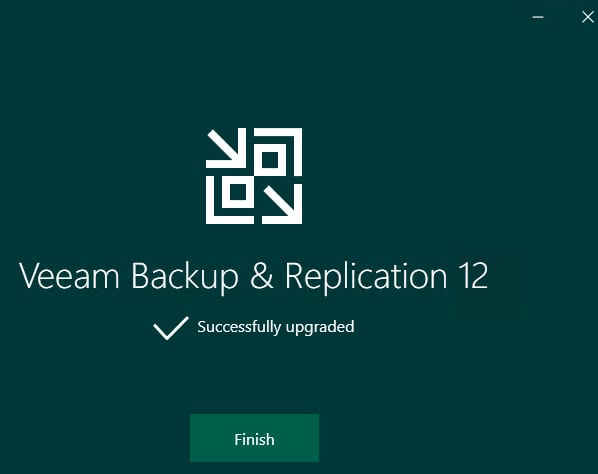
Figure 1.43 – Upgrade completed
The upgrade process is now complete, and your jobs should continue to run as scheduled. You will now have the option to upgrade your backup chains to the Per-VM Backup Chains, which are new within Veeam Backup & Replication v12.
You can do this upgrade in the console by going to the Home tab and selecting Backups. Right-click on the backup job and select Upgrade backup chain format:
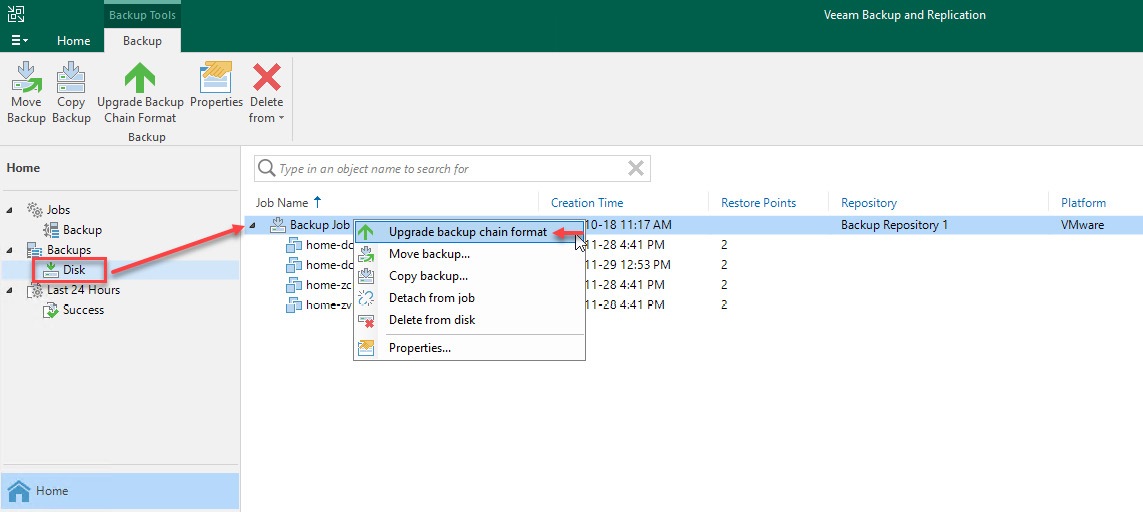
Figure 1.44 – Upgrade backup chain format
As shown in Figure 1.21, the layout of the new files for each server has VBM (metadata) and backup files (VBK/VIB).
After you select Upgrade backup chain format, you will be prompted with a dialog to proceed. Click OK. A status window will appear, showing the progress of the upgrade:

Figure 1.45 – Backup chain upgrade proceed dialog
After you click OK, you will see the progress dialog and the upgrade upon completion:
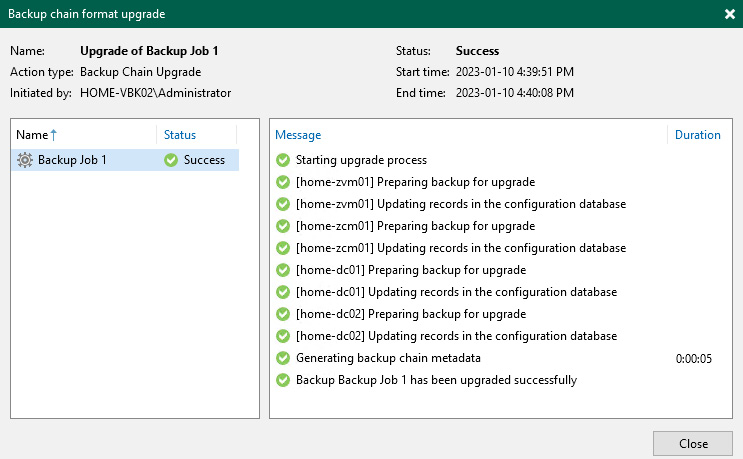
Figure 1.46 – Backup chain format upgrade progress
With that, we have covered installing and upgrading the backup chain format to the new Per-VM backup chains. I will now summarize the lessons learned in this chapter.


