Installing MySQL
The MySQL server exists in both a Community Server edition and an Enterprise Edition. The Enterprise Edition is the commercial version that has additional features and a price tag—in this book, we will use the free Community Server edition Version 5.6.12. This can be downloaded from http://dev.mysql.com/downloads/mysql.
Note
Would you like support with that?
Now is a good time to think about whether you want your installation to be commercially supported. If you are setting up a development environment or just want to run a membership application for your local little league baseball team, you probably don't need commercial support and can go with the open source/community options.
On the other hand, if you are setting up a production environment, think about whether you or someone else in your organization feels confident that they can handle any issues that might occur. If you would like to be able to call on the friendly people from Oracle Support to help you, you need to set up the commercial version and purchase a support contract from Oracle.
If you choose the Windows platform, you will be given the option to download the MySQL Installer MSI package as shown in the following screenshot:
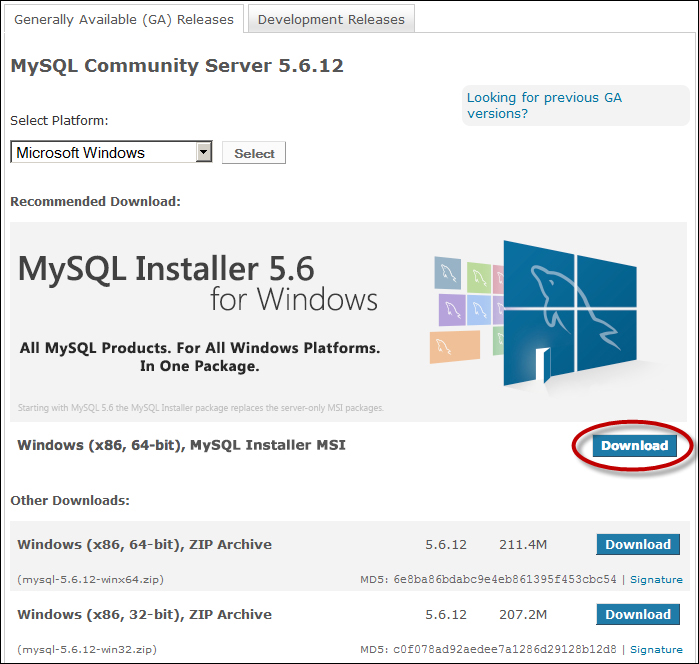
When you click on the Download link, you will be taken to a page where you can select from two MSI Installer packages as shown in the following screenshot:

Choose the larger one to get everything in one download. The smaller option means that you download only the installer program first, and this program will then download the rest of the software.
If you are running Mac OS X, you have an option to select either a compressed TAR file or a DMG installer as shown in the following screenshot:
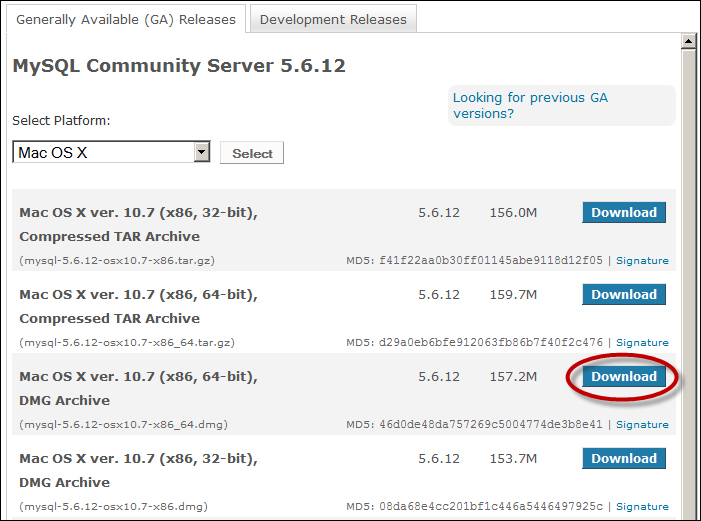
For the easiest installation, choose the DMG installer file that matches your OS X version and architecture. If you have a fairly recent Mac, you should choose OS X 10.7, 64-bit.
If you are running Linux, choose your distribution from the Platform options (or Linux – Generic if your distribution is not listed), and then choose the download that matches your Linux version and architecture (32- or 64-bit).
Once you have chosen your download, you will be prompted to sign up for a free Oracle Web account (or log in with an existing account) when you click on the Download link. You will need this account in order to download the ADF Essentials software and JDeveloper, and probably later for other downloads as well.
MySQL installation
This section will walk you through the installation of the MySQL database on Windows – if you are running another operating system, the process is similar.
Tip
Some installation options of some Linux distributions install MySQL by default. If you are running Linux, you might want to check if you already have MySQL.
Start the installer, click on OK to any warnings about installing software and changing your machine, and choose Install MySQL Products. Read and accept the license agreement and allow it to check for later versions of the software.
For the purposes of this book, you can simply choose a Developer Default setup type when prompted. If you already know MySQL and have specific ideas about your installation, feel free to change the options.
Change the installation path to C:\adfessentials\MySQL\product and the data path to C:\adfessentials\MySQL\data.
Note
On Mac and Linux, the installer might simply decide to place the software and data in /usr/local. That's fine, too.
In the Check Requirements step, you may be prompted to install various additional packages—simply accept this. If you are told that you are missing various versions of the Python programming language, you can just click on Execute a few times to acknowledge the warnings.
Note
The Developer Default installation includes database connectors for Python, but if you are not using Python, they can't be installed. That's OK.
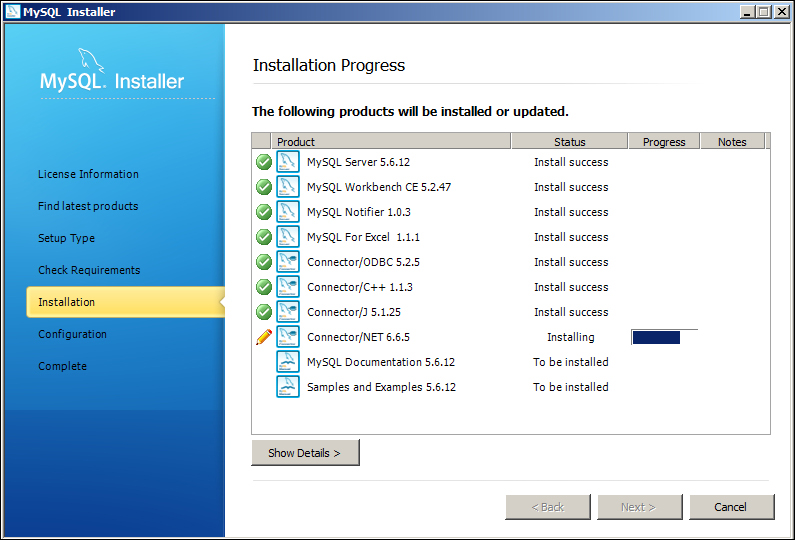
Once you are done with this step, the installer starts installing the actual MySQL software as shown as follows:
Configuring
When the software is installed, you can click on Next a few times to start the configuration. The first screen looks like this:
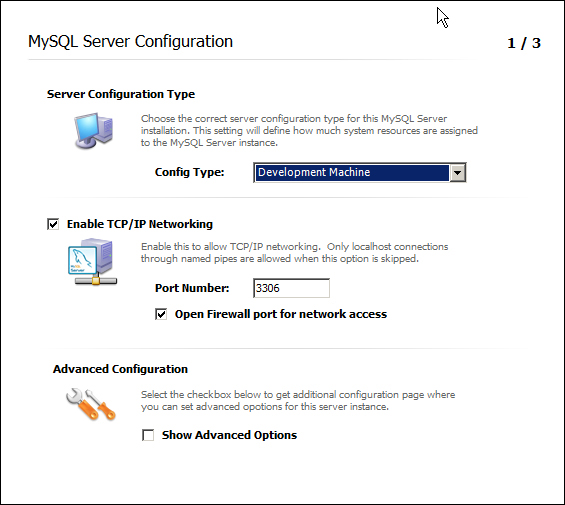
On this screen, you can leave the defaults:
Development Machine
Enable TCP/IP
Port Number 3306
Open Firewall for network access
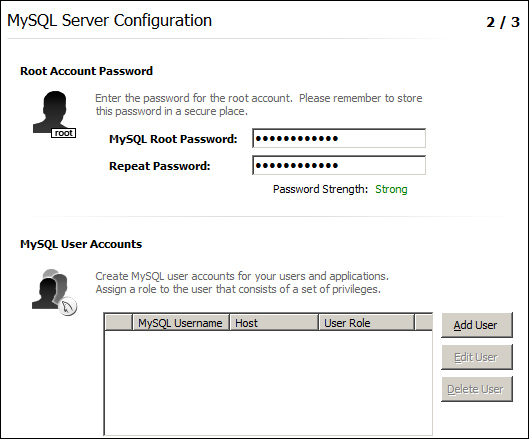
In step 2 shown in the following screenshot, you are asked to provide a root password for the database. You can always create separate users later.
Tip
If this is a non-critical development workstation, and you want to be sure that you have the password written down, feel free to use this example password: ADFsecret/13.
Tip
The default installation on Mac and Linux sets a blank root password, which is probably a bit too relaxed. To set the password on Mac/Linux, execute the following command:
/usr/local/mysql/bin/mysqladmin –u root –p password
Press return when prompted for a password (the prompt is for the old, empty password) and then provide a new password twice.
In step 3, you are prompted for a Windows service name as shown in the following screenshot:
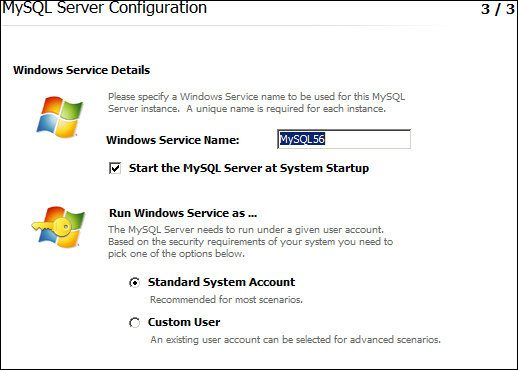
You can leave the defaults on this screen.
When you click on Next, the configuration of MySQL runs. When this is complete, click on Next to install the samples and examples and then finish the installation.
Changing MySQL options
JDeveloper generates code with two vertical bars (|| or pipes) for string concatenation, and while this is valid SQL92, it is not supported in a default MySQL configuration. To enable this in MySQL, find the MySQL configuration file my.ini in the database directory (for example, C:\adfessentials\MySQL\data).
Search for a line starting with sql_mode=. If such a line exists, add a comma after the existing value and then the keyword PIPES_AS_CONCAT. If there is no sql_mode line, add the following:
sql_mode=PIPES_AS_CONCAT
If you come from an Oracle background, you might want to set sql_mode=ORACLE instead—this sets PIPES_AS_CONCAT and a couple of other settings to make MySQL behave more Oracle-like.
You will need to restart the MySQL database in order for this change to take effect. On Windows, you can open the Control Panel, choose Administrative Tools, and then Services. Find the MySQL56 service and choose Action | Restart. You can also restart the database from the MySQL Workbench by double-clicking on your database in the Server Administration column to the right.
Does it work?
Once you have your Sakila database installed, you can start the MySQL Workbench from the Start menu. You should see Local instance MySQL56 or similar to the left under the SQL Development heading, as shown in the following screenshot:
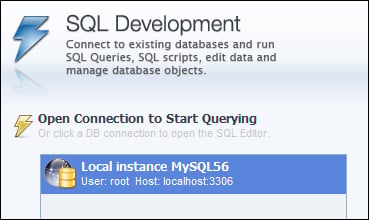
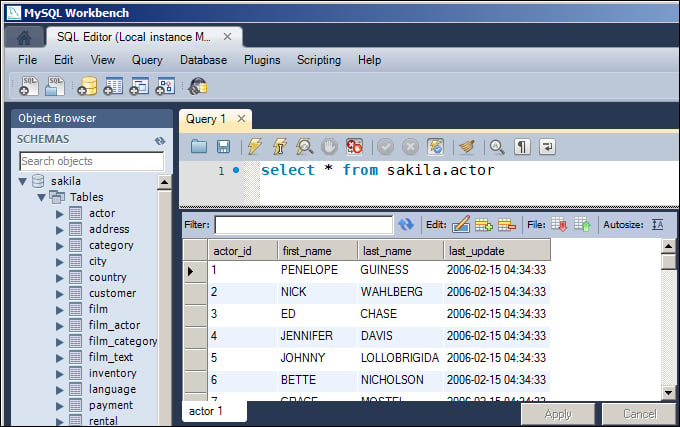
You can double-click on this and provide your root password to connect to the database. If an SQL Editor window opens with various schemas to the left (including your Sakila database) as shown in the following screenshot, your installation was successful:
If you prefer to use a command line, you can start the MySQL 5.6 Command Line Client from the Start menu, provide your root password, and type the following command:
show databases;
If you see a couple of databases as in the following screenshot, your MySQL server is running correctly:
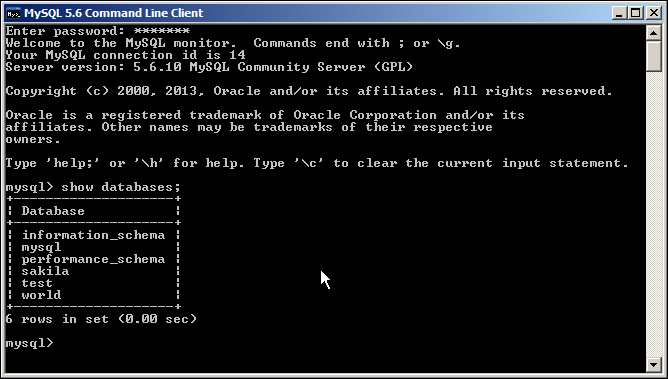
The MySQL command line can also be started from a command prompt by running the following command:
C:\adfessentials\MySQL\product\bin\mysql –u root -p
This attempts to log in as user root and prompts you for the password.
Tip
On Mac and Linux, the MySQL Workbench is a separate package. You can either download and install it or check your installation using the command line:
/usr/local/mysql/bin/mysql –u root –p
Modifying some data
As installed, the Sakila database does not contain any DVDs not returned—every rental record has a return_date.
Because we will be building a screen to return DVDs, we want some unreturned rentals in the database. From either MySQL Workbench or the command line, execute the following command:
update rental set return_date = null where staff_id = 2;
This clears the return date for about half the rentals, making them unreturned.


