Bootstrapping a Quarkus application
Quarkus provides several options for bootstrapping an application. The easiest method involves using the https://code.quarkus.io page. You can also generate a new application by using the provided command-line interface (CLI) tool or even by running a Maven goal. We’ll be using the web interface since it’s the simplest approach and has a very straightforward wizard to customize the options and extension dependencies. However, you are free to explore other alternatives.
Maven goal
Maven is a build automation and project management tool mainly used in Java. A goal is a specific task that you can perform through Maven. Tasks such as compiling, packaging, and testing in Maven projects are performed via goal executions.
We are going to generate a Java 17 project with Maven and the latest available Quarkus version. Quarkus provides a web-based tool that allows you to create and customize an initial project. Let us take advantage of that by going through the following steps:
- Navigate with your web browser to https://code.quarkus.io.
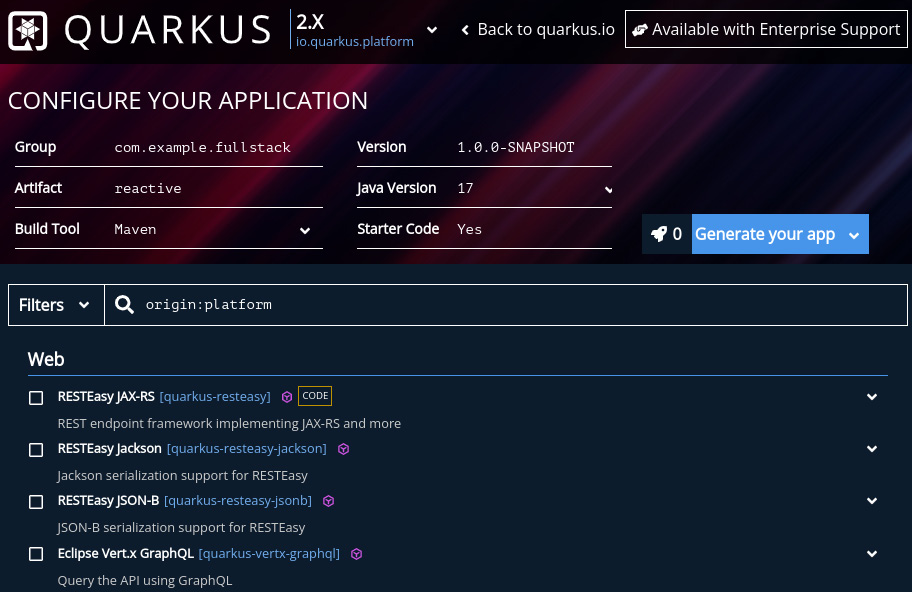
You’ll be greeted with the following wizard:

Figure 1.1 – A screenshot of the code.quarkus.io web interface
- In the Group field, set the Maven project Group ID.
The generated project will include a package named with this value containing some sample starter code. I’m going to use com.example.fullstack, but you can use any other value.
- In the Artifact field, define the Maven artifact ID. In my case, I will use
reactive. - Select the base dependencies for our project. For now, we are only going to add a dependency to enable the implementation of HTTP endpoints. Since we want to take full advantage of Quarkus’ reactive features, we’ll use RESTEasy Reactive. You can filter through the dependencies by typing into the Filters text field and then checking the required dependency checkbox:

Figure 1.2 – A screenshot of the dependency selection section in the code.quarkus.io web interface
In the following chapters, we’ll be including more dependencies as we add functionality to the project.
- Click on the Generate your app button and download a ZIP package with the bootstrapped project.
Now that you have generated your Quarkus application, let us learn about the structure of the project and what features each of the project’s initial dependencies and plugins provides.


