Before going any further into how to use AWS, let's first create and set up an AWS account. This is a prerequisite for getting started with programming AWS Lambda. Here, I'm going to show you how to sign up for an AWS account and then I will show you how to create a special IAM user with administrator access permissions. After that, I'll show you how to set up a local development environment with AWS credentials. So let's dive in:
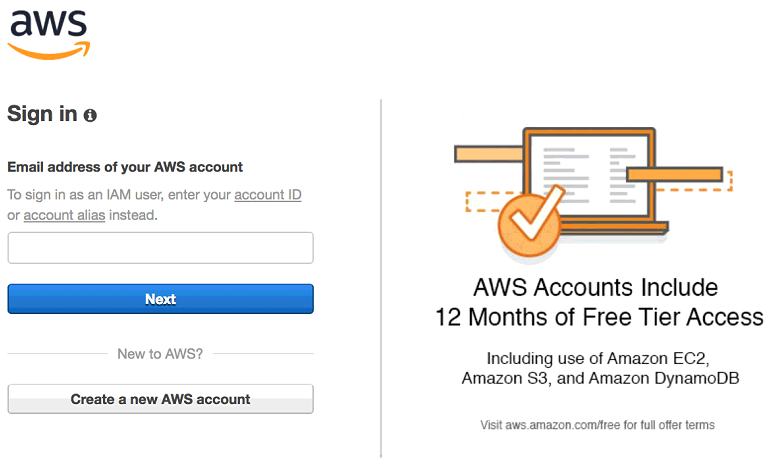
- First, open the web browser on the main website of Amazon Web Services, https://aws.amazon.com/
- Click on the Create an AWS Account button to create a new AWS account
- Select the I am a new user radio button and enter your email address
- Then, fill out the rest of the information and go through the sign-up process:

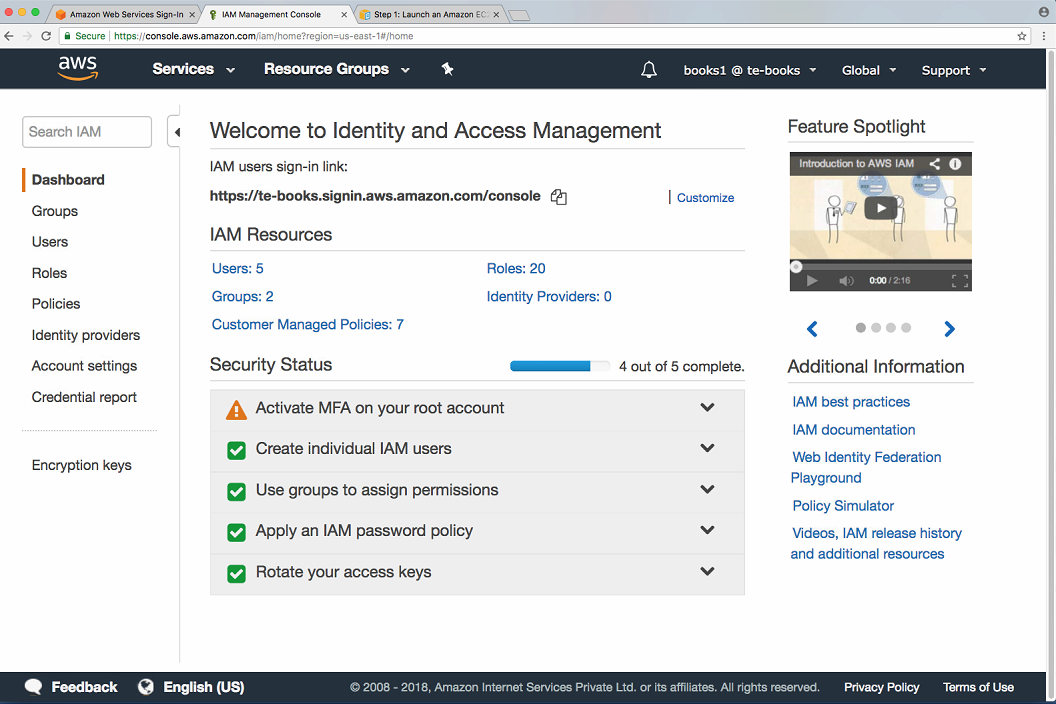
Once the account has been created, sign in to the AWS Management Console. More information on the console will be provided later on. For now, click Services in the drop-down menu and search for IAM. Click on IAM to navigate to the Identity and Access Management dashboard. Here, I am going to show you how to create a special IAM user that has certain permissions to use AWS services on my behalf. This is a good security practice. You shouldn't use your root account credentials for programmatically accessing Amazon Web Services. It could create problems for you—for example, you could accidentally publish your AWS credentials on GitHub or somewhere else where other people can see them, and using these details, they could then use your AWS services. If this happens to you, it's pretty easy to use IAM to simply delete your user and revoke these permissions:

In this tutorial, I'm going to create a group and an IAM user to perform the exercises. After we are done with the tutorial, you can simply delete the user and the group.
Let's start by creating an IAM group. Set up a group name. For this tutorial, I am naming the group learninggroup. For simplicity, what I'm going to do is give my group administrator access. If you're more paranoid, you can restrict this further, but then you might have to deal with a bit more hassle. I think for the purposes of this tutorial, and assuming that you will delete this group and the user later on, it's fine to go with administrator access. Click on Next Step and Create Group.
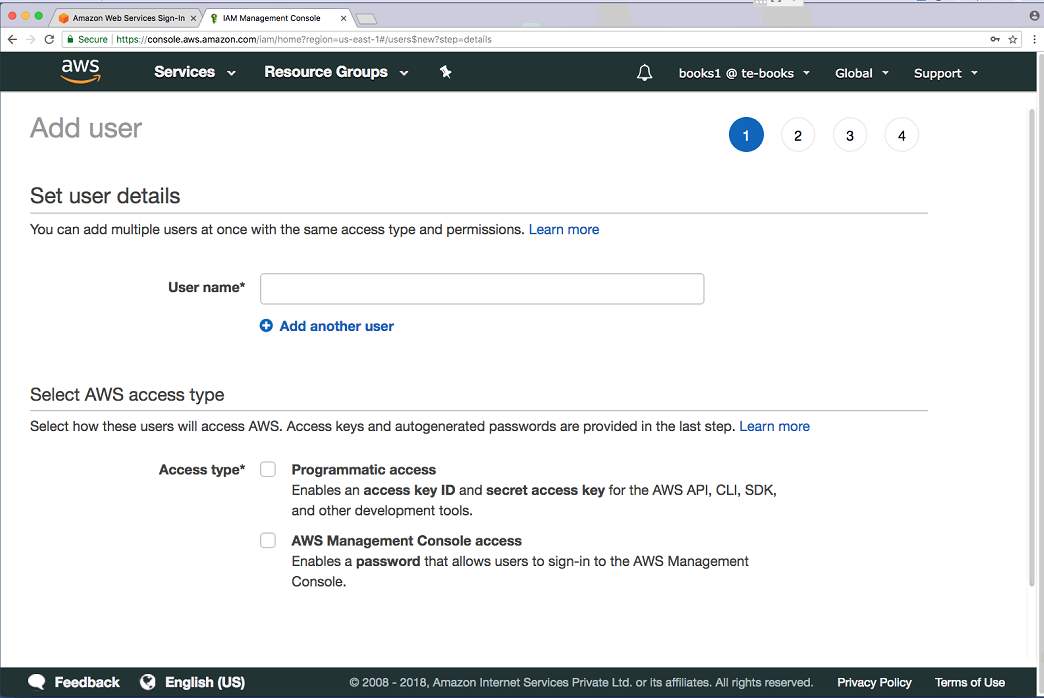
Now I'm going to create a new user. Click on Users | Add User. Here, I will give my user the name learninglambda, and I'm going to select the programmatic access checkbox. This will create an access key ID and a secret access key so that you can programmatically use Amazon Web Services:

In the next step, I will show you how to set up your local development environment with the access key ID and the secret access key ID so that you can use AWS from within IDEs, such as Eclipse or Visual Studio, or through development frameworks, such as the Serverless framework. If you want, you could also give your new IAM user AWS Management Console access. Click on Next Permissions. I added my IAM user to the learninggroup and now I'm going to create the user. Once the user has been created, you will be provided with the access key ID and the secret access key ID. Copy both of them into a blank text file as you will need them for the next step. Copy both of them into a text editor:
AKIAIWRW3LZDPQIY3TPQ
v9kIjVVCd0pDWTB0LJDKtVi3+MVlYhkDlyBF79z7
Now, I'm going to show you how to set up your local development environment so that you can programmatically access AWS services from within your local development environment. This is used by a number of IDEs, such as Eclipse or Visual Studio, and other development frameworks, such as the Serverless framework. I'm going to show you how to do this for macOS. It works in a similar way for Linux.
So the first thing that we need to do is create a hidden directory named AWS in your home folder. I created a hidden directory, and now in that directory I will create a file named credentials. In that file, I'm going copy my access key and my secret access key in the following format. What this does is specify the IAM profile that I want to use:
mkdir ~/.aws
touch ~/.aws/credentials
This is the default IAM profile that my IDE or development framework is going to use with the following access key ID and secret access key credentials. After you have entered the content into your credentials file, it should look like the following:
[default]
aws_access_key_id=AKIAISSXZB2PNT6VVG3Q
aws_secret_access_key=ybv3rDoNNJDdbF0l9XWxVaHv0t8bYF5p0hU5g
You need to set up your own access key ID and secret access key, because the credentials that we have been using will soon not exist anymore:
cat ~/.aws/credentials
Now I am going to explain how to set up your AWS credentials file on your operating system.
Set up your local development PC/laptop with AWS credentials
If you are using Linux or macOS, you should create a hidden directory, .aws, in your home folder. If you're using Windows, you should create a hidden AWS directory in your user's profile directory. Then you copy the content, your access key ID, and the secret access key.


