Character Animator Pro versus Starter
As of v23.0, you now have the option to use Character Animator for free under the Starter UI. This simplified format limits many of Character Animator’s useful features. It does have its uses, especially if you want to explore how the motion capture tool works, or if you quickly want to animate and export a preset character:

Figure 1.7: Starter mode is great for those curious about the functionality of Character Animator, but it lacks many great features
However, for the purposes of having more control and tools, it’s recommended you purchase a copy of the Pro version to get the most out of this book. With the Pro version, you can also switch to the Starter UI, if you feel the need. You can do this by toggling the UI button at the top right:

Figure 1.8: Clicking PRO will allow you to switch to STARTER mode
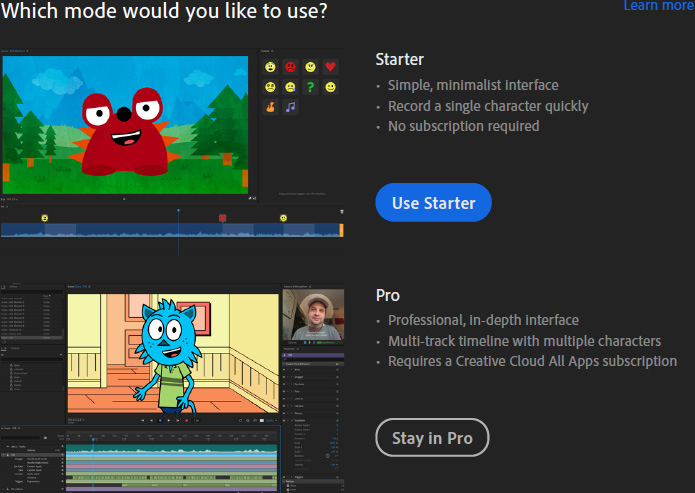
Before you confirm your choice, you will also be given an explanation of how Starter mode differs from Pro.

Figure 1.9: Here is the official breakdown of the modes according to Character Animator
The Starter mode is great if you want to get your feet wet with the basics of the app, but Character Animator offers a lot of features that can only be found in the Pro version, and that’s the version of the app we will be using for this book. With that said, let’s look at how to calibrate our equipment for optimal animation.


