


Ground layer
In this section, we’ll employ the same strategy we used for the Mud texture material layer. We’ll replicate the existing setup and switch out a few conditions with the new Attribute Filter node. Let’s begin!
- Inside the PCG graph, select the nodes that are shown in Figure 6.50. Duplicate the nodes (press Ctrl + D) and place those nodes as shown in the figure:
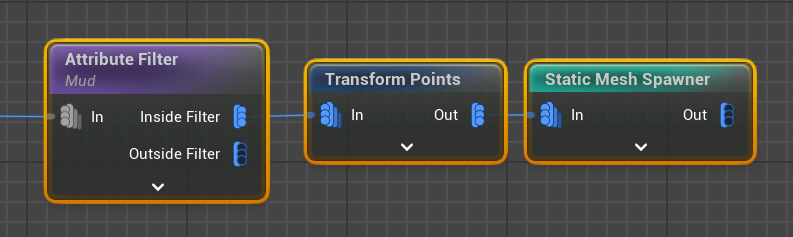
Figure 6.50 – Duplicating all the nodes
- Connect the duplicated nodes to the second Projection node (Figure 6.51):
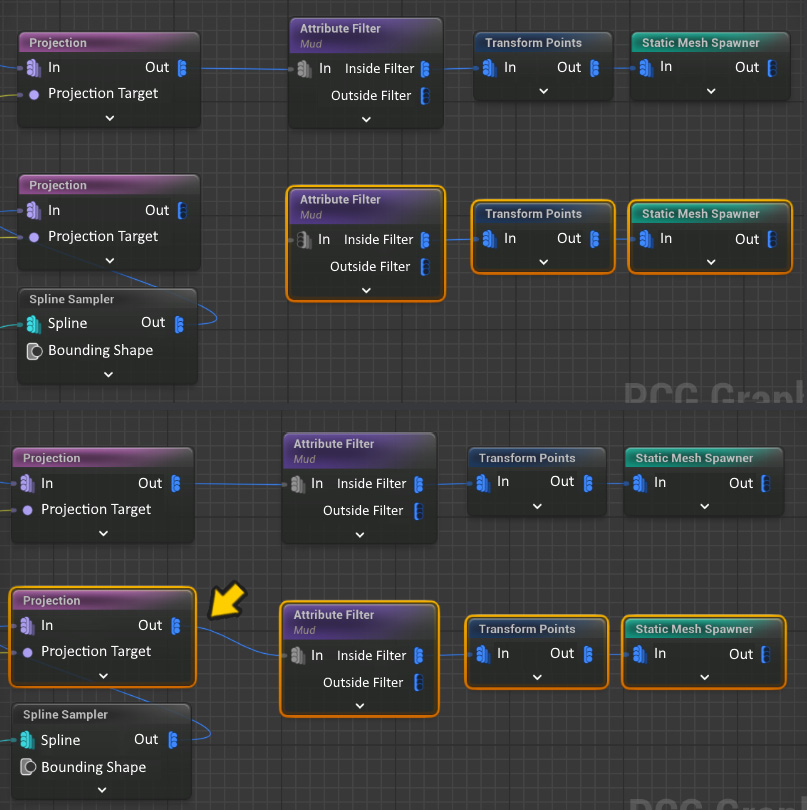
Figure 6.51 – Connecting the duplicated nodes to the second branch with the Projection node
- Select the new Attribute Filter node that is connected to the second Projection node. This time, we need to set its Target Attribute name to
Ground:
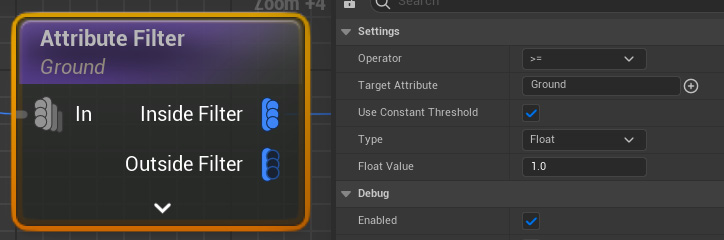
Figure 6.52 – Adding Ground as the Target Attribute name
- At this point, we’ll utilize the tree...


