Playing with samples and the characterizer
This is a good way to experience how Character Animator functions. It also allows us to see if any further calibration needs adjusting. We will also use Characterizer, which is an easy and quick way to bring an animated version of yourself, or a picture of someone, into the production. Here’s what we will be covering specifically:
- Playing with a sample rig
- Recording animation
- Animating with Characterizer
Playing with a sample rig
To begin, let’s go back to the home screen:
- To do this, click on the Home button on the top left of the app. We want to direct our attention back to the sample files being showcased.
- Let’s choose the first puppet on the list. Chad, which is the name of the puppet, is a simple head rig that can track our head, mouth, and eyes.
- When you select the puppet, it will bring you to the Recording tab with the Chad head in the workspace:
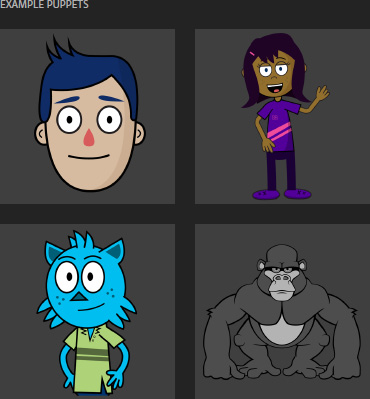
Figure 1.20: Sample puppets
- Let’s turn the webcam and microphone on by clicking on the webcam and microphone buttons under the upper-right preview window. If you need to calibrate again, do that.
- Now, try opening your mouth. The puppet should correspond and show an open-mouth pose. The same goes for head tilts, eyebrows, eye blinks, and pupils.
It tracks facial features through the camera, allowing us to animate the head (although nothing is being recorded on the timeline yet). This is useful when rigging a puppet, as we can test the actions before committing any animation to the timeline:
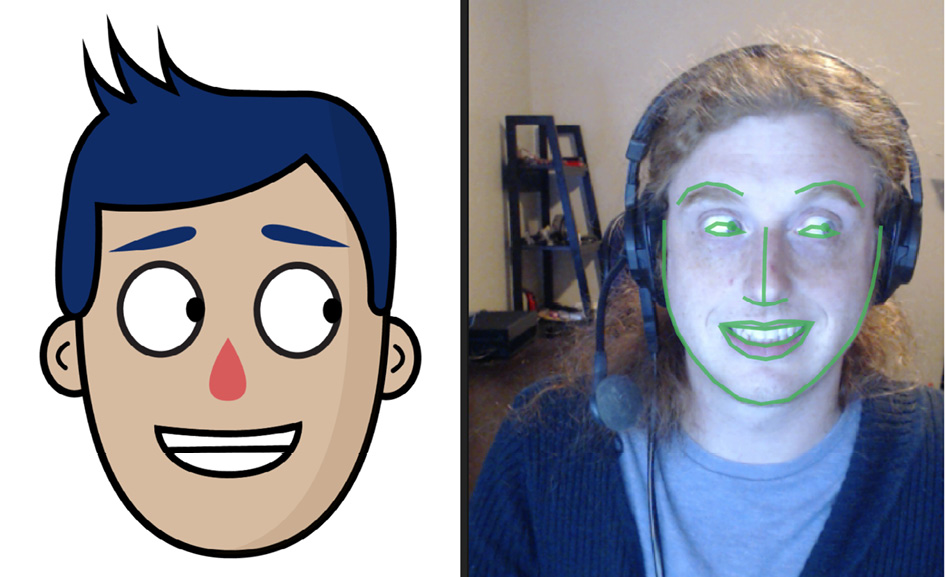
Figure 1.21: Looking right and smiling causes the puppet to do the same thing
Now, try saying something and pay attention to the puppet’s mouth. The puppet should approximate the phonemes you are producing and try to fill in the poses that most make sense:
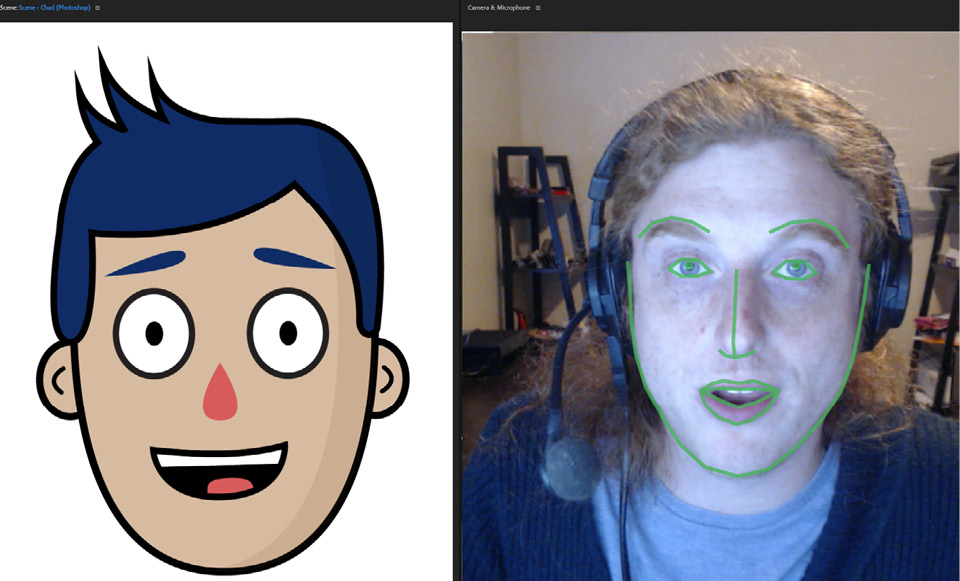
Figure 1.22: The puppet should track your voice, creating phonemes to lip-sync
If the puppet isn’t detecting your video or audio, go back to Preferences and ensure your input and output are correct.
Recording animation
If you’d like to try recording some animation, you will find a red record (Ctrl + R or ⌘ + R) button below the puppet preview. Clicking this will start a 3-second countdown and start moving the timeline and any movement or words will record:
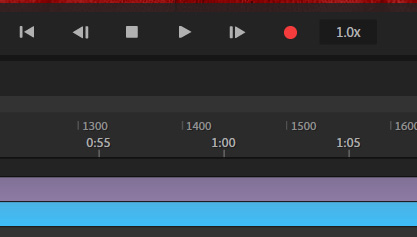
Figure 1.23: Your recording will count down once you hit the red record button
You can hit the stop button, scroll the timeline scrubber back to the beginning, and hit play. You will see what you just did play back:
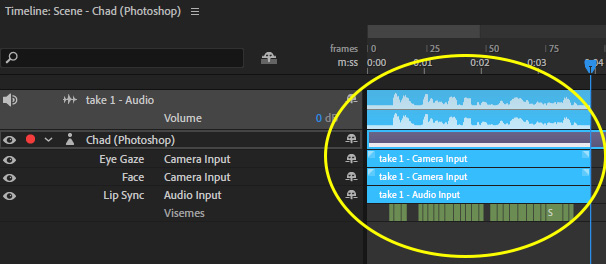
Figure 1.24: All of this content was created through the webcam and mic
We can also edit the timeline, allowing us to hone in and alter segments. We can even work with multiple characters, sets, and props! All of this will become clearer later on.
Animating with Characterizer
To begin, go to File > Open Characterizer. A new window will open up with a big plus symbol button with Create New Capture… written below it. You may also see other captured projects if any work has been done in this panel before. Click on the plus symbol to get started:
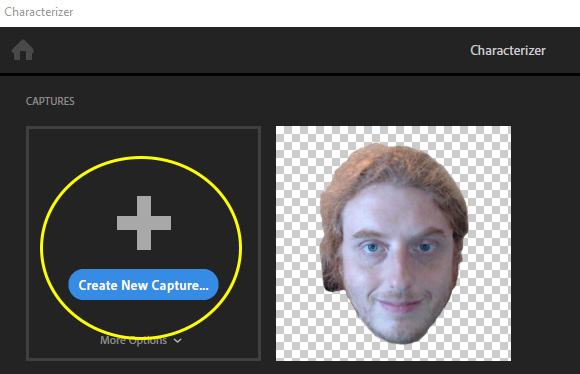
Figure 1.25: Clicking on the Create New Capture… button to begin
A new window will show your camera preview and some on-screen instructions will be present. You may also hear a narrator explaining the process. Be sure your head is in the center highlighted area. Face forward and then hit Start. You will hear an instructor prompting you to do a few tasks: close your eyes, smile, frown and say various words. What this is doing is capturing all the phases needed to create animation for your head in Character Animator.
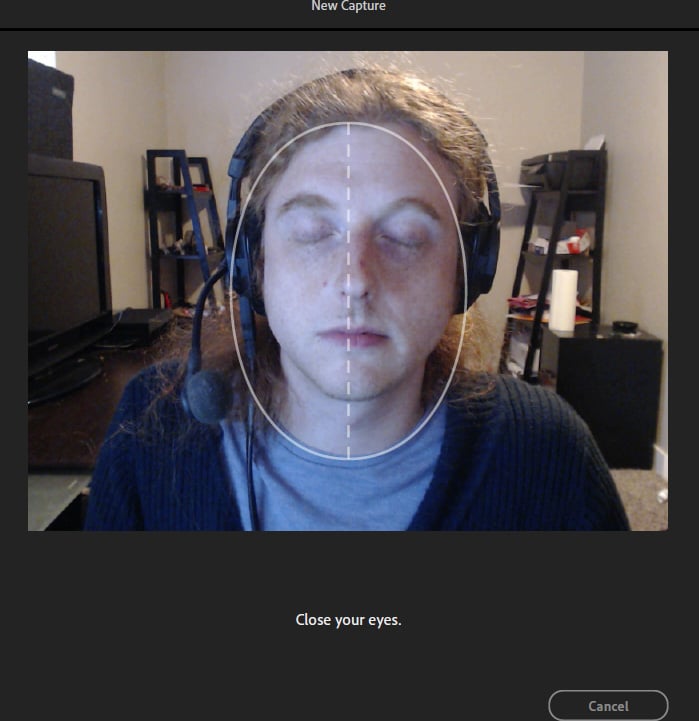
Figure 1.26: Just follow the prompts on the screen and Character Animator will do the rest
On the next screen, you can page through the poses that the app has generated. If anything is amiss or doesn’t look correct, you can click on the back button on the top left and redo the process.
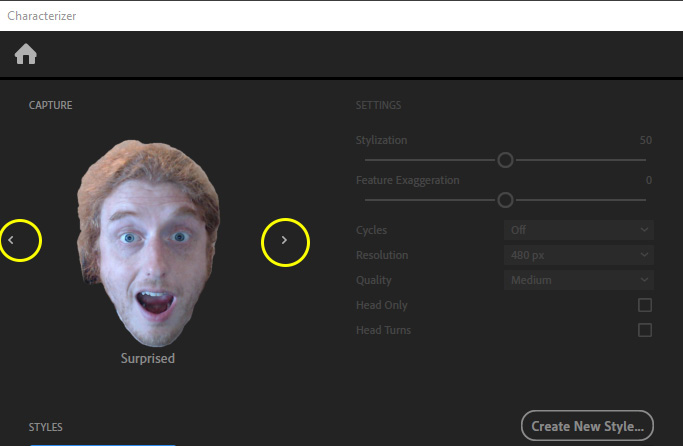
Figure 1.27: You can page through each pose to make sure everything is correct
Once satisfied with the poses, you can decide whether you want to stylize your capture. Each style option allows you to tweak various aspects, such as Stylization, Feature Exaggeration, sketch-like animation effects, and much more. Once satisfied, you can click Generate and it will place the puppet into the Recording workspace.
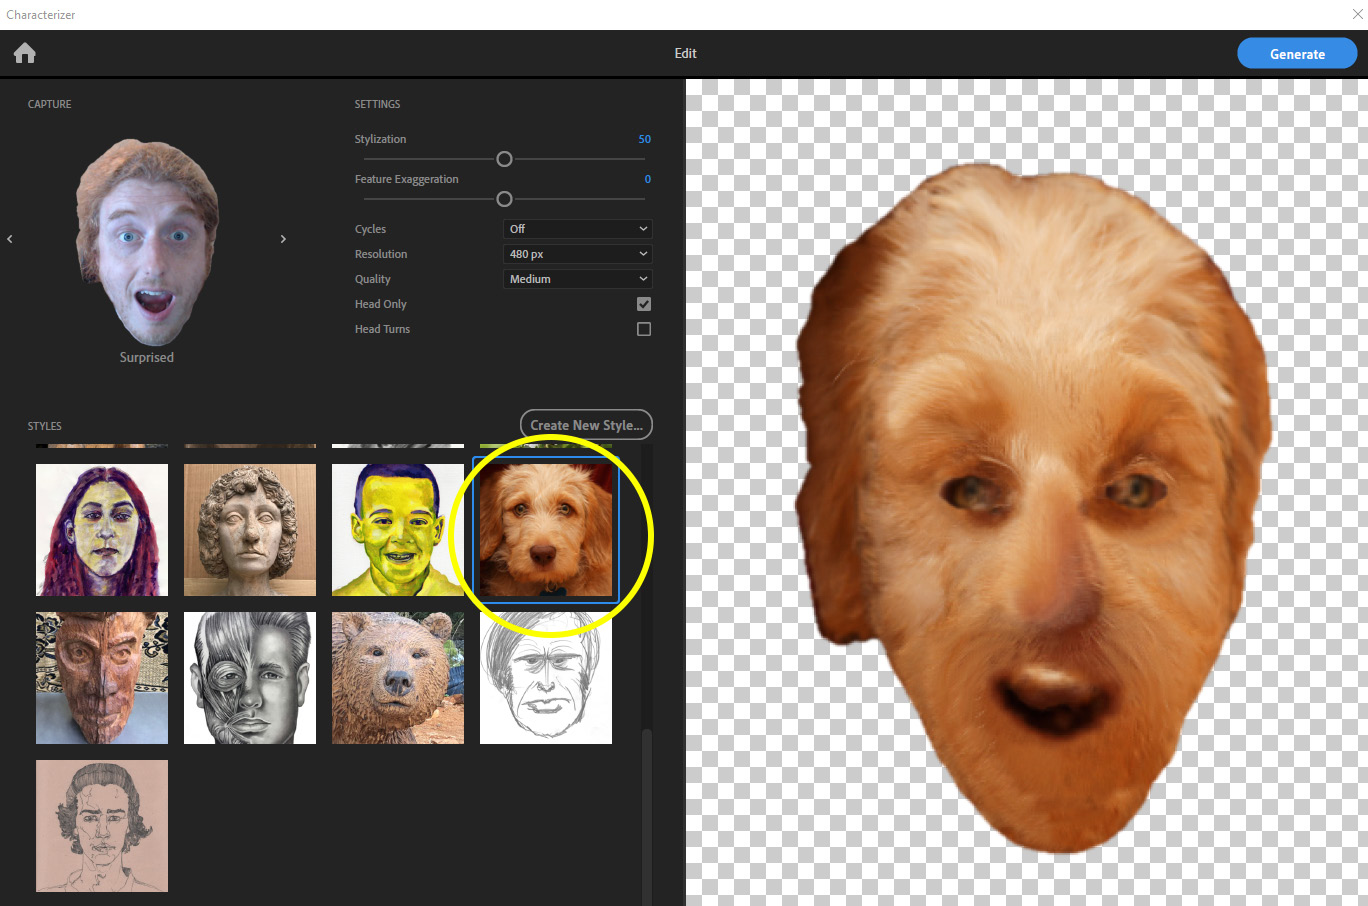
Figure 1.28: You can stylize your character in a variety of fun ways
Other things you can do is import outside images to create the character and import new styles. For this book, we are going to focus on using original artwork and rigs. But it’s good to know Characterizer is there, as you never know – a future project could be perfect for it.


