Analyzing network usage by using Network Planner
When you wish to identify your organization's network requirements for Microsoft Teams, you should use the Network Planner tool. In this section, we will introduce you to Network Planner and show you how to use it to plan for your Teams deployment.
Using Network Planner
Network Planner is a tool that can be found in the Teams admin center and is used to calculate and plan your organization's network requirements for connecting to Microsoft Teams. By inputting details relating to your network, as well as your anticipated usage of Teams, Network Planner will provide calculations for network requirements for you to successfully deploy Teams to your business locations.
The tool works by using personas that you create. Alternatively, you can use some built-in personas that are recommended by Microsoft. These personas are used to assess some typical usage scenarios. Running these persona exercises enables you to extract reports that guide you on your network requirements.
So, how does this work? Let's try and run Network Planner by following these steps:
- From your internet browser, log into the Microsoft Teams admin center by navigating to https://admin.teams.microsoft.com and signing in with your Microsoft 365 credentials:
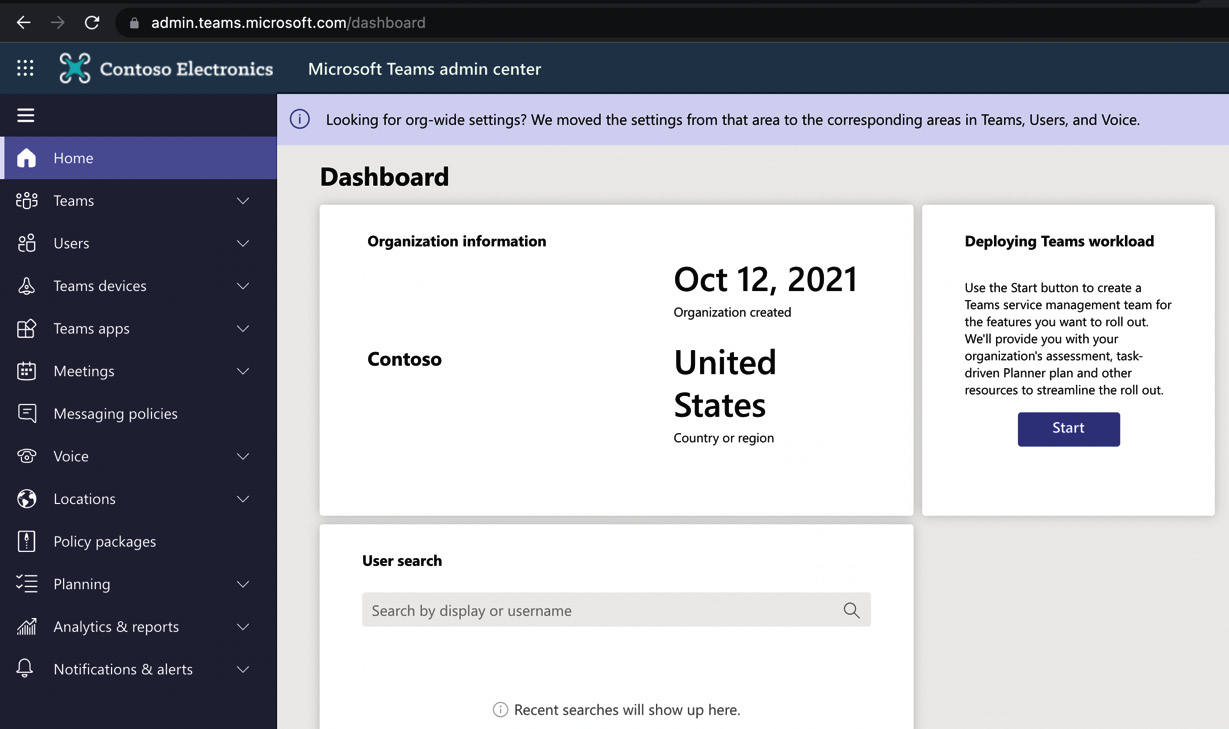
Figure 1.1 – Microsoft Teams admin center
- From the admin center, choose Planning | Network planner, as shown in the following screenshot:
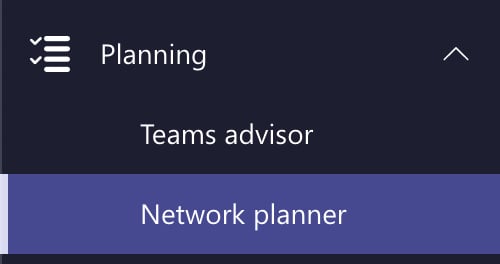
Figure 1.2 – Network planner
- You will now see various Network planner options, as shown in the following screenshot:
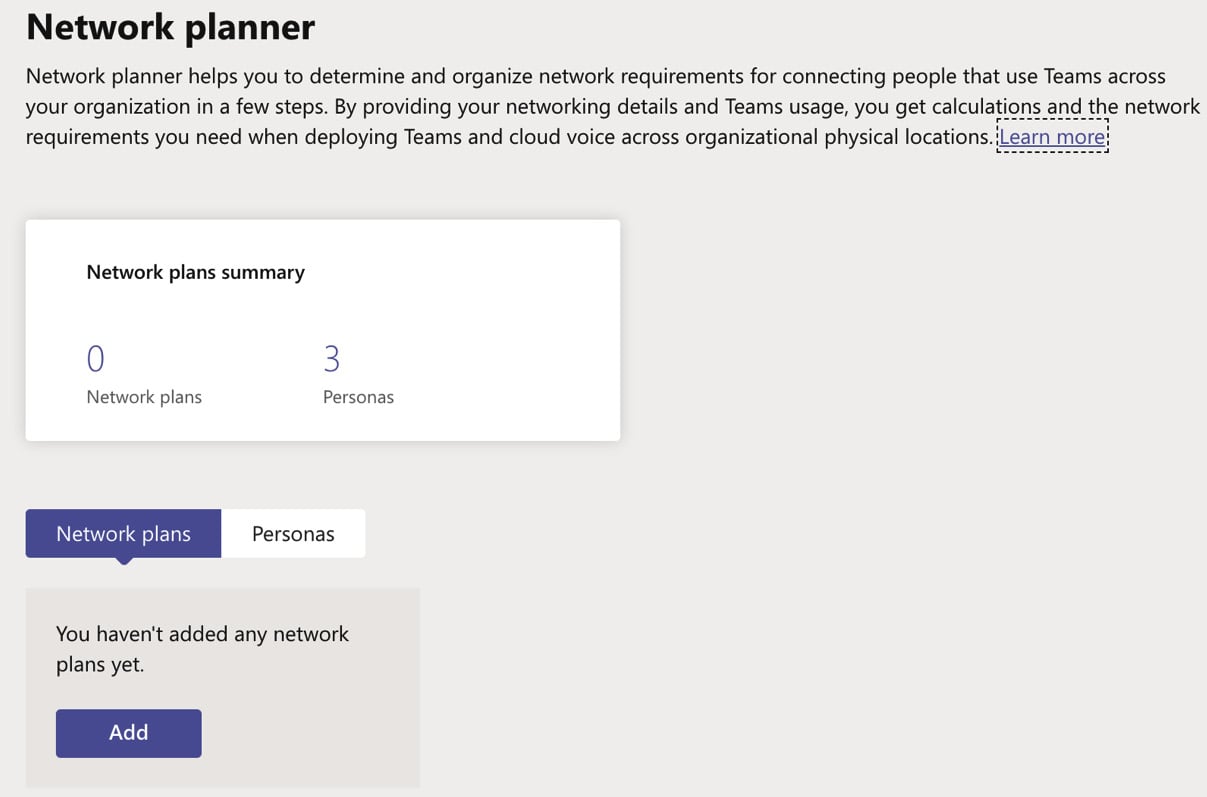
Figure 1.3 – Network planner
- First, we need to use a built-in persona. We can also create a custom persona for this step. To do this, click on Personas. This will show you the three built-in Microsoft personas, which are Teams Rooms on Windows, Remote worker, and Office worker, as shown in the following screenshot:

Figure 1.4 – Built-in personas
- You may examine the settings of these built-in personas by clicking on each one. However, you will be unable to edit these personas, as shown in the following screenshot:
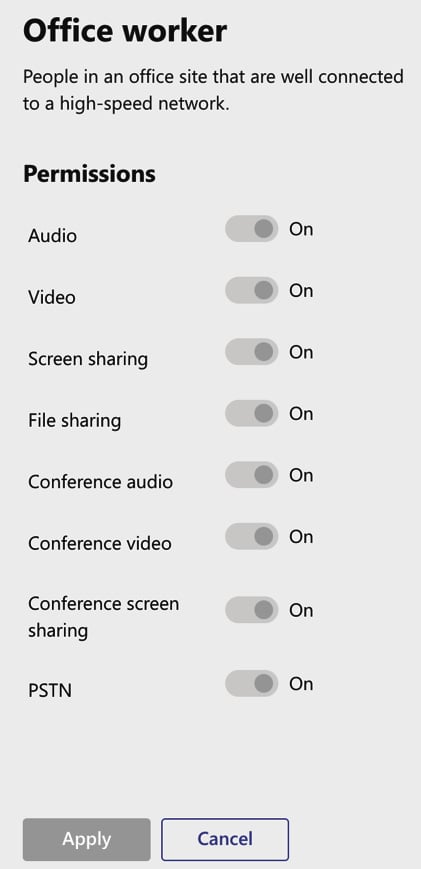
Figure 1.5 – Built-in personas
- In most situations, the built-in personas will suffice. However, you may also click + Add to create custom personas. This allows you to be more selective in the persona settings you choose, as shown in the following screenshot:
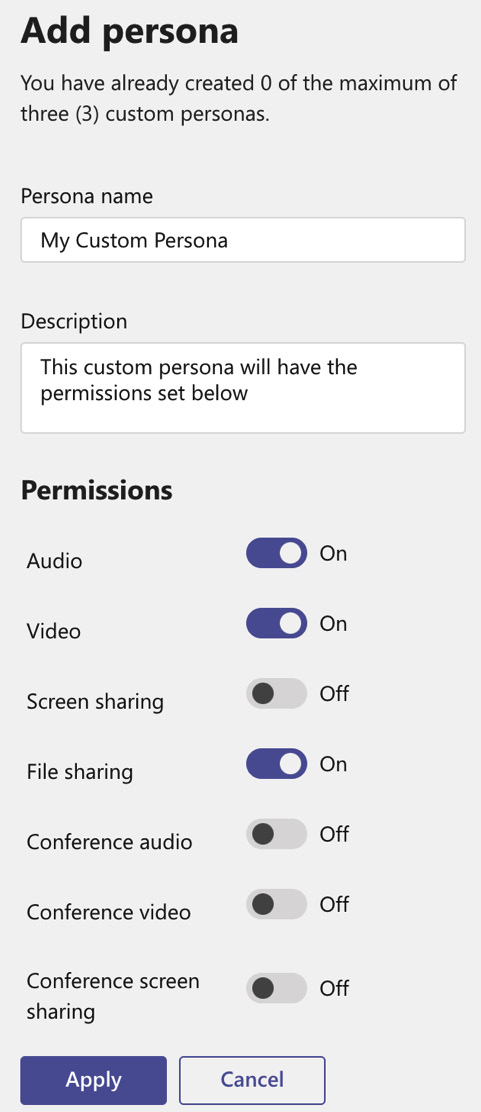
Figure 1.6 – Creating a custom persona
- Click Apply to finish creating your custom persona. Your new custom persona will be displayed, as shown in the following screenshot:
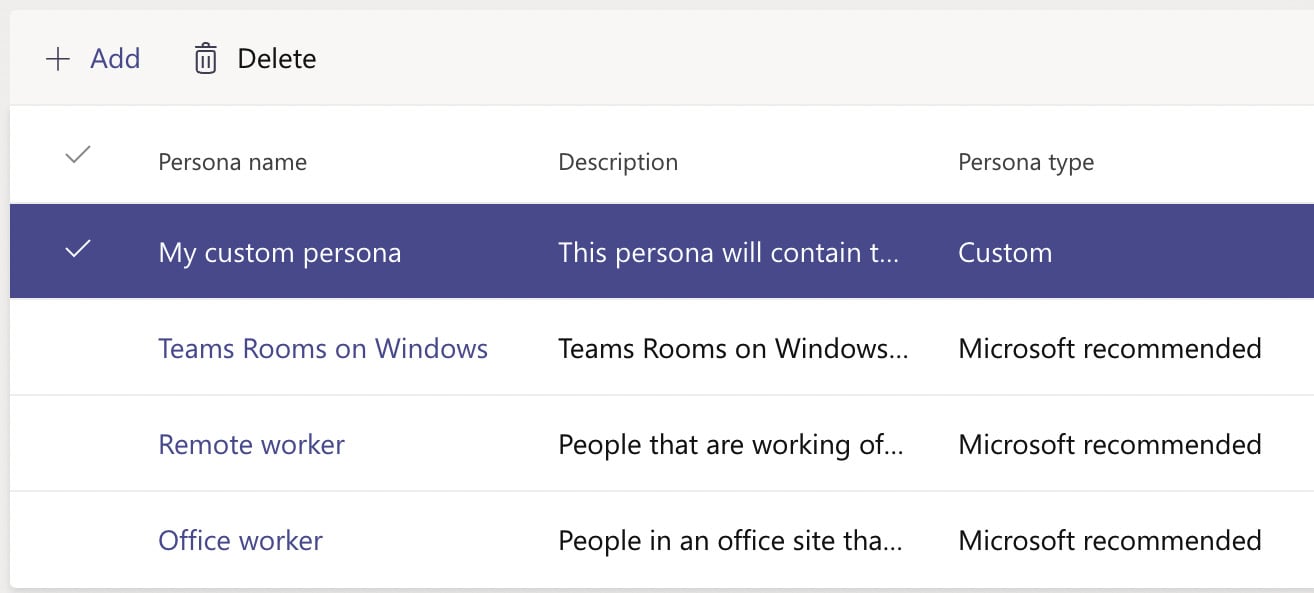
Figure 1.7 – New custom persona
- Now that we have examined our available personas, we need to build a network plan. To do this, we need to click on Network plans and select Add:
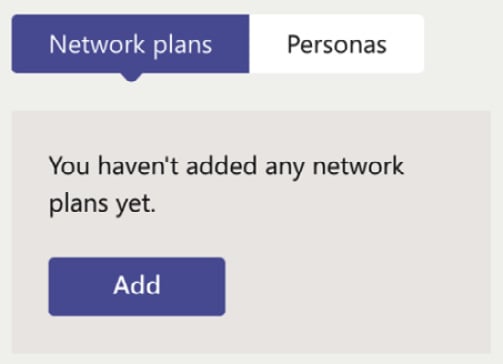
Figure 1.8 – Adding a network plan
- Enter a name and description for your plan. Then, click Apply:
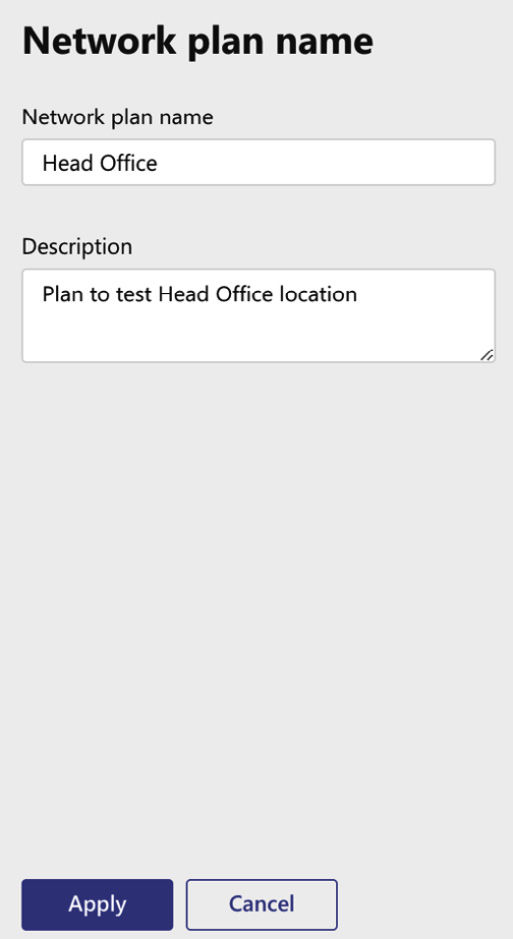
Figure 1.9 – Creating a network plan
- Your newly created network plan will now appear in your list of Network plans, as shown in the following screenshot:

Figure 1.10 – Network plans
- Next, click on your new plan to view it.
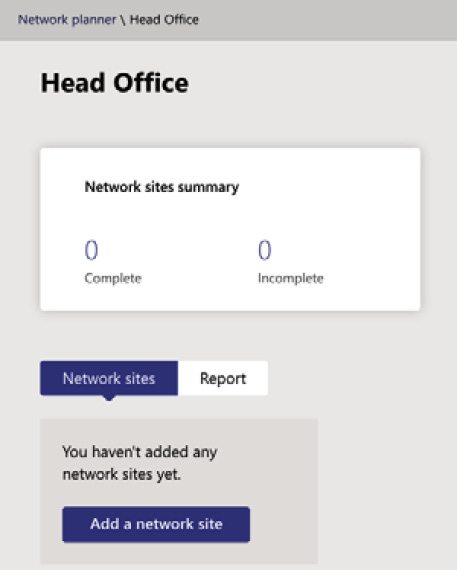
Figure 1.11 – Add a network site
- Click on Add a network site and add the details for your site as per the following screenshot. A site may represent a location or a building complex. It is a best practice to create local sites first, before creating sites that connect remotely through the internet or Public Switched Telephone Networks (PSTNs):
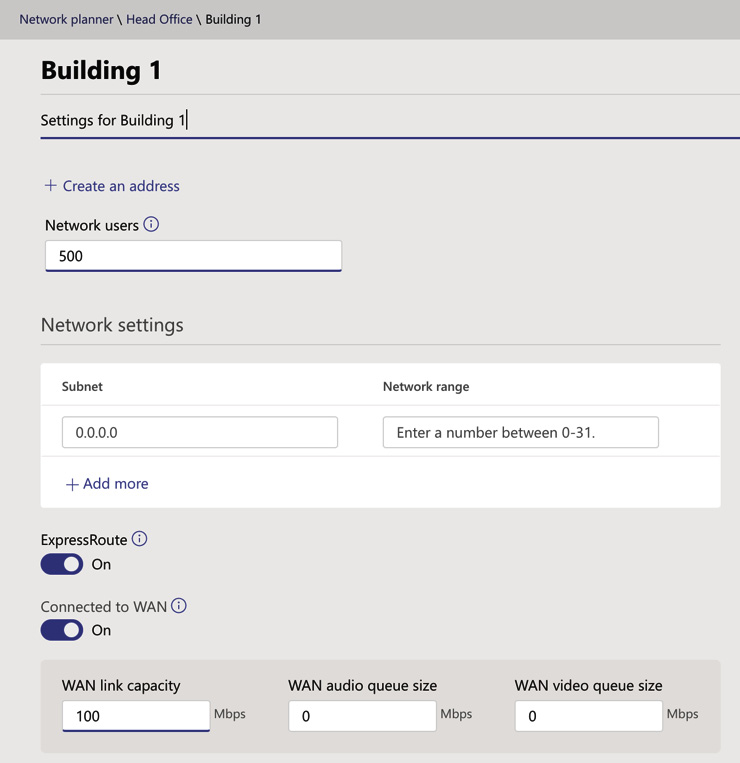
Figure 1.12 – Adding a network site
- Scroll down and set the values you require for the settings shown in the following screenshot and click Save:
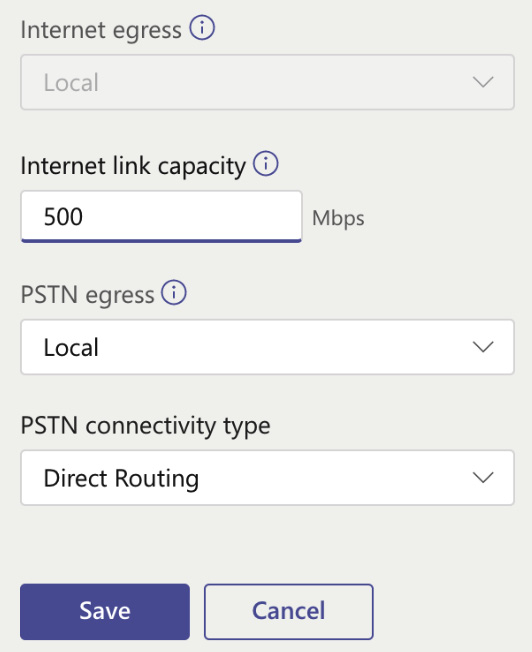
Figure 1.13 – Saving your network site
- Your new network site will now appear in the list of sites:

Figure 1.14 – New network site
- Now that your network sites are ready, you can use these sites to create reports. To do this, select Report and click on Start a report:
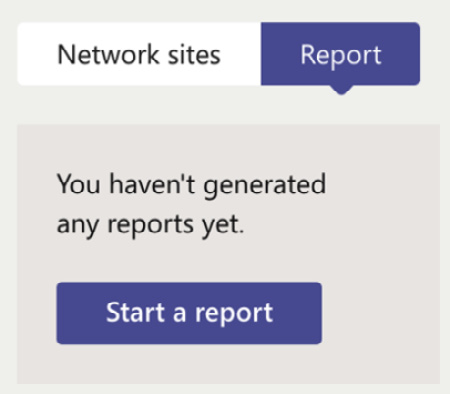
Figure 1.15 – Starting a report
- By default, the Microsoft default personas will be selected here, and the network user amounts will be automatically calculated. You may add more personas if required and distribute the user numbers manually. Once you have made your choices, click on Generate report:
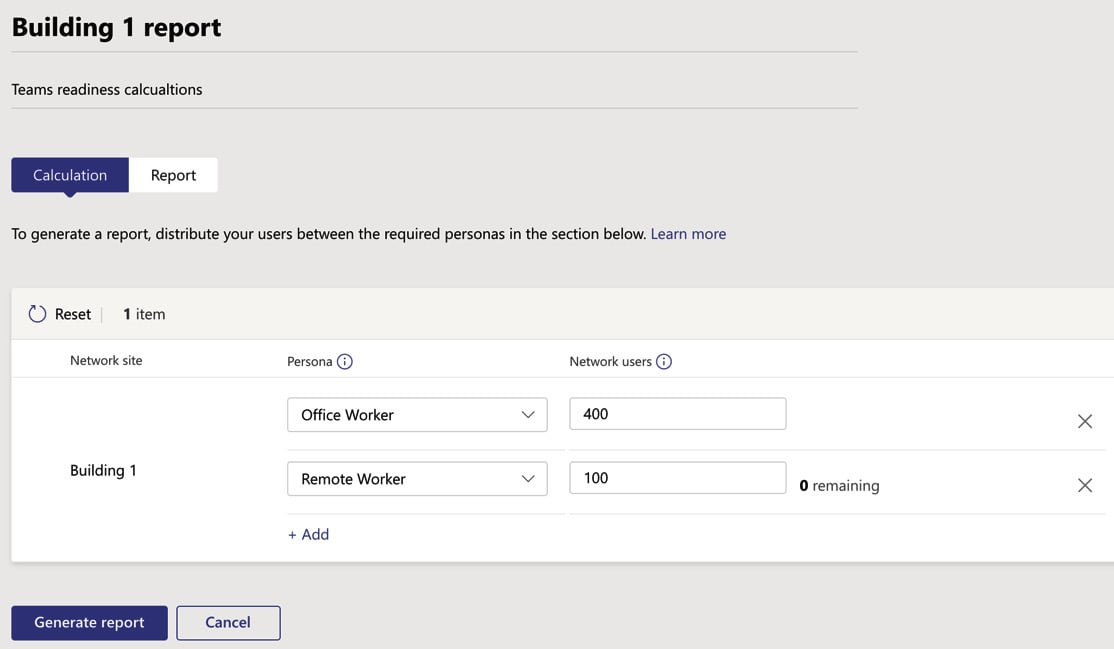
Figure 1.16 – Generate report
- The projected impact of the settings that you chose will now be shown, as shown in the following screenshot:
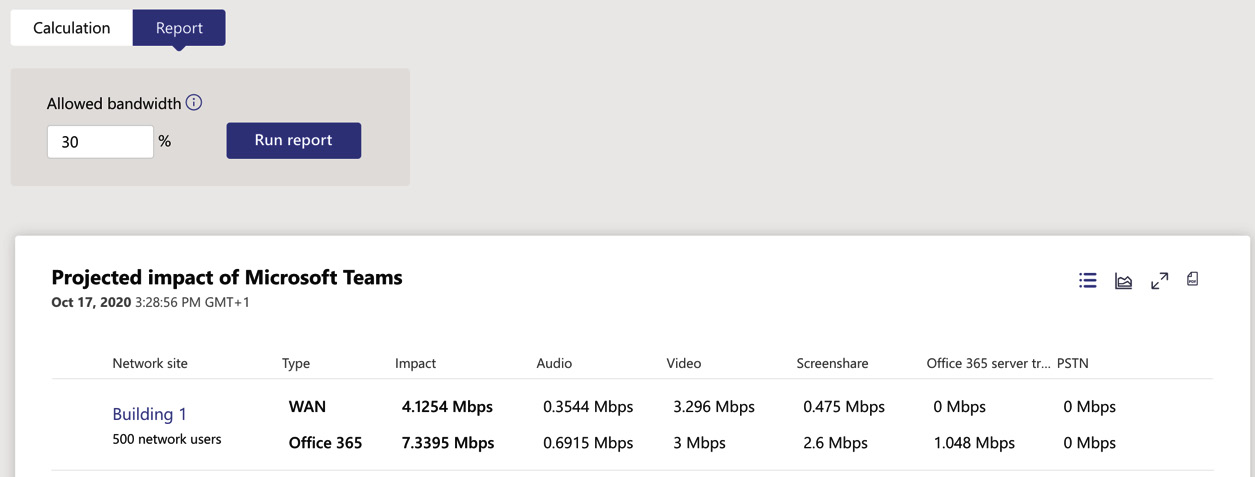
Figure 1.17 – Projected impact
- You may run the report again later if you wish and use the options at the top right of the preceding screenshot to switch between views and export your report as a PDF.
With that, you have seen how Network Planner can help you introduce Teams to your business locations. Next, we will look at outbound network ports and protocols requirements.


