Setting up folders for organization
So now we’ve set up our Canva account and know how the mobile version works, it’s time to get organized. In Canva, you can create folders to organize your designs into various parts of your business or home life, view your recent designs, and quickly see your uploaded content all on the Your projects tab. This can be found on the left-hand menu under the Home tab.
The order of sections on this page goes as follows:
- Recent
- Folders
- Designs
- Images
- Videos
This can be seen in the following screenshot:
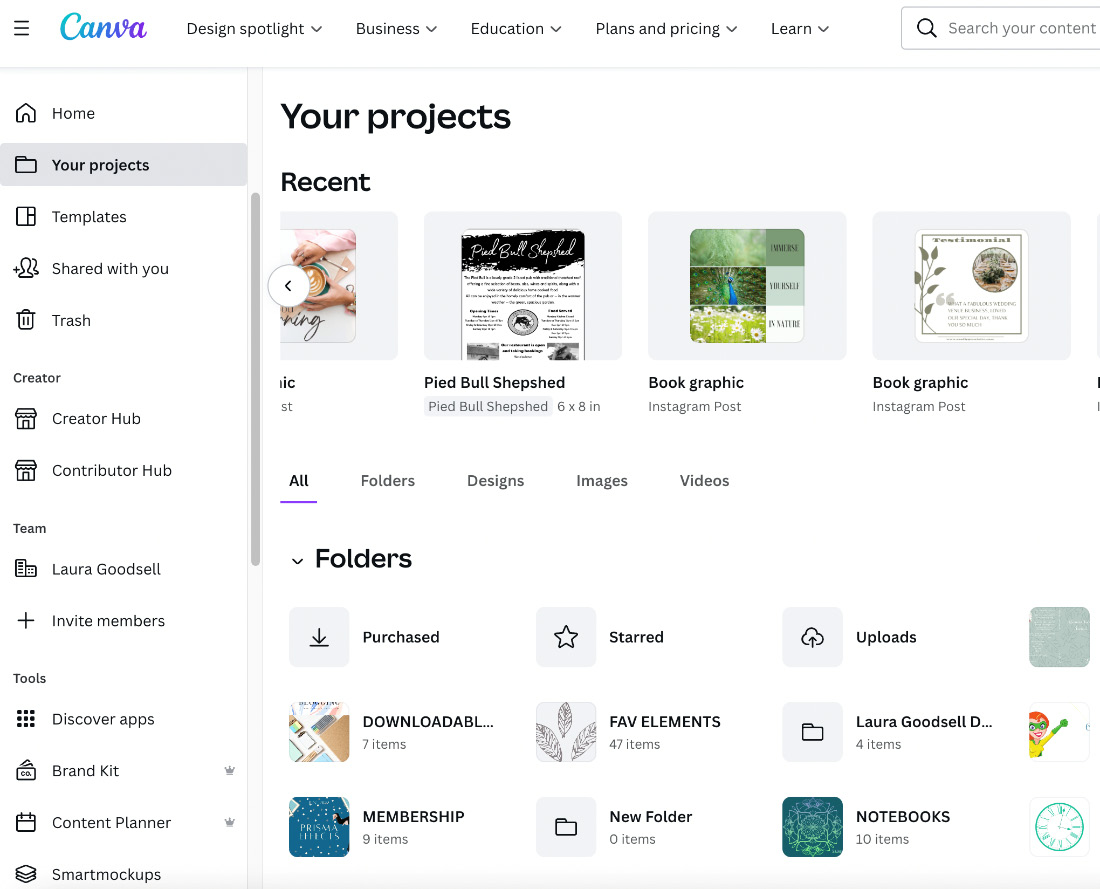
Figure 1.9 – The project tabs on the desktop version of Canva
Scroll down the page and you will see anything you’ve uploaded or created here. This is the best place to access everything, a central hub for your account.
Creating folders
You get three folders already in the account, as follows:
- Purchased – Anything you have purchased outside of the Pro subscription
- Starred – Any elements or images that you have favorited and would like to use later are saved here
- Uploads – Everything you upload to your account, including images and video
With the Pro version and the Free version, you get unlimited folders along with the existing three mentioned previously and you can name them whatever you would like. To create a new folder, follow these instructions:
- Click on the cross in the top-right corner. This will open up an Add new menu:
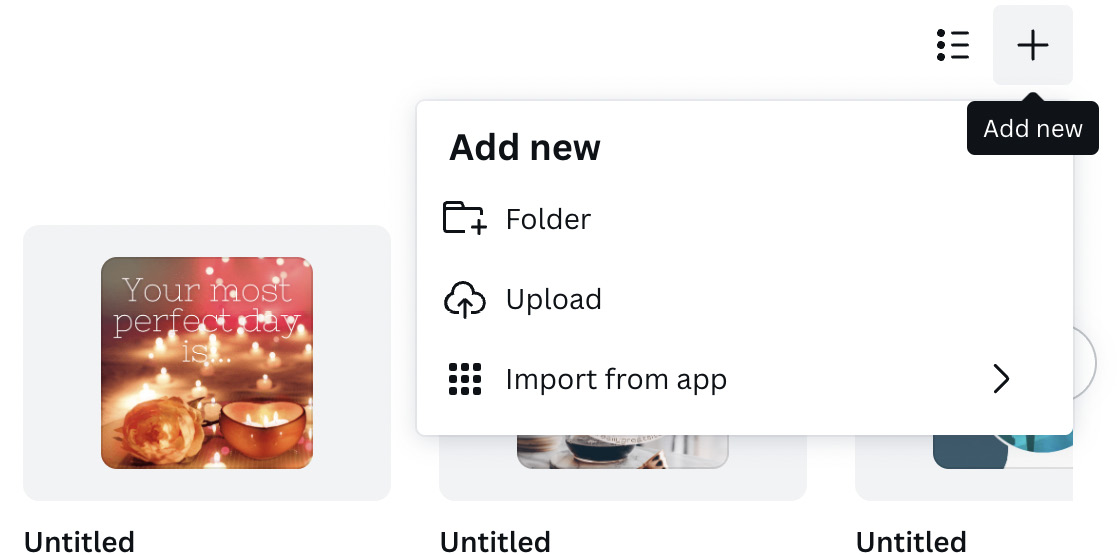
Figure 1.10 – Creating a new folder on desktop
- Click on the Folder icon.
- Add a name for your folder:
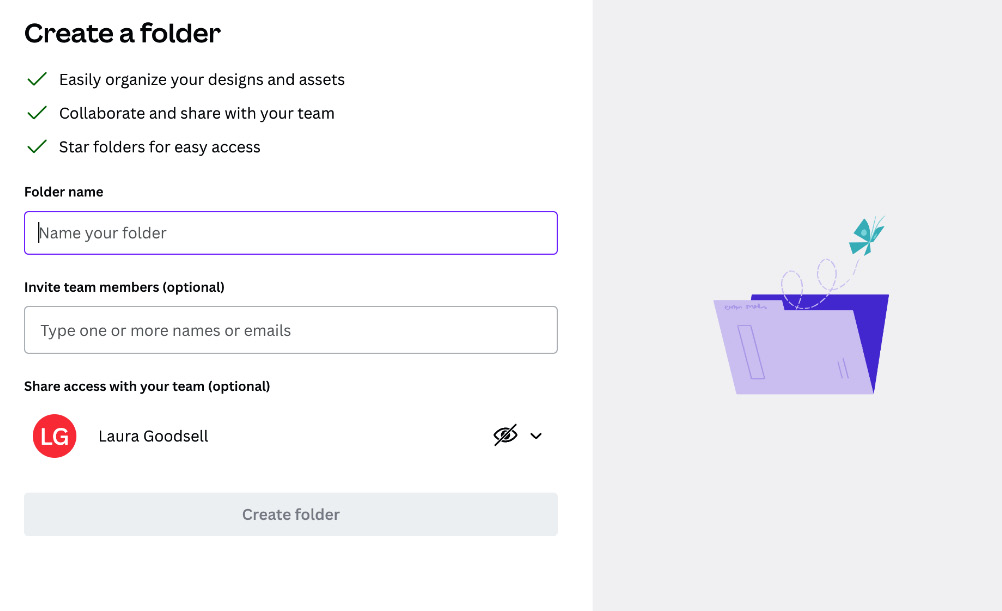
Figure 1.11 – Naming your folders
Ignore the second option, unless you are creating a team, but for this exercise, we are just looking at setting up a basic folder.
- Then, select the Create folder button at the bottom.
- It will now add your folder to the Folders section on the page. You can customize a folder by clicking on the three dots next to it or by selecting the folder itself:
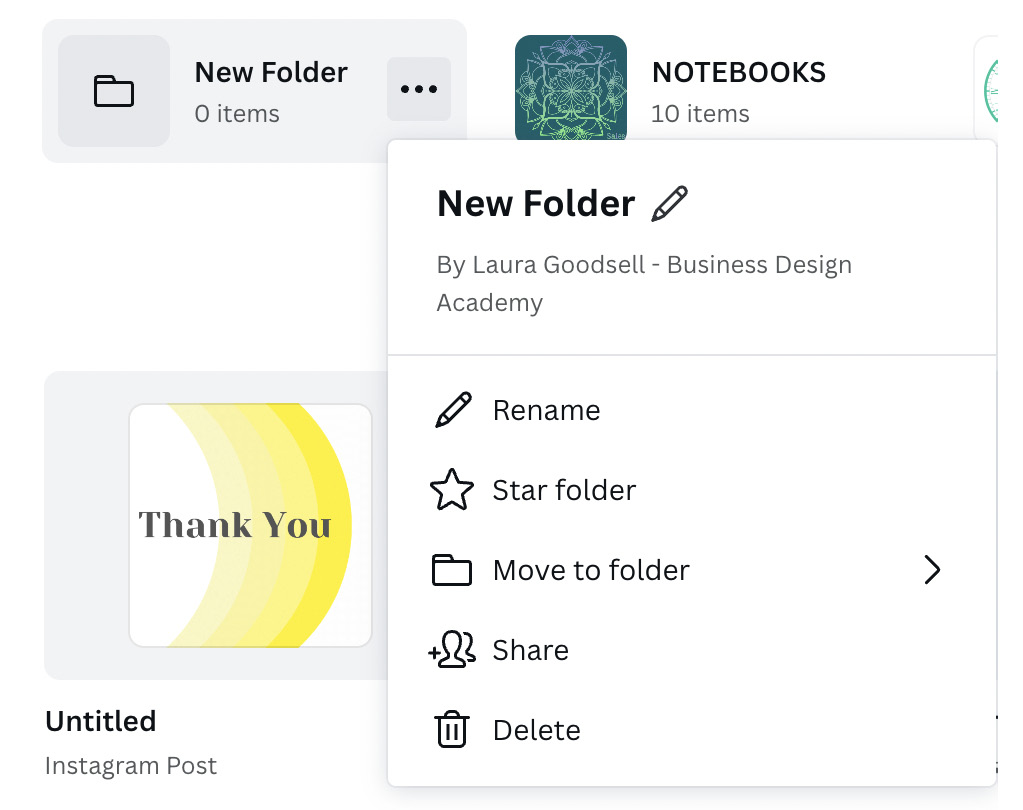
Figure 1.12 – How to customize folders
You can also have your new folder as a top-level folder by selecting the star icon next to its name, which will turn the star yellow. It will now appear in the menu bar on the left. This is perfect for all users, and you can create as many folders as you would like. You can also create folders within folders up to five deep for extra organization.

Figure 1.13 – Adding a star to create a top-level folder
Finally within the Folders options, you can share a folder with a team member, but they do need to have been set up as a member within your Canva account; you can’t share a folder with someone outside of your team.
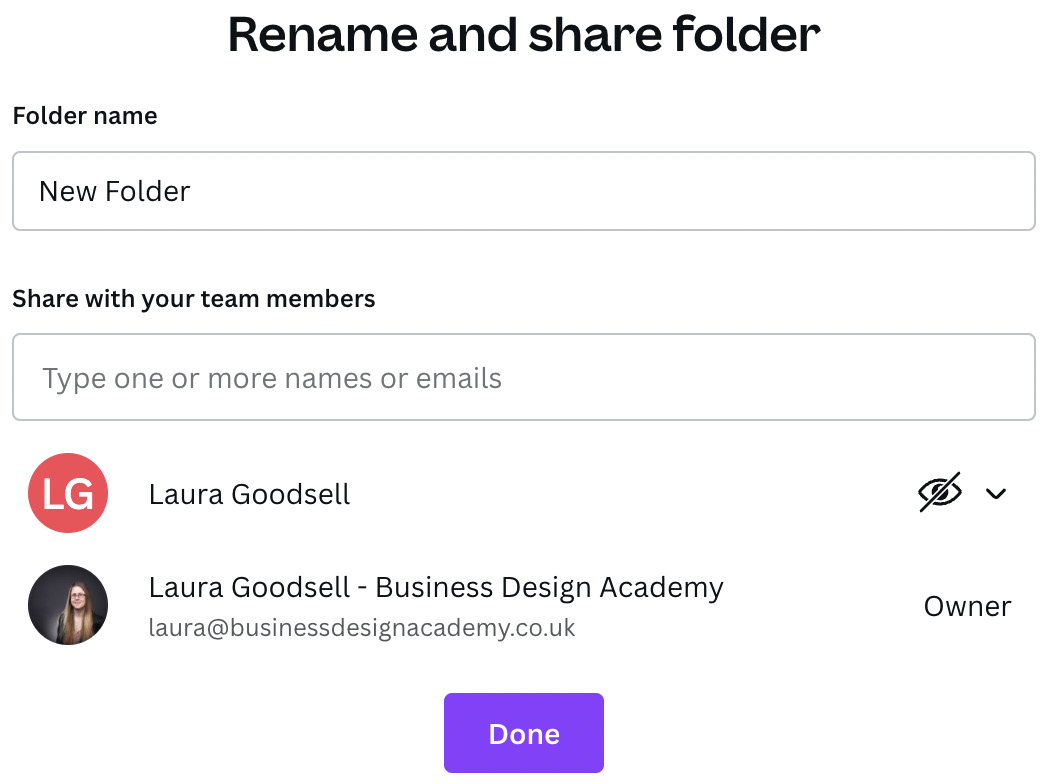
Figure 1.14 – Sharing a folder with a team member
So far, we have covered what Canva is and how it can be used, how to set up our account on desktop and mobile, and we have also looked at the differences between the two main Canva accounts. We’ve gotten ourselves organized with folders for our designs, so next, we’re going to look at the Content Planner.


