


Building a basic project template
In this section, we will cover the more convenient way to build a project template. The process consists of building a skeleton project with the minimum we need inside to fit with our company requirements for example. After that, we can export the existing project as a template using Visual Studio’s Export Template Wizard, by using the Visual Studio top bar menu: Project | Export Template…:
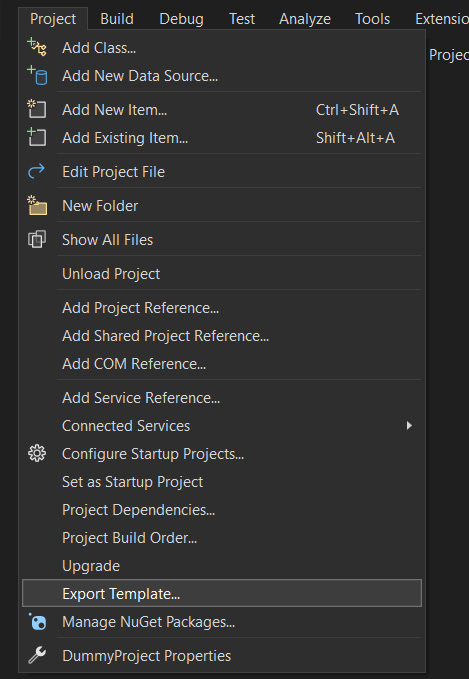
Figure 13.1 – Export Template…
The preceding action will open the Export Template Wizard window:
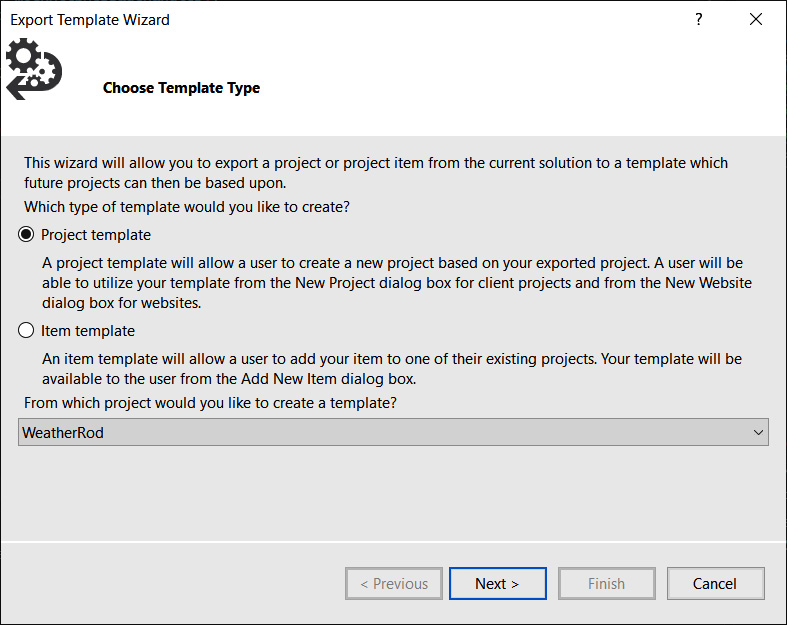
Figure 13.2 – Export Template Wizard
First, we choose the type of template we want to export; either Project template or Item template.
Then, the tool allows us to define key details, such as the template’s name, description, icon, and preview images.
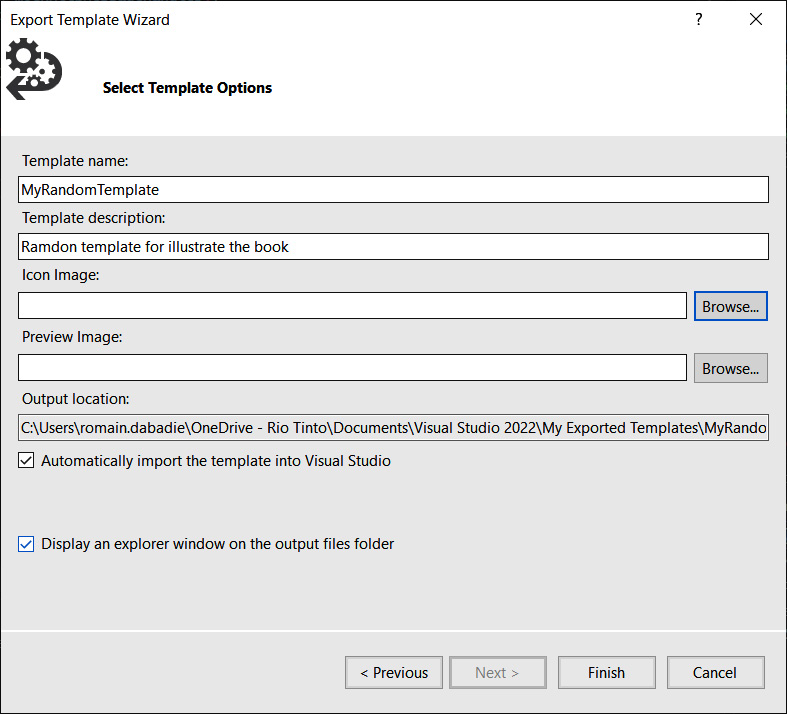
Figure 13.3 – Select Template Options
Upon completion, the project is bundled...


