Using Auto Normalization
The first lesson of this chapter is about Auto Normalization. Now, you may be asking, “what’s Auto Normalization?”, or you’re simply just reading along trying to find out, so let’s find out!
So, the simplest way to explain Auto Normalization is that it analyzes the volume of one or multiple clips and adjusts the volume to the standard loudness level of 23.0 Loudness Units Relative to Full Scale (LUFS), which is the standard loudness level for European audio programs. Now that we know what it does, let’s learn how to do it.
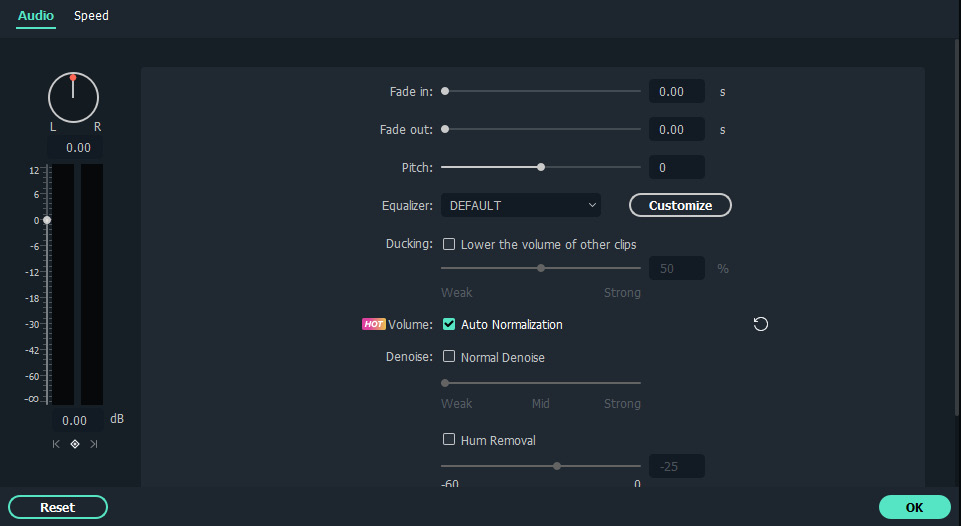
First and foremost, we need to double-click on an audio clip or a video clip that contains audio, and once that is done, we need to go to the Audio category and check the Auto Normalization checkbox, as can be seen in the following screenshot.

Figure 7.1: The Edit window for Auto Normalization in Wondershare Filmora 11
Now, you’ll notice the difference before...


